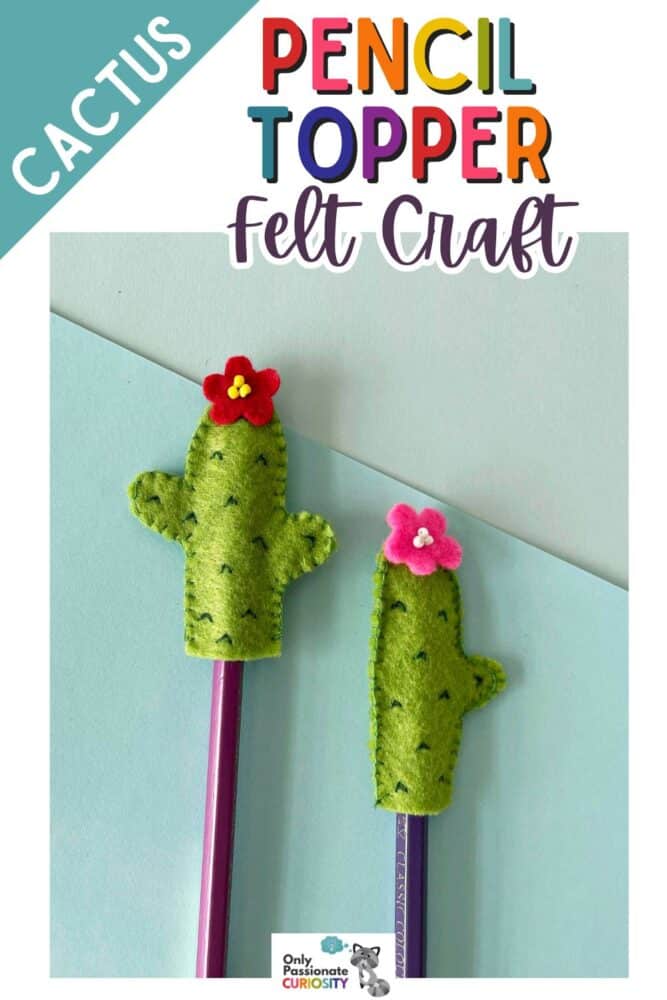
Felt Cactus Pencil Topper Craft


This colorful pencil topper craft is a fun activity for older children during art class. At the end, they have a personalized pencil topper to accompany them during school time!
Let’s get started!

List of Supplies for Felt Cactus Pencil Topper Craft


Instructions for The Felt Cactus Pencil Topper Craft

Step 1
Prepare the template patterns and select felt fabric for the pencil topper craft. Trace and cut out the cactus base patterns (2 similar patterns) and a flower pattern.

Step 2
Take any one of the base cutouts and use a sharpie or pencil to draw spike patterns on the base cutout.

Step 3
Prepare a needle with thread to stitch the spike patterns on the base.

Step 4
Once you’re done stitching the spike patterns, take the flower cutout and a few seed beads (to attach in the center of the flower).

Step 5
Place the flower cutout on the top side of the cactus base (stitched); make sure that the flower and the base cutout overlap.

Step 6
Stitch the flower with the base along with the center beads.

Step 7
Done stitching the beads and flower to the base of your pencil topper craft? Take the other cactus base and prepare a needle with matching thread.

Step 8
Place the plain cactus base under the stitched one and start stitching from the bottom side. Keep the bottom end open, to insert the pencil afterward.

Step 9
Work a flat blanket stitch around the side (left, right, and top).

Step 10
Keep the bottom end open.

Step 11
Tie 2 tight knots and cut off any extra thread. Now you’re done with the felt cactus pencil topper craft.
More Fun Crafts & Educational Ideas