Colorful Mixed Media Lion
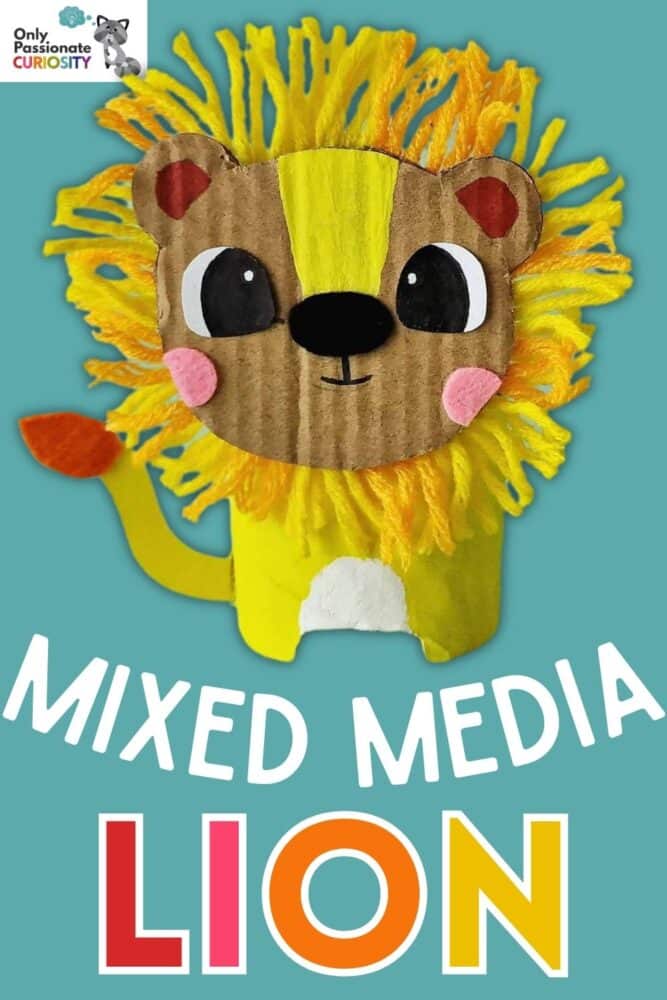
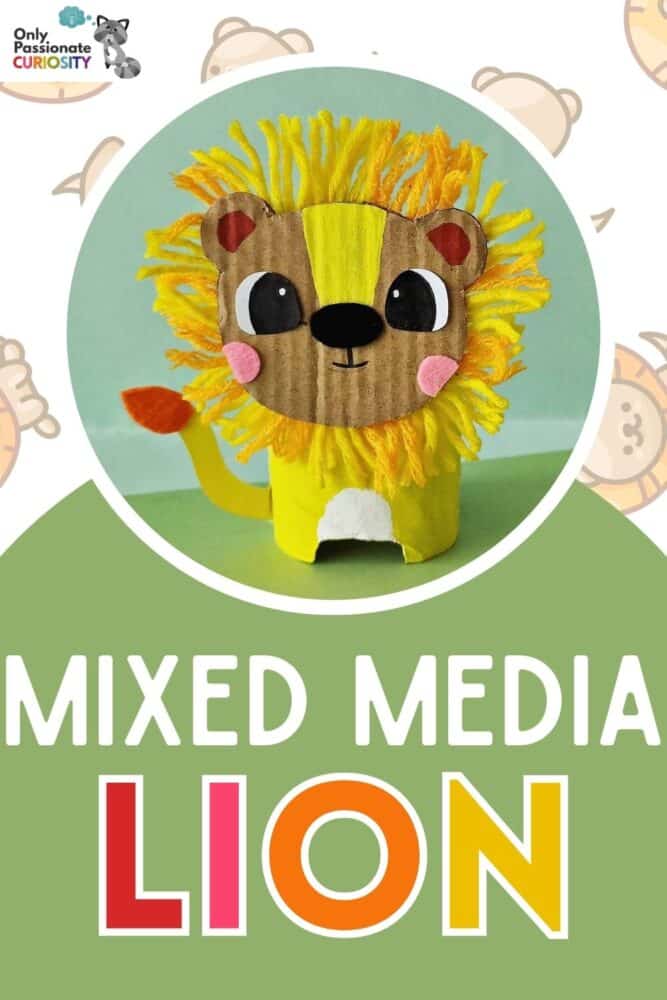
Working with a variety of art materials in a single project, such as this mixed media lion, can be a terrific art practice for kids! Having three very different children in my household, I know that some kids will be all about finding the best type of material for certain parts of the craft while other kids will prefer being told exactly what to use for each part of the lion they’ll be crafting.
But that’s okay! This art project can help them learn to work out of the box a little, and yet have enough instructions to go by so they don’t feel completely lost or without boundaries.
For each mixed media lion you’ll be crafting, you’ll want an empty TP roll, cardboard, cardstock paper, and yarn. You can add different kinds of materials to make it more interesting, using scraps of felt you might have around the house or other materials.
List of Supplies for Mixed Media Lion:
Below is a list of the things you’ll need, with links to purchase some of them, in case you don’t have all these materials on hand.
- Colored cardstock paper
- A cardboard sheet (from an old box is fine)
- TP roll
- Paint
- Yarn
- Felt
- Craft glue
- Pencil
- Sharpies
- A pair of scissors
- Mixed Media Lion Template
Instructions for Mixed Media Lion:
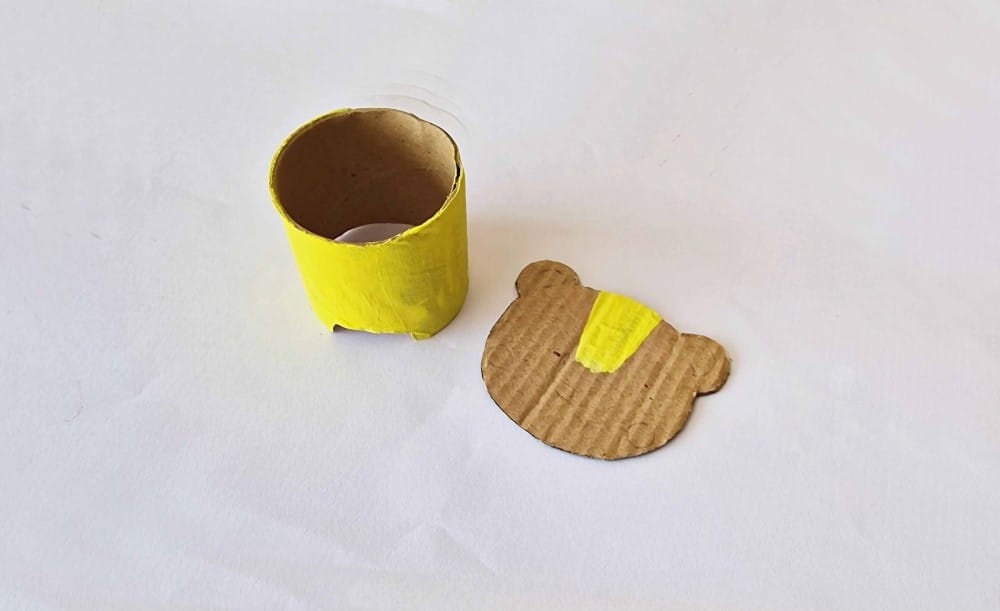
Step 1:
Print and cut out the template patterns (head, tail, tail-tip, ears, nose, eyes, blush, etc. Trace the template patterns on the selected materials and cut them out nicely. You can mix and match different materials for different patterns from the template.
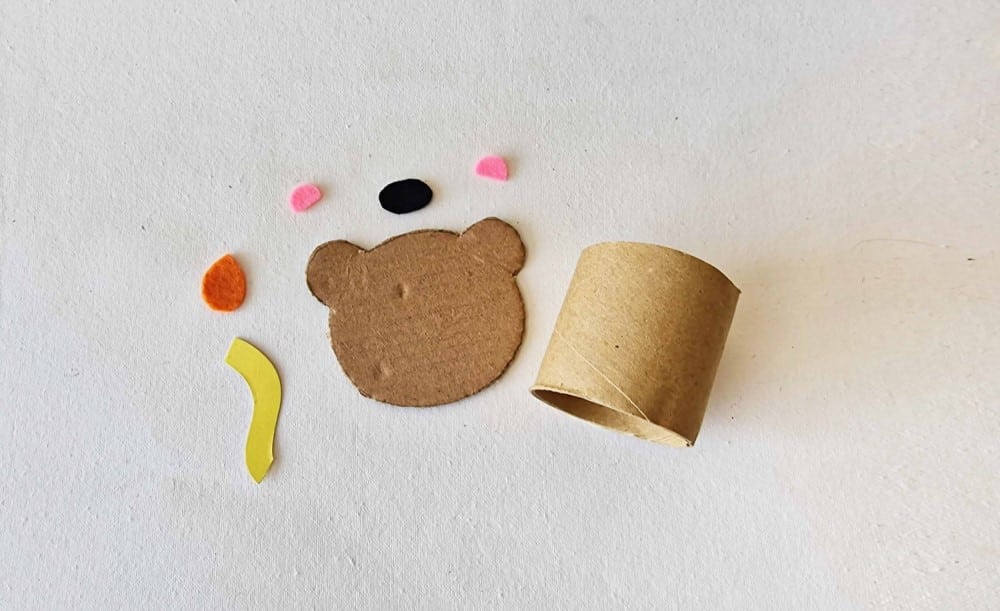
Step 2:
You can either cover the TP roll with colored cardstock paper or craft paper, or you can paint it with acrylic color. Paint the head cutout using acrylic color as well. Allow the paint to dry completely before moving on to the next step.
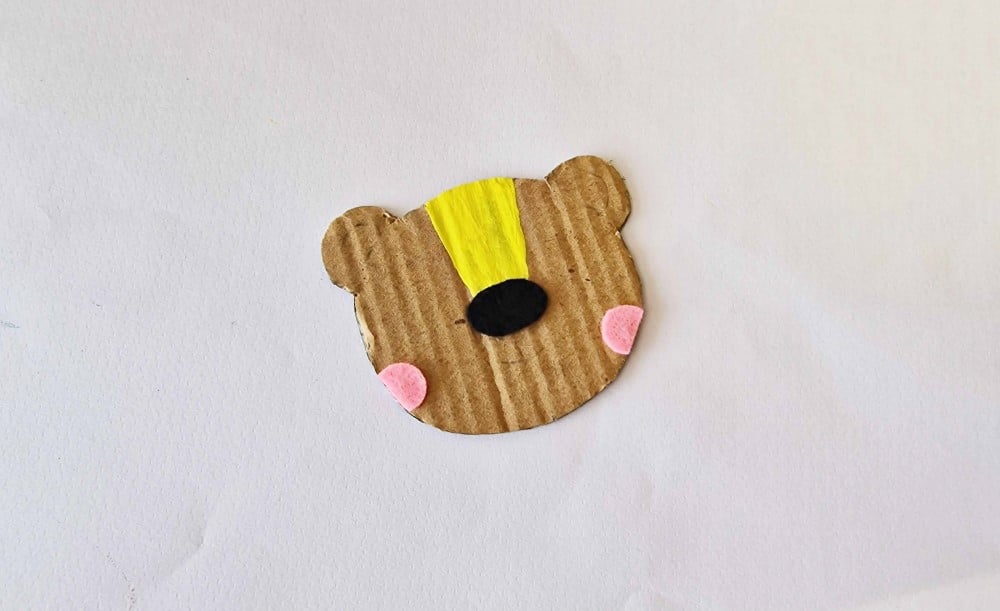
Step 3:
Glue the nose and blushing cheek cutouts onto the head pattern.
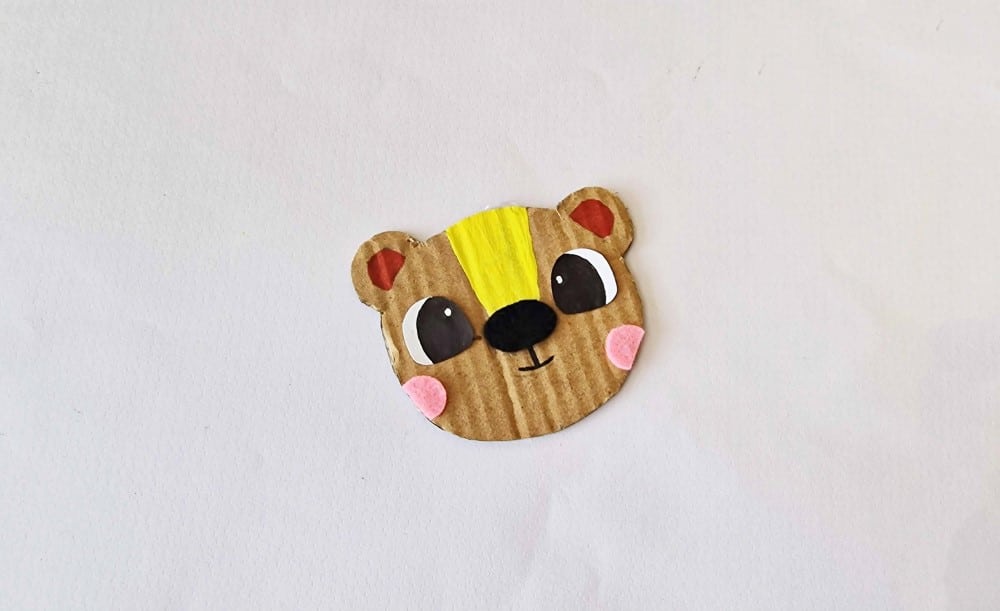
Step 4:
Glue the eye cutouts on the head pattern and use a sharpie to draw the inner ear parts. Use a fine point pen to draw the mouth.
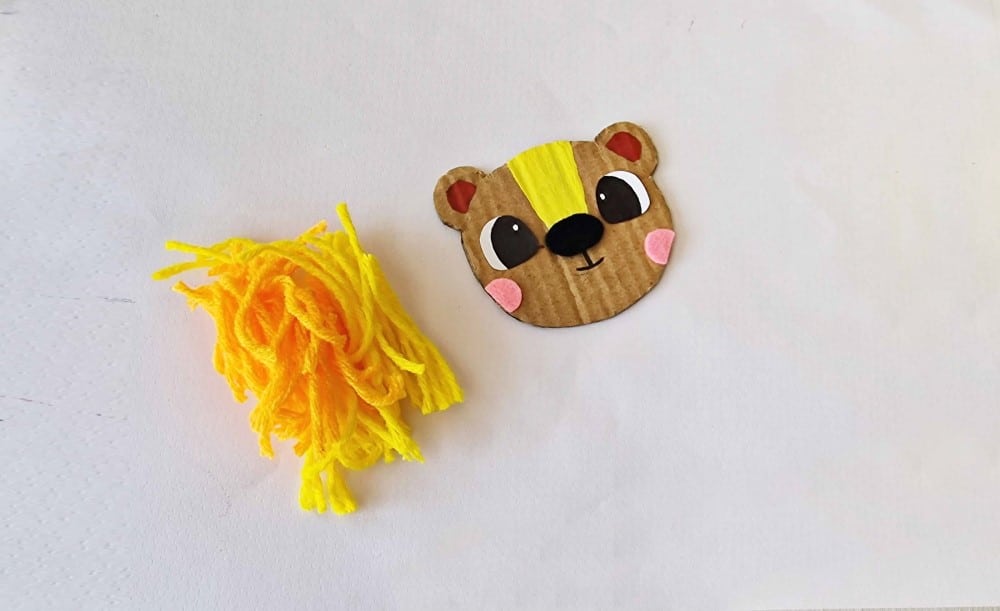
Step 5:
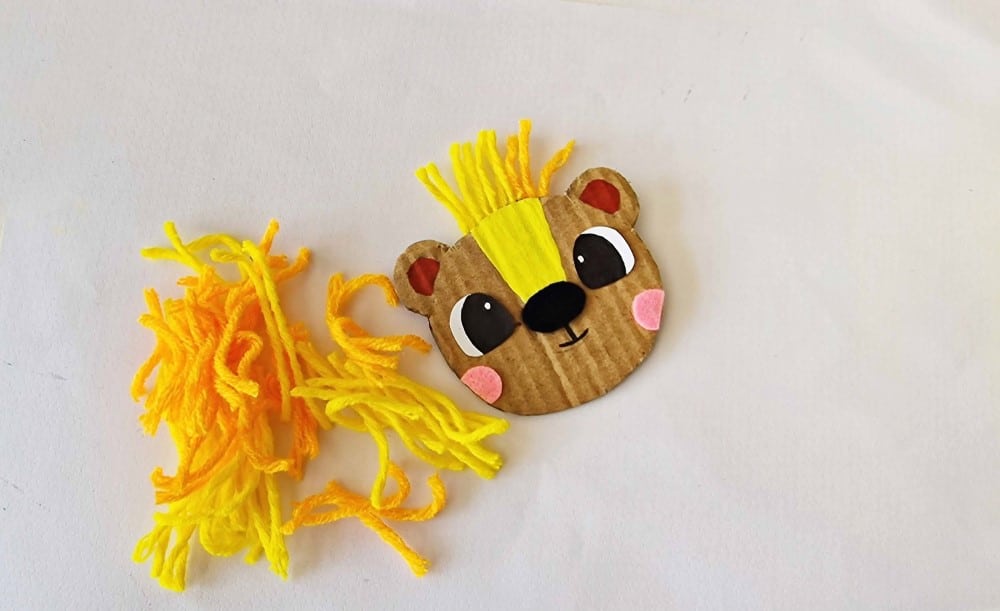
Cut out a bunch of yarn strands for the mane. You can also use paper or felt strips.
Step 6:
Attach the yarn strands around the head (on the backside).
Step 7:
Cover the head all around evenly with the yarn mane pattern. You’ll probably want to work with the head face down to do this part, and wait for the glue to dry on the yarn mane before moving on to the next step of the mixed media lion.
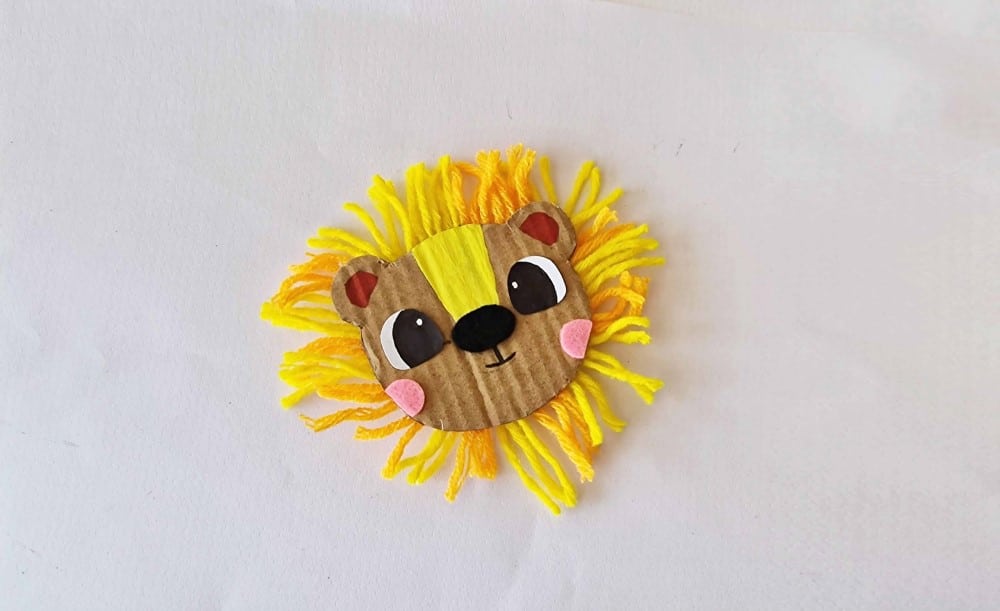
Step 8:
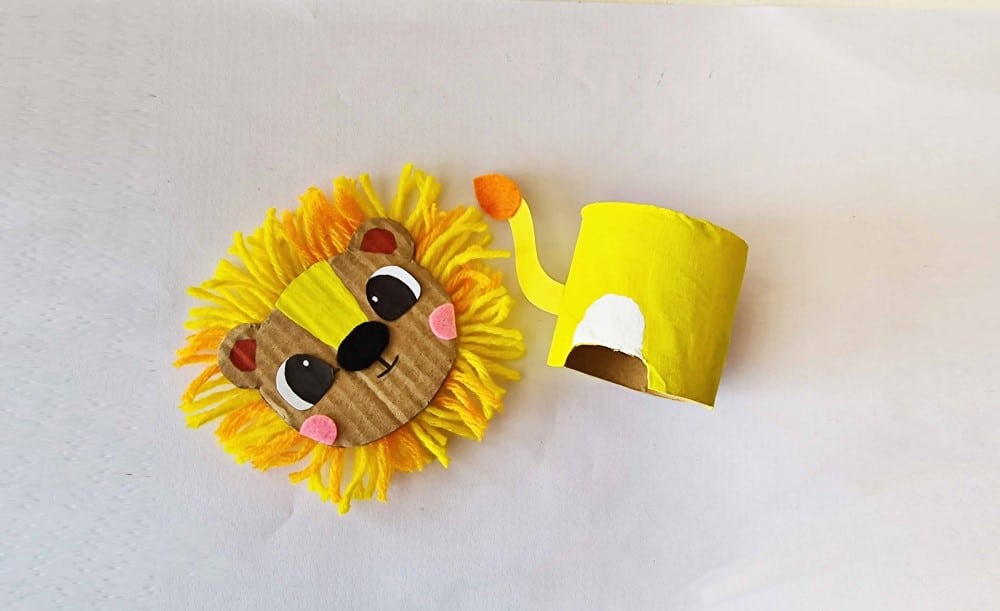
Use scissors to trim the open ends of the mane so that it looks even all around. Glue the tail tip cutout onto the tail cutout.

Step 9:
Now, glue the tail pattern on the side of the TP roll body.
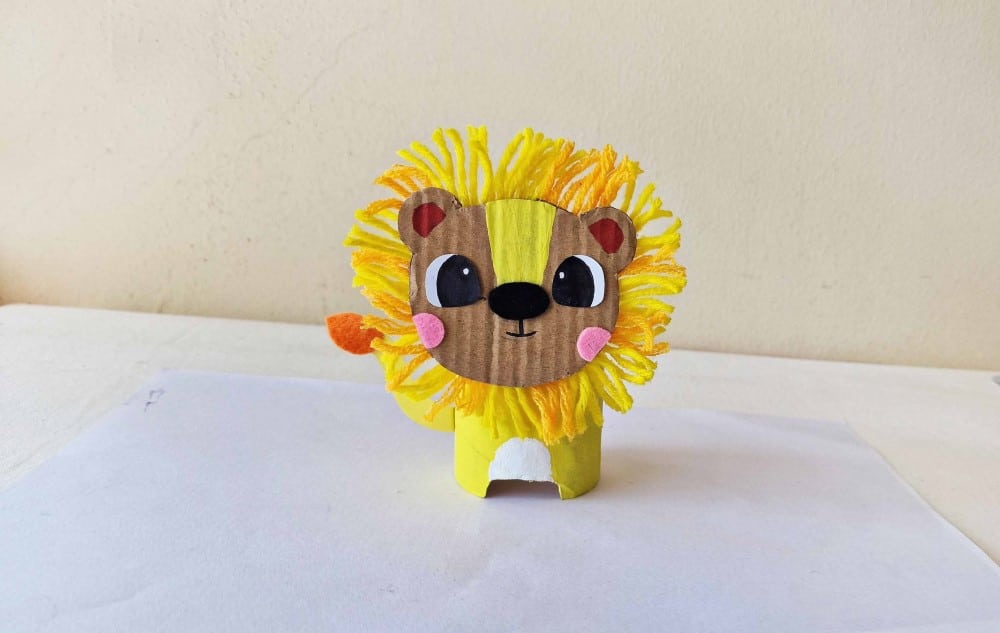
Step 10:
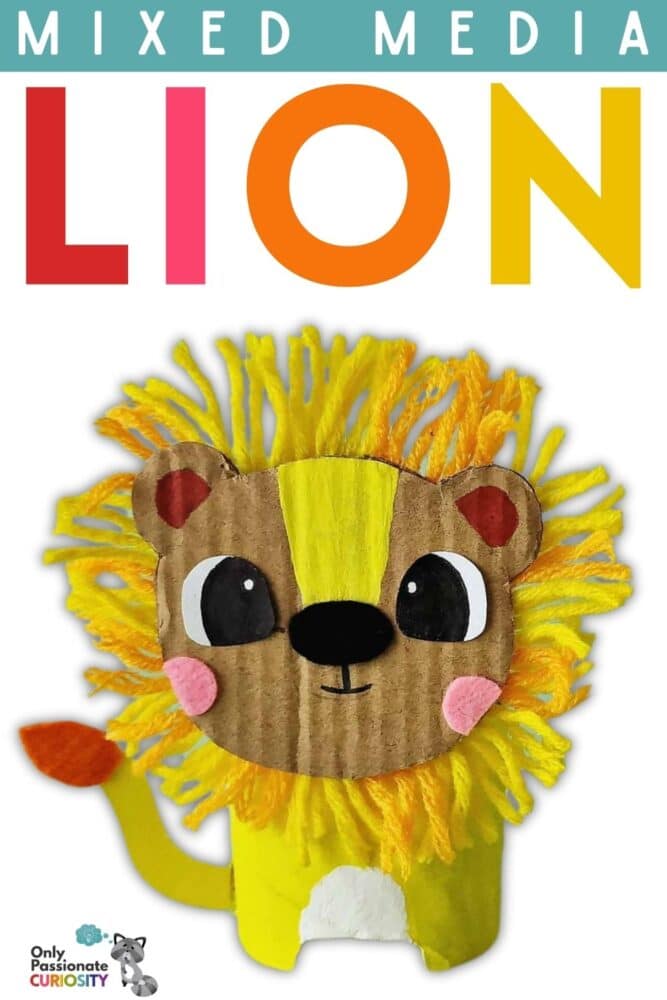
Lastly, you’ll want to glue the head pattern with the TP roll body to complete the mixed media lion craft. Isn’t it cute?
More Craft Projects
If your kids want more TP roll craft projects, here are a few more to choose from!
- Llama Toilet Paper Roll Craft
- Airplane Toilet Paper Roll Craft
- Penguin Crafts and Life Cycle
- Butterfly Toilet Paper Tube Craft