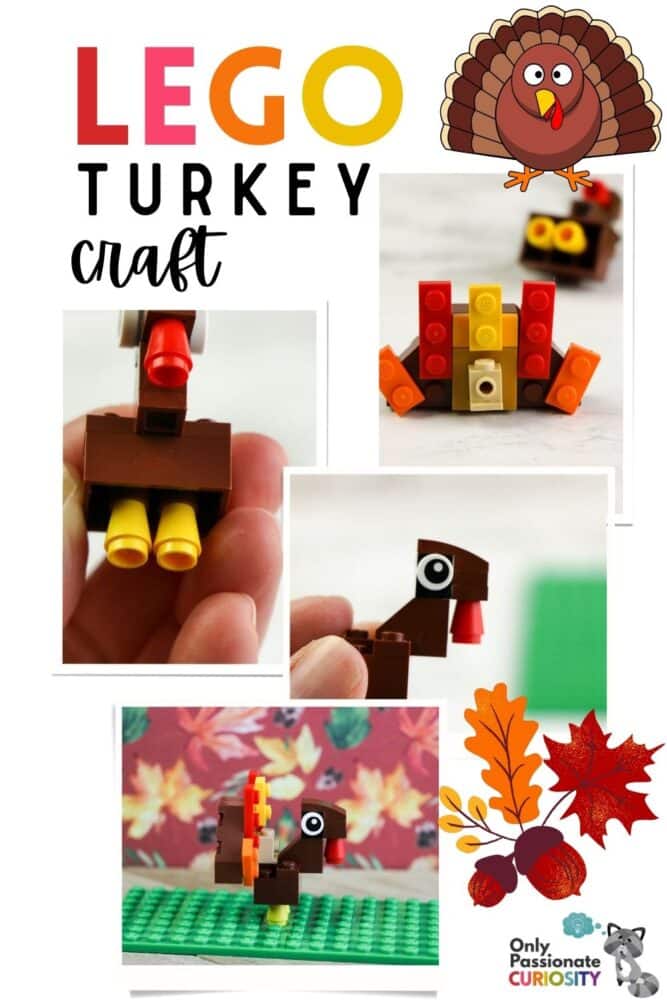
Lego Turkey Craft
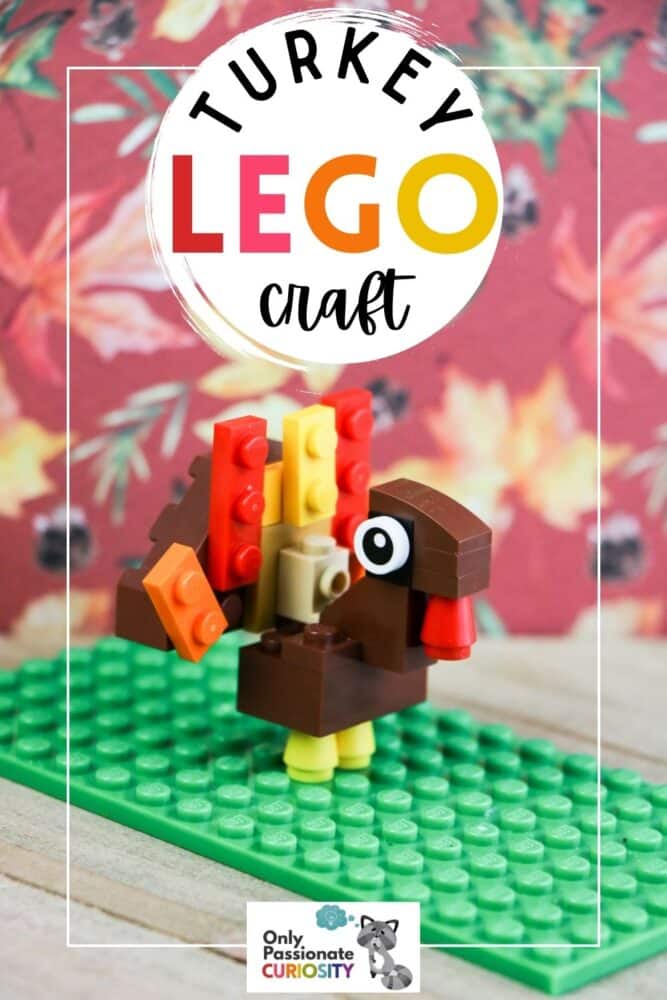
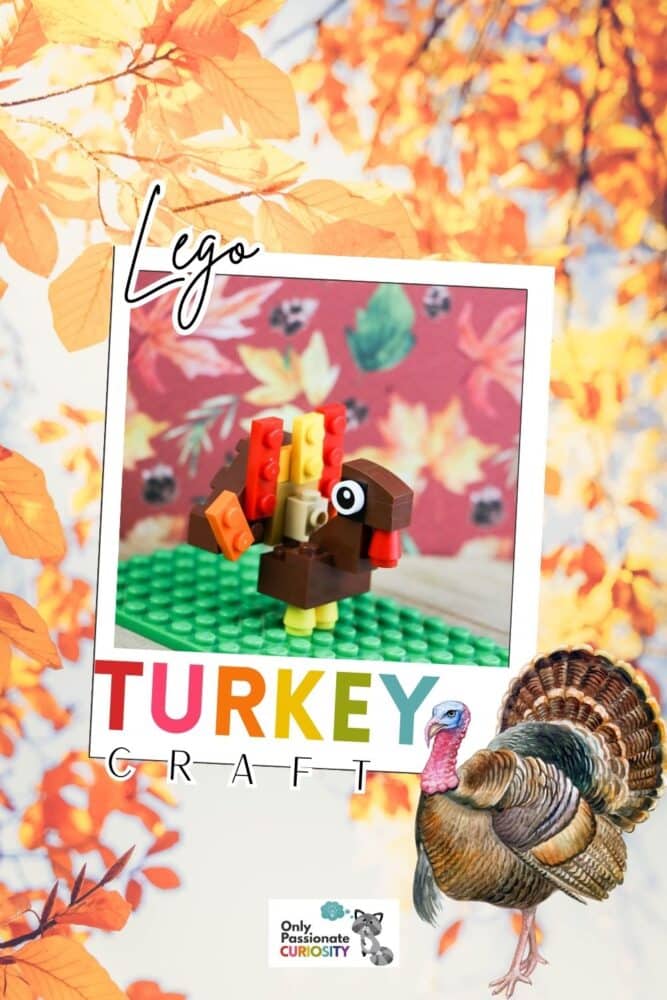
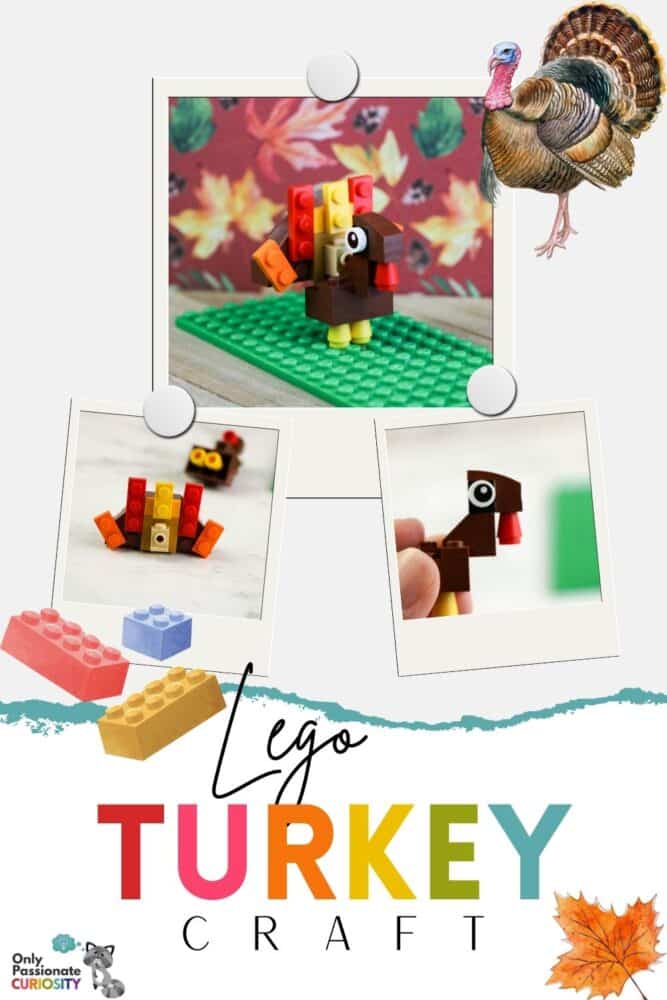
If there were one kind of toy no child ever truly grows out of, that toy would have to be Legos. I loved playing with Legos all the way into my early teen years, and because I never got Lego sets of my own, I would borrow my brothers’ Legos and build random creations. This Lego turkey is a fun seasonal project you might want to give to your kids … or make it yourself (for old times’ sake).
When I had boys of my own, I had an excuse to build an impressive Lego collection. Unfortunately, once we become moms, it’s hard to find the time to sit criss-cross applesauce on the floor with our kids and just have good old-fashioned fun building with Legos. So, why don’t you try to do that sometime during this Thanksgiving season?
Just scatter some Lego pieces over the kitchen table, hunt for the pieces listed below, and fashion a Lego turkey. You might have so much fun you’ll decide you want to build a few more things with your kids! Your little ones will have a blast playing alongside you and seeing you having a good time with them.
Lego Bricks Needed for Lego Turkey

- 1 red 1×1 nose cone
- 2 yellow 1×1 nose cones
- 2 1×1 round eyes
- 1 brown 1×2 brick with bow
- 1 brown 1×1 plates
- 1 black or brown 1×1 brick with 2 knobs
- 1 brown 1×2 45º roof tile
- 1 brown 3×3 cross plate
- 1 brown 1×3 brick
- 1 beige 1×1 brick with knob
- 1 brown or gold 2×2 flat plates with knob
- 1 yellow 1×2 flat plate with knob
- 2 orange 1×2 plates
- 2 red 1×3 plates
- 1 yellow 1×2 plate
- 2 brown 3×3 ¼ circle bricks
Instructions for Lego Turkey
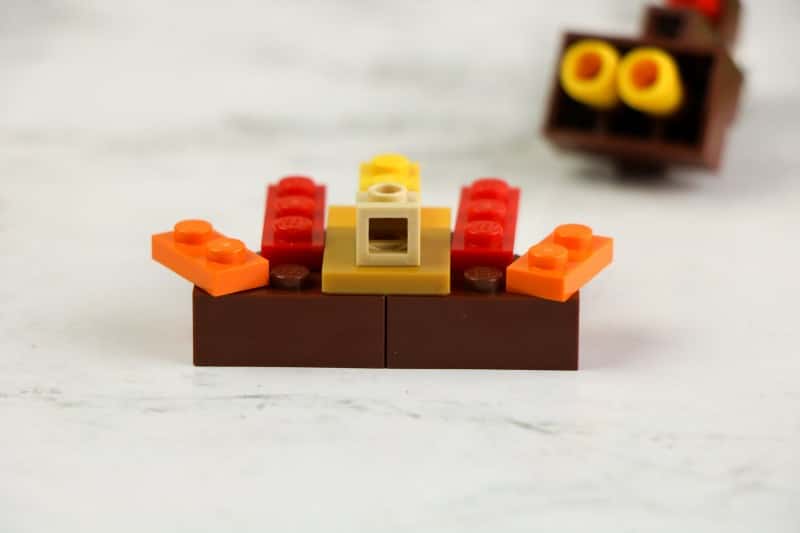
Step One: Align the two 3×3 ¼ circle plates. Over the seam, press the yellow 1×2 flat plate with knob and the brown or gold 2×2 flat plate with knob.
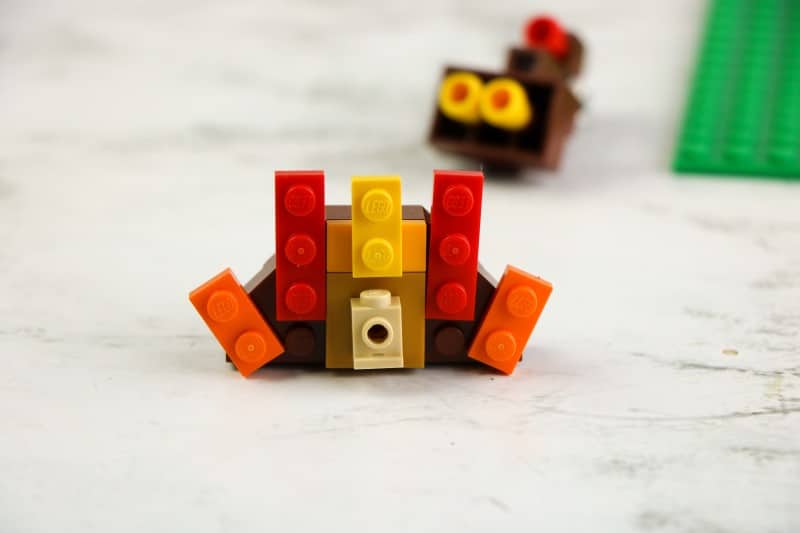
Step Two: To create the tail feathers, add one 1×2 orange plate to each corner of the 3×3 ¼ circle bricks. On the next knob on each side, add the red 1×3 plates. Finally, over the 1×2 plate with the knob in the middle, add the 1×2 yellow plate.
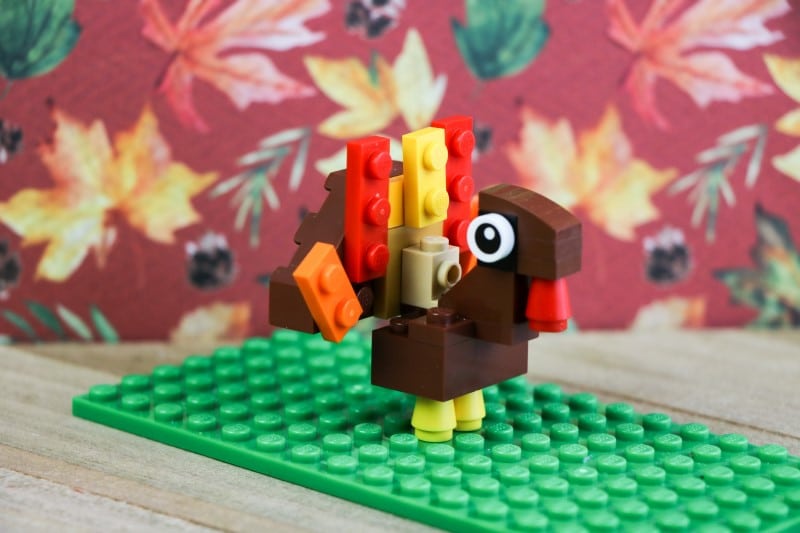
Here is what your Lego turkey will look like at this stage in the process, the side view:
This is what you will see on the back:
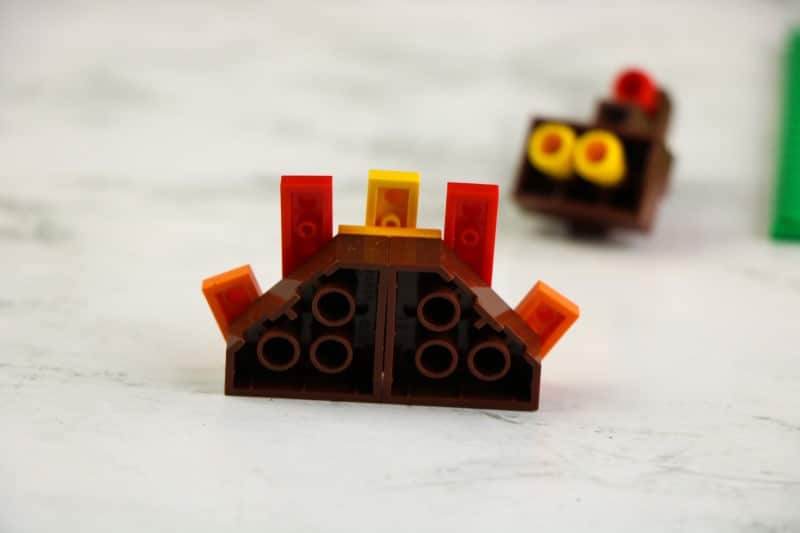
And here is a side view:
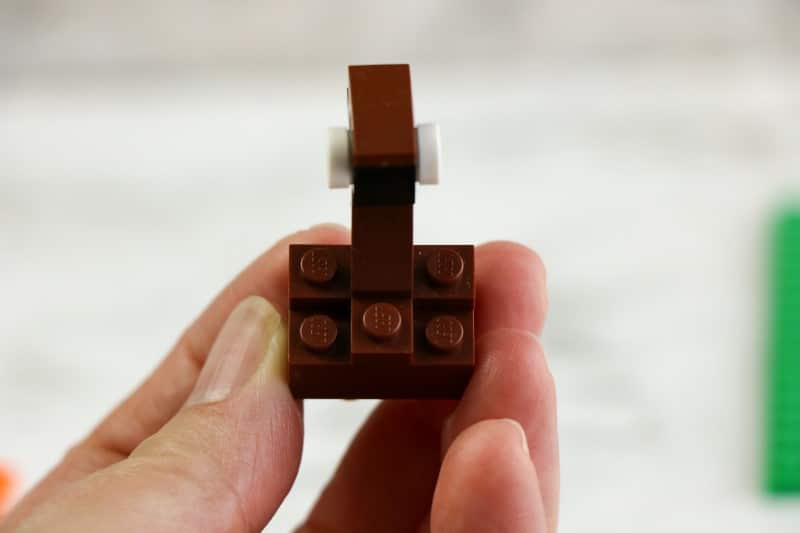
Step Three: For the body of the turkey, place the cross plate on the 2×3 brick with one end of the cross plate extending to become the base for the turkey neck. On the back of the cross plate, add the 1×1 brick with knob. This will be the connection to the tail.
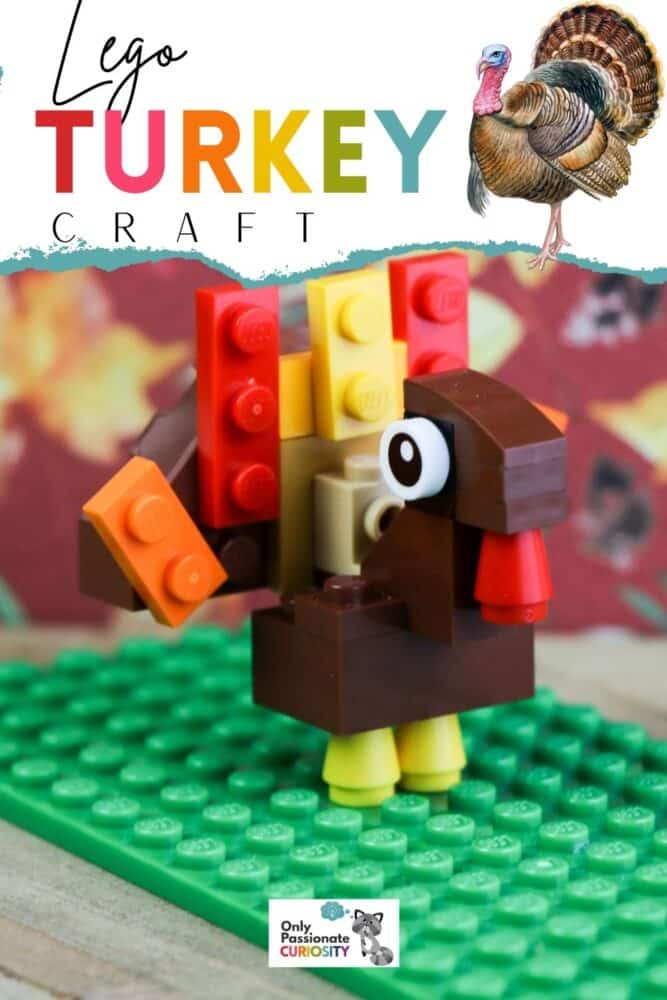
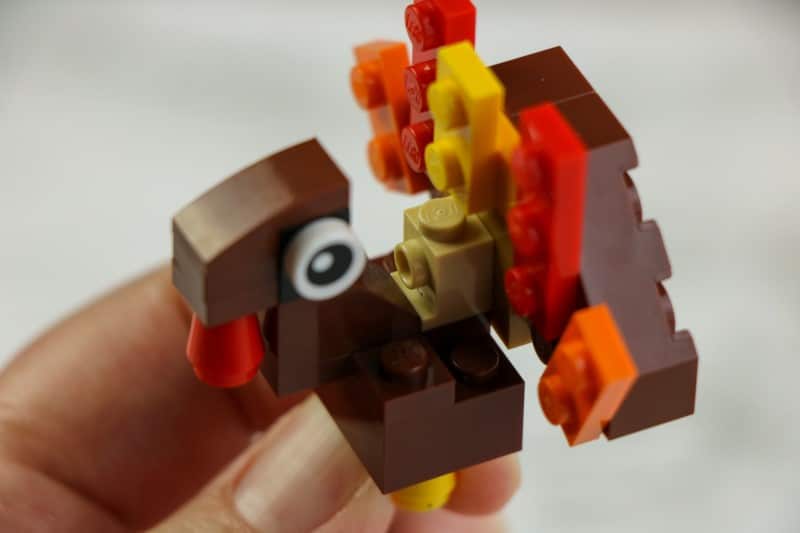
Step Four: To create the turkey neck and face, stack the 1×2 45º roof tile on the extended portion of the cross plate with the angle sliding toward the tail. On top of the roof tile knob, add the black (or brown) 1×1 brick with two knobs. Add an eye to each knob. Snap the brown 1×2 brick with the bow over the top of the black 1×1. Squeeze the two 1×1 plates together to form a cube and snap it under the bow. Attach the red nose cone under the cube to be the turkey’s waddle.
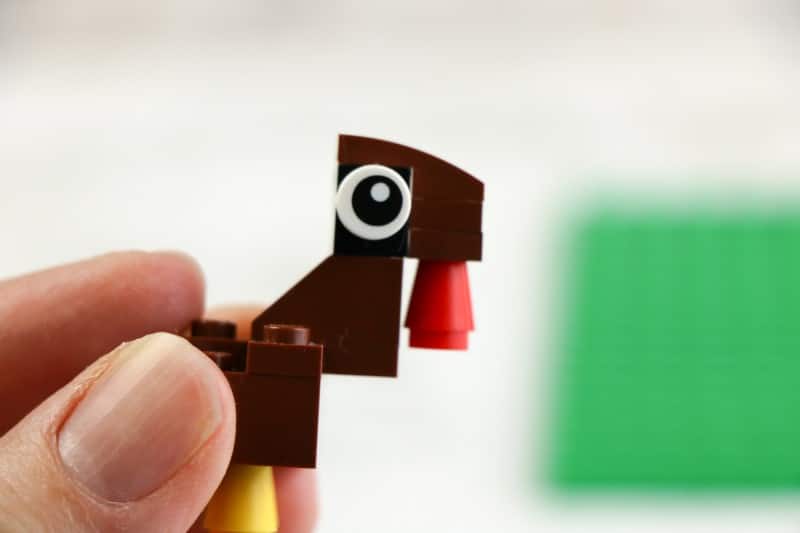
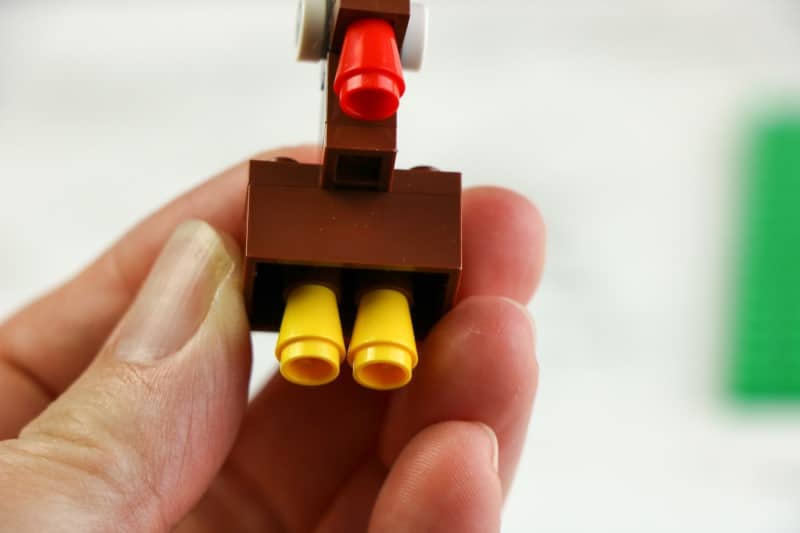
Step Five: Attach the two yellow nose cones under the 2×3 brick as the turkey’s feet.
When you attach the body to the tail, it will look like this:
Related Seasonal Activities:
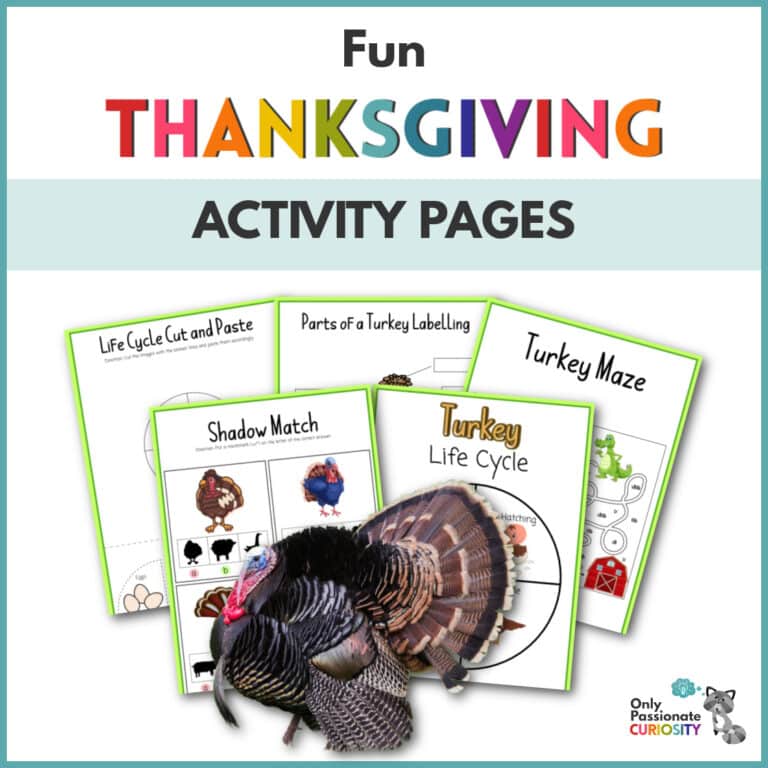
- Turkey-Themed Thanksgiving Activity Pages
- Family Gratitude Jars
- How to Make Corn Husk Dolls
- Fall-Themed Place Value Math Pages