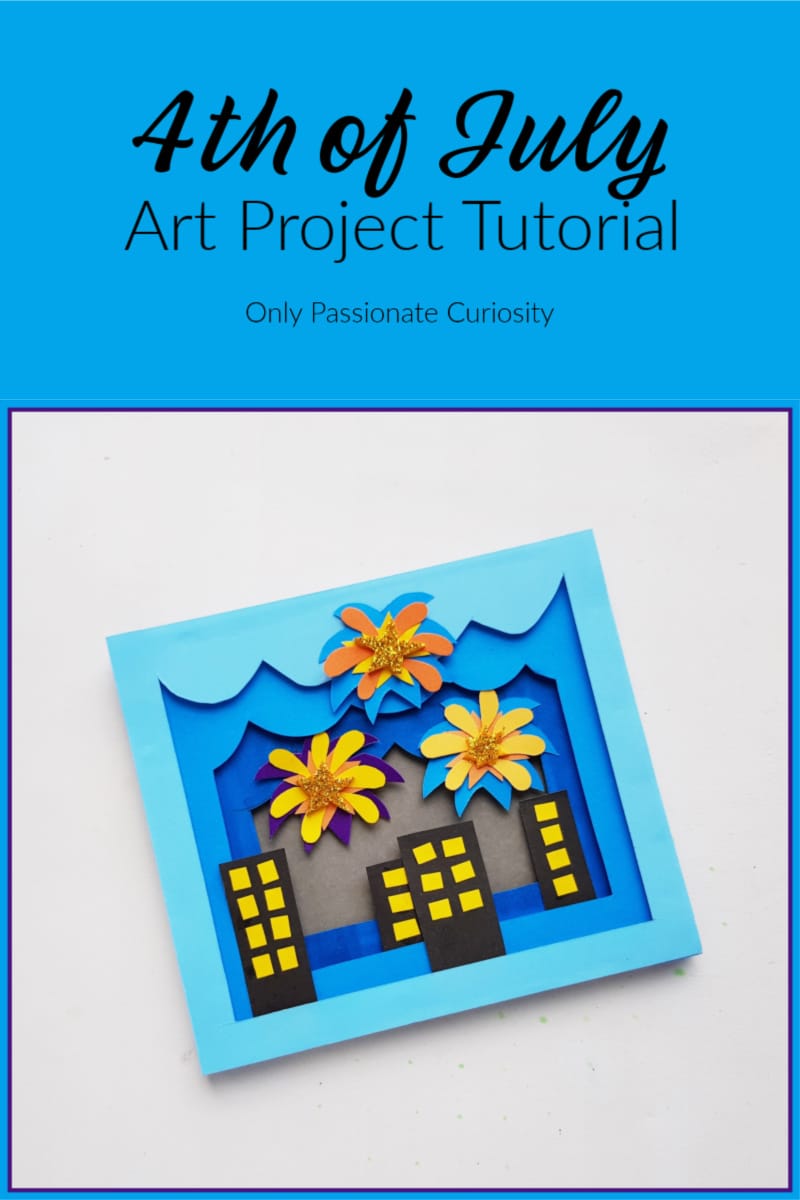
4th of July 3D Art Project Tutorial

Do you have older children or teens who love to craft? I do! While it’s super easy to find arts and crafts ideas for very young children, it can be a little more difficult to find ideas for older children or teens. However, this one is perfect for older children, teens and (because you know if you’re reading this that you have some craft appreciation) adults, too!
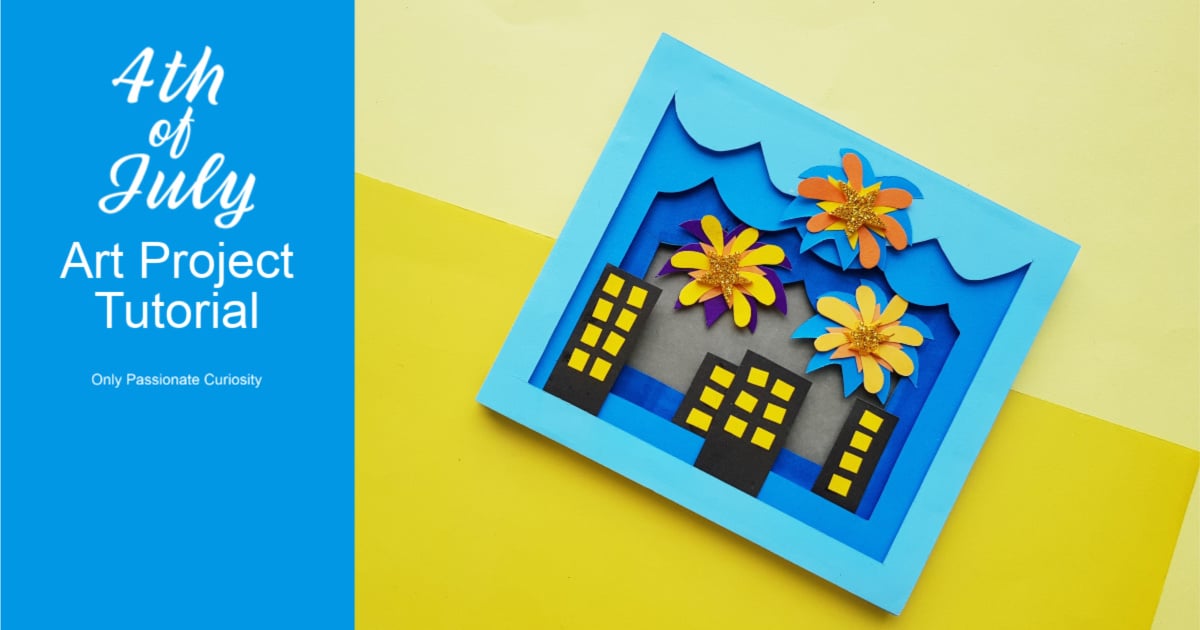
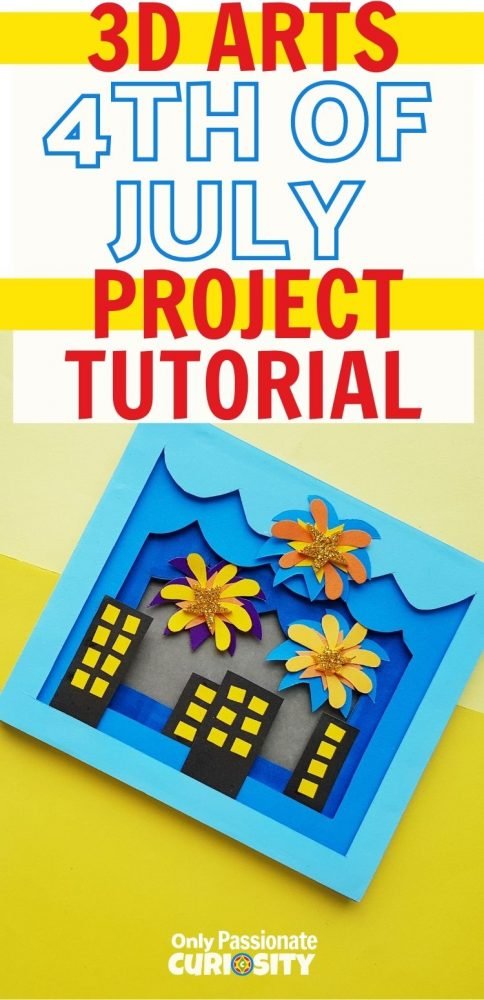
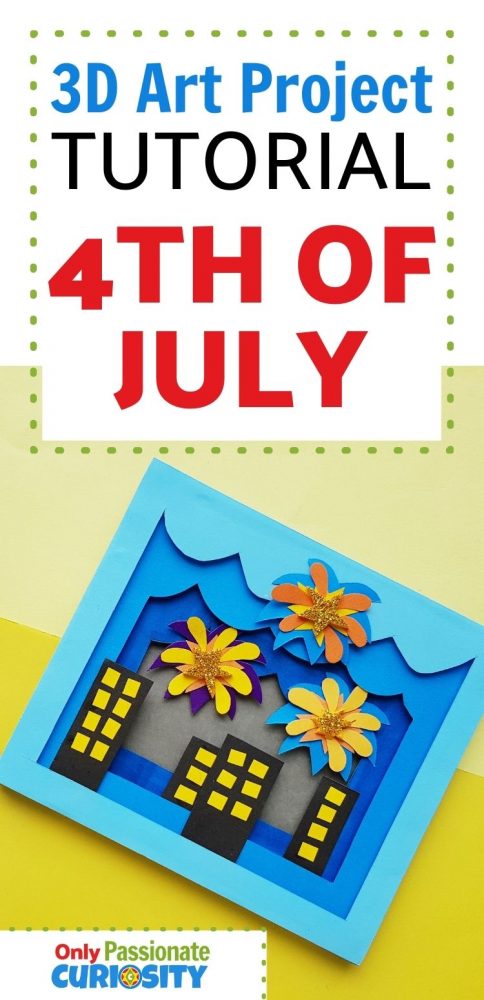
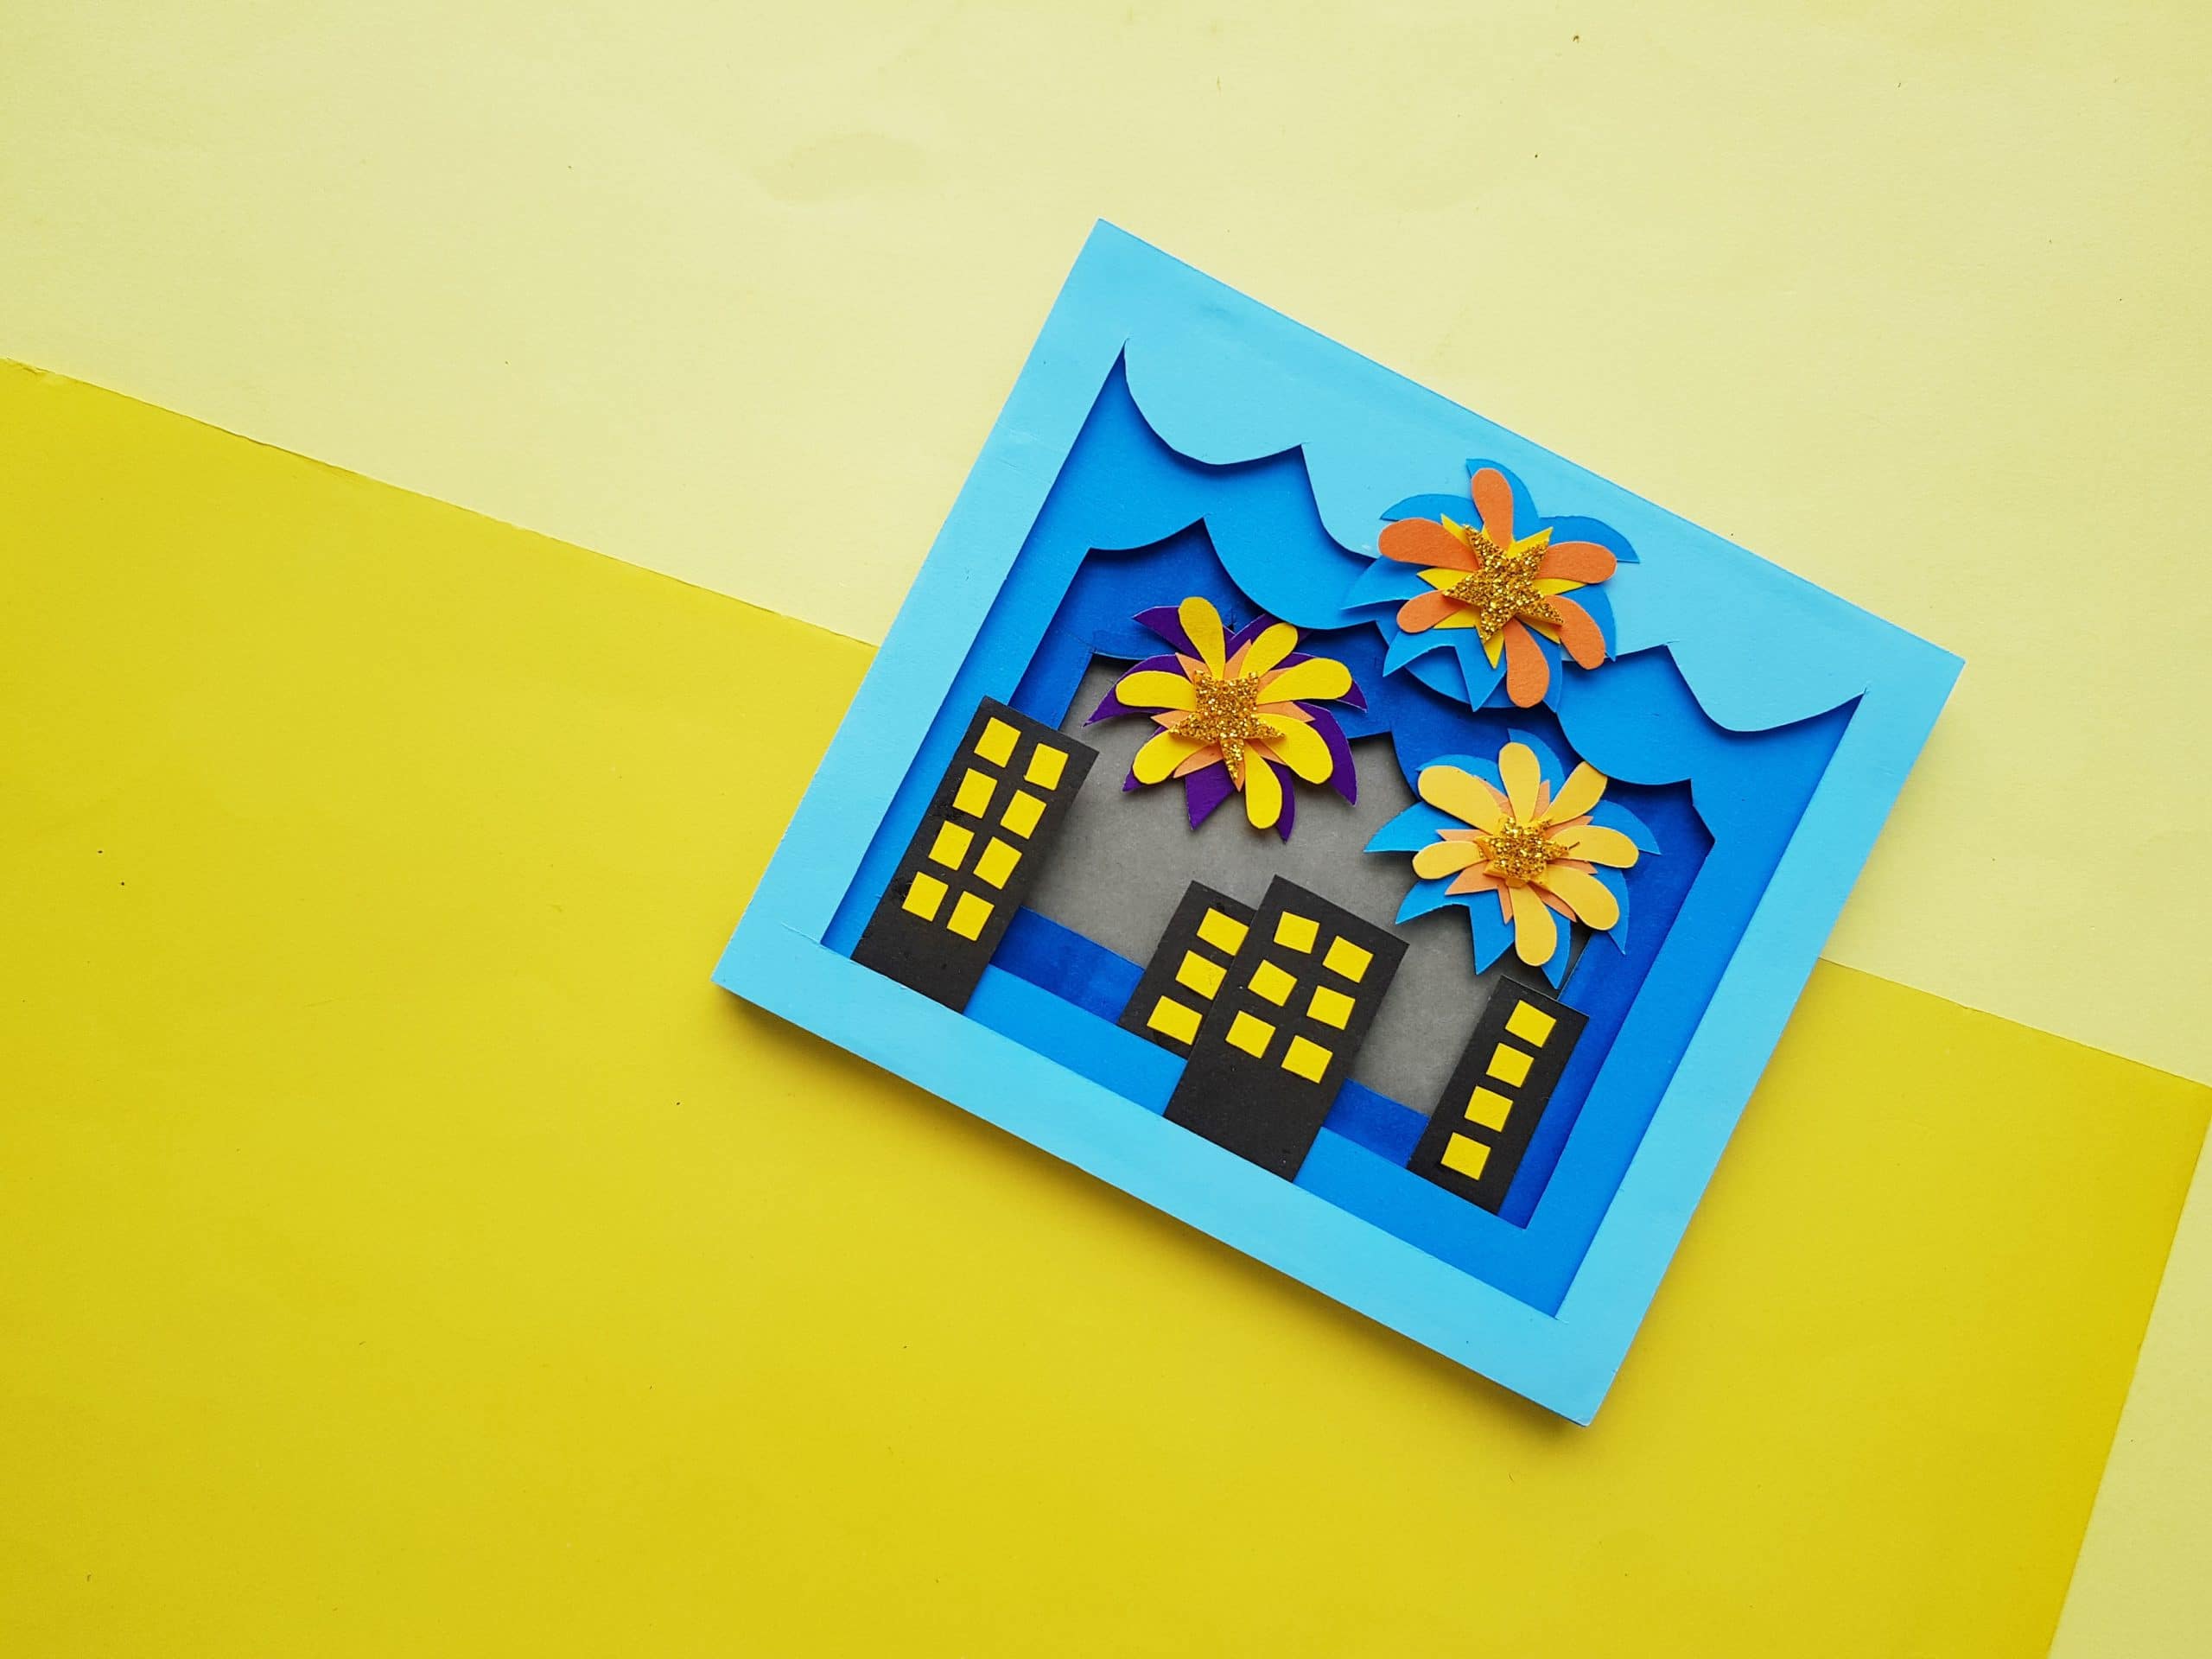
This 3D craft, which shows a sky full of fireworks over a city vista, is also a really great one to make for Independence Day. When your project is complete, you can display this beautiful 3D scene or give it away for someone else to enjoy!
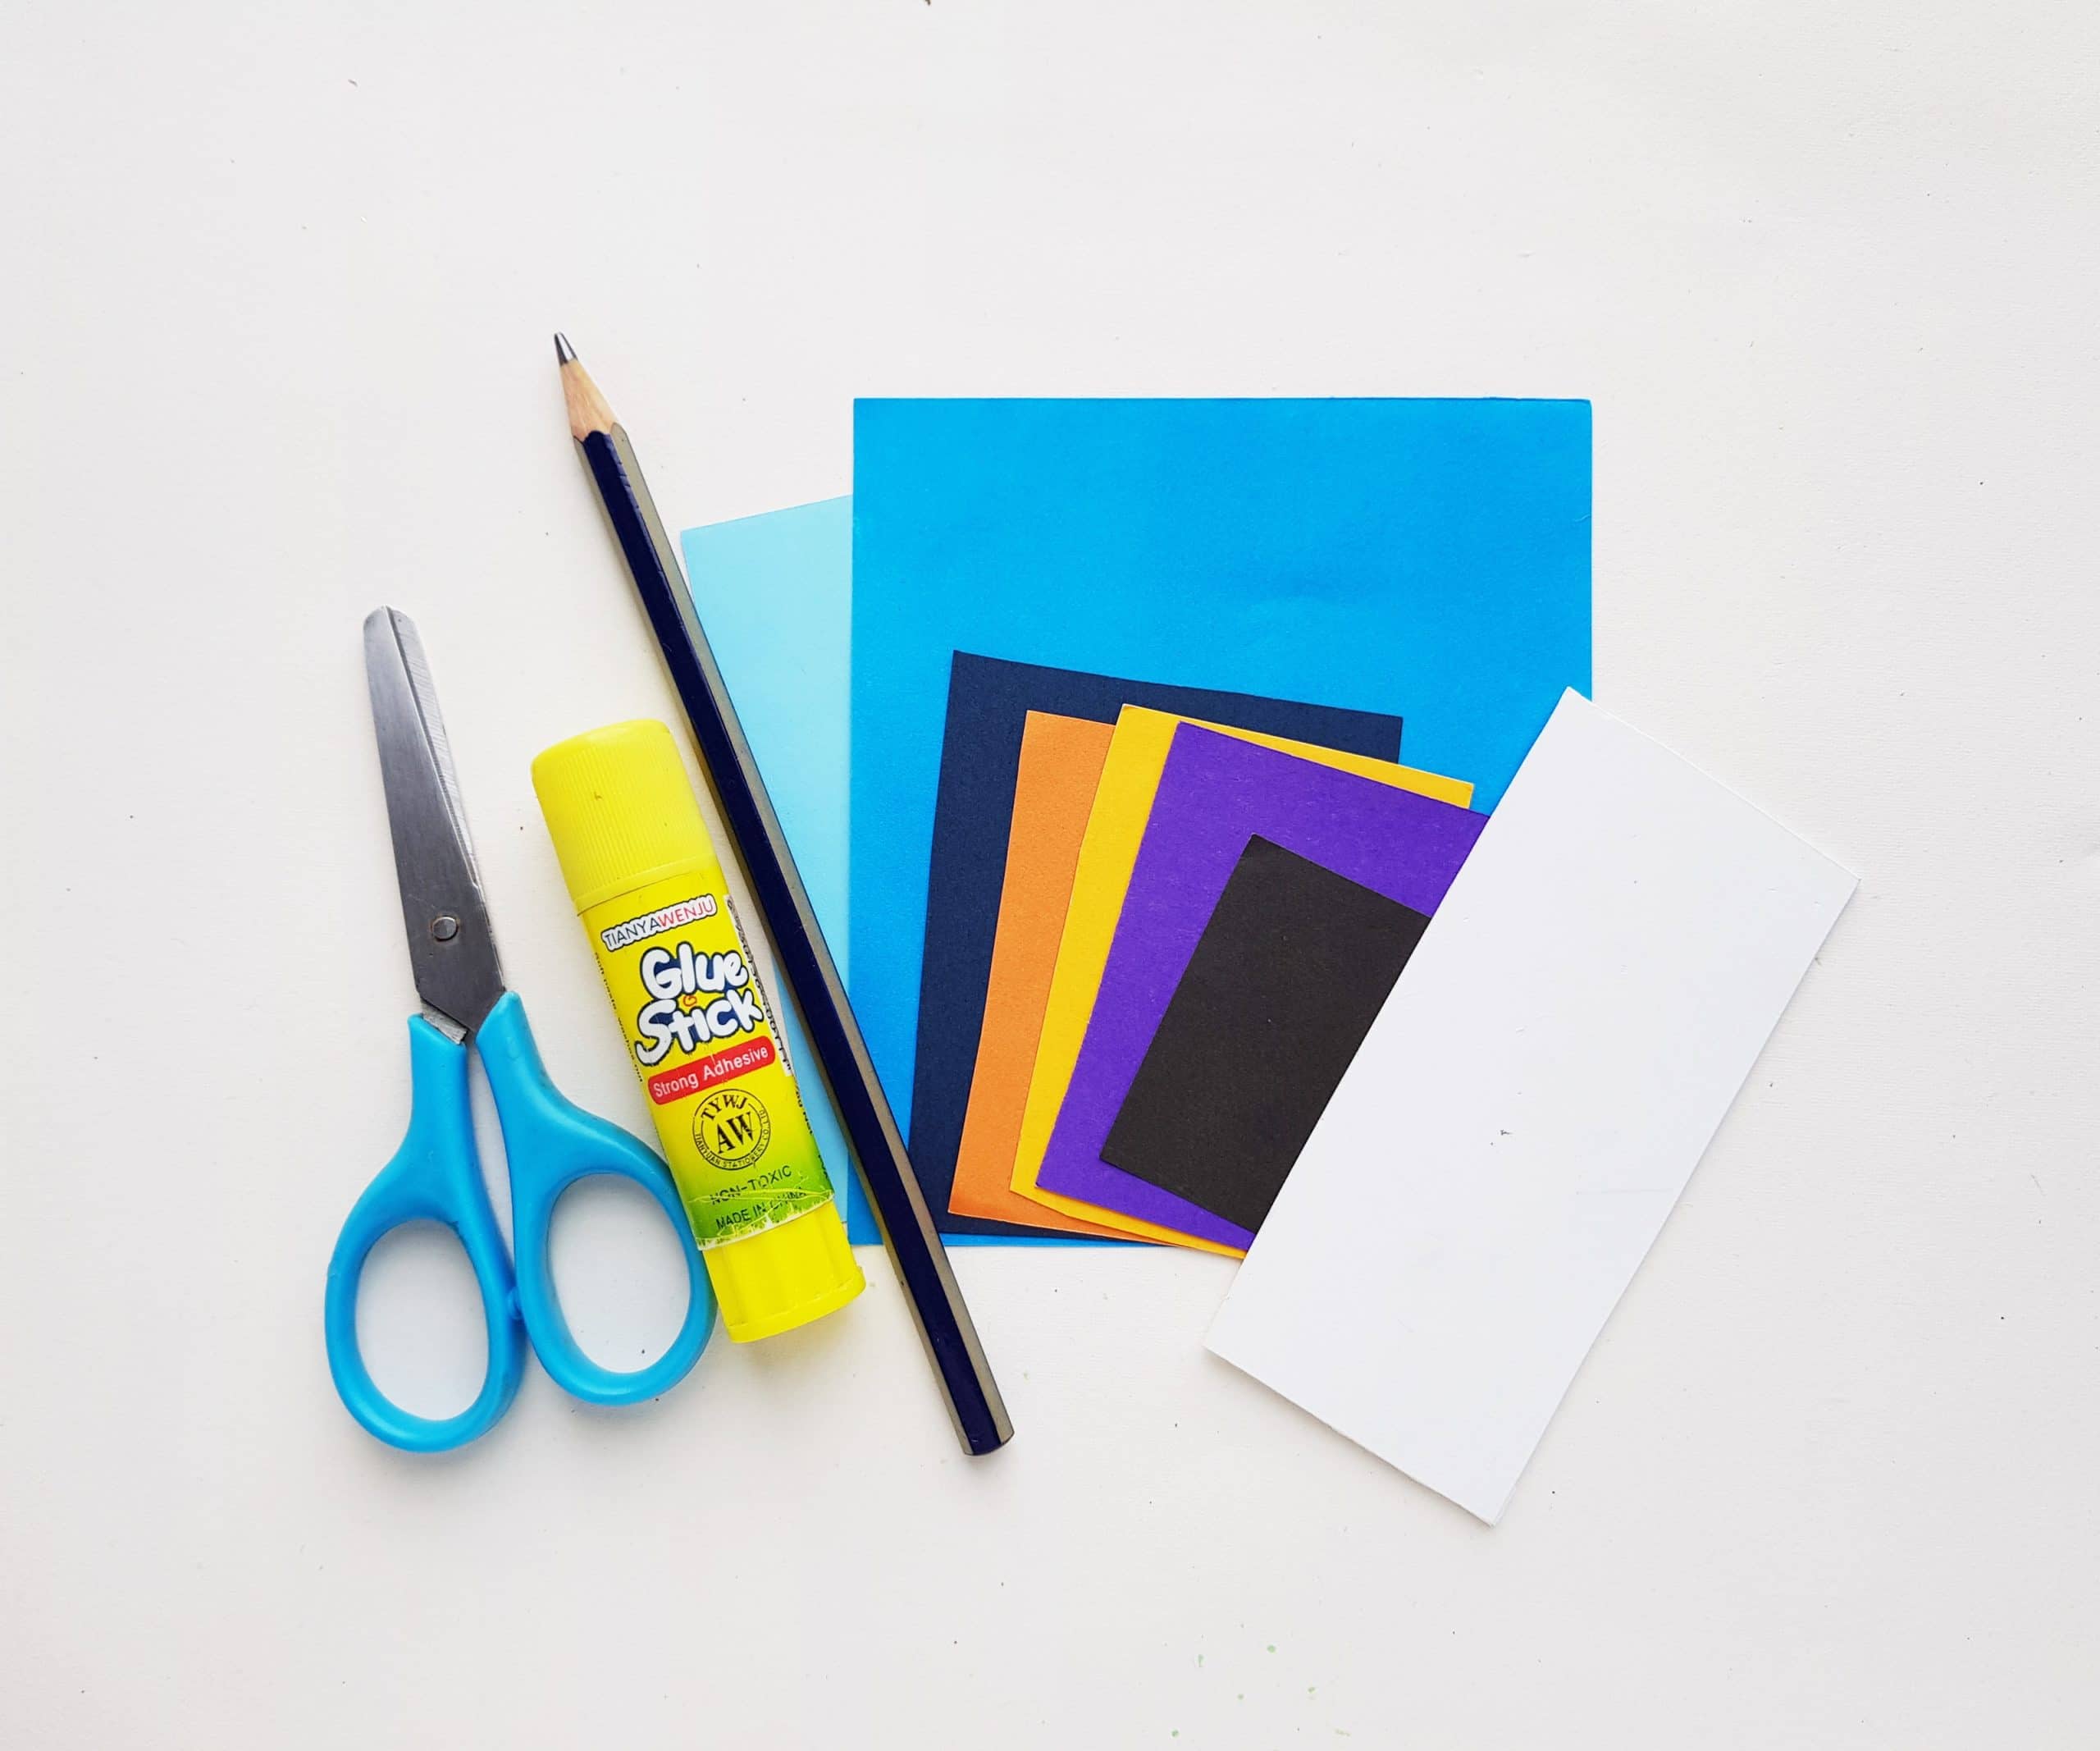
What You’ll Need:
- Colored cardstock papers
- Craft glue
- Craft foam sheet
- Pencil
- Scissors or X-ACTO knife
- Templates
How to Make It:
Step 1:
First, make sure you’ve downloaded and printed out the templates posted above. (There’s another link to the same templates toward the bottom of this article.)
Step 2:
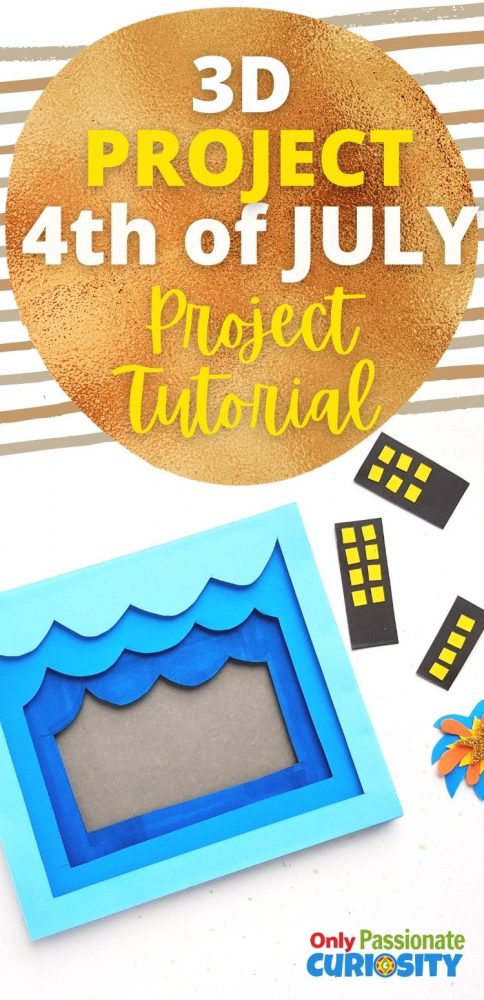
Select 4 different colored cardstock papers for the 4 layers of the 3D art. I’m using gray for the background and 3 different shades of blue for the 3 layers, but you can use whatever colors you like! If you are going for a more patriotic look, red, white and blue never fails. Trace the layer templates onto whatever color papers you chose and cut out the middle parts of the traced patterns. It is easiest to do this with an X-ACTO, but scissors work too.
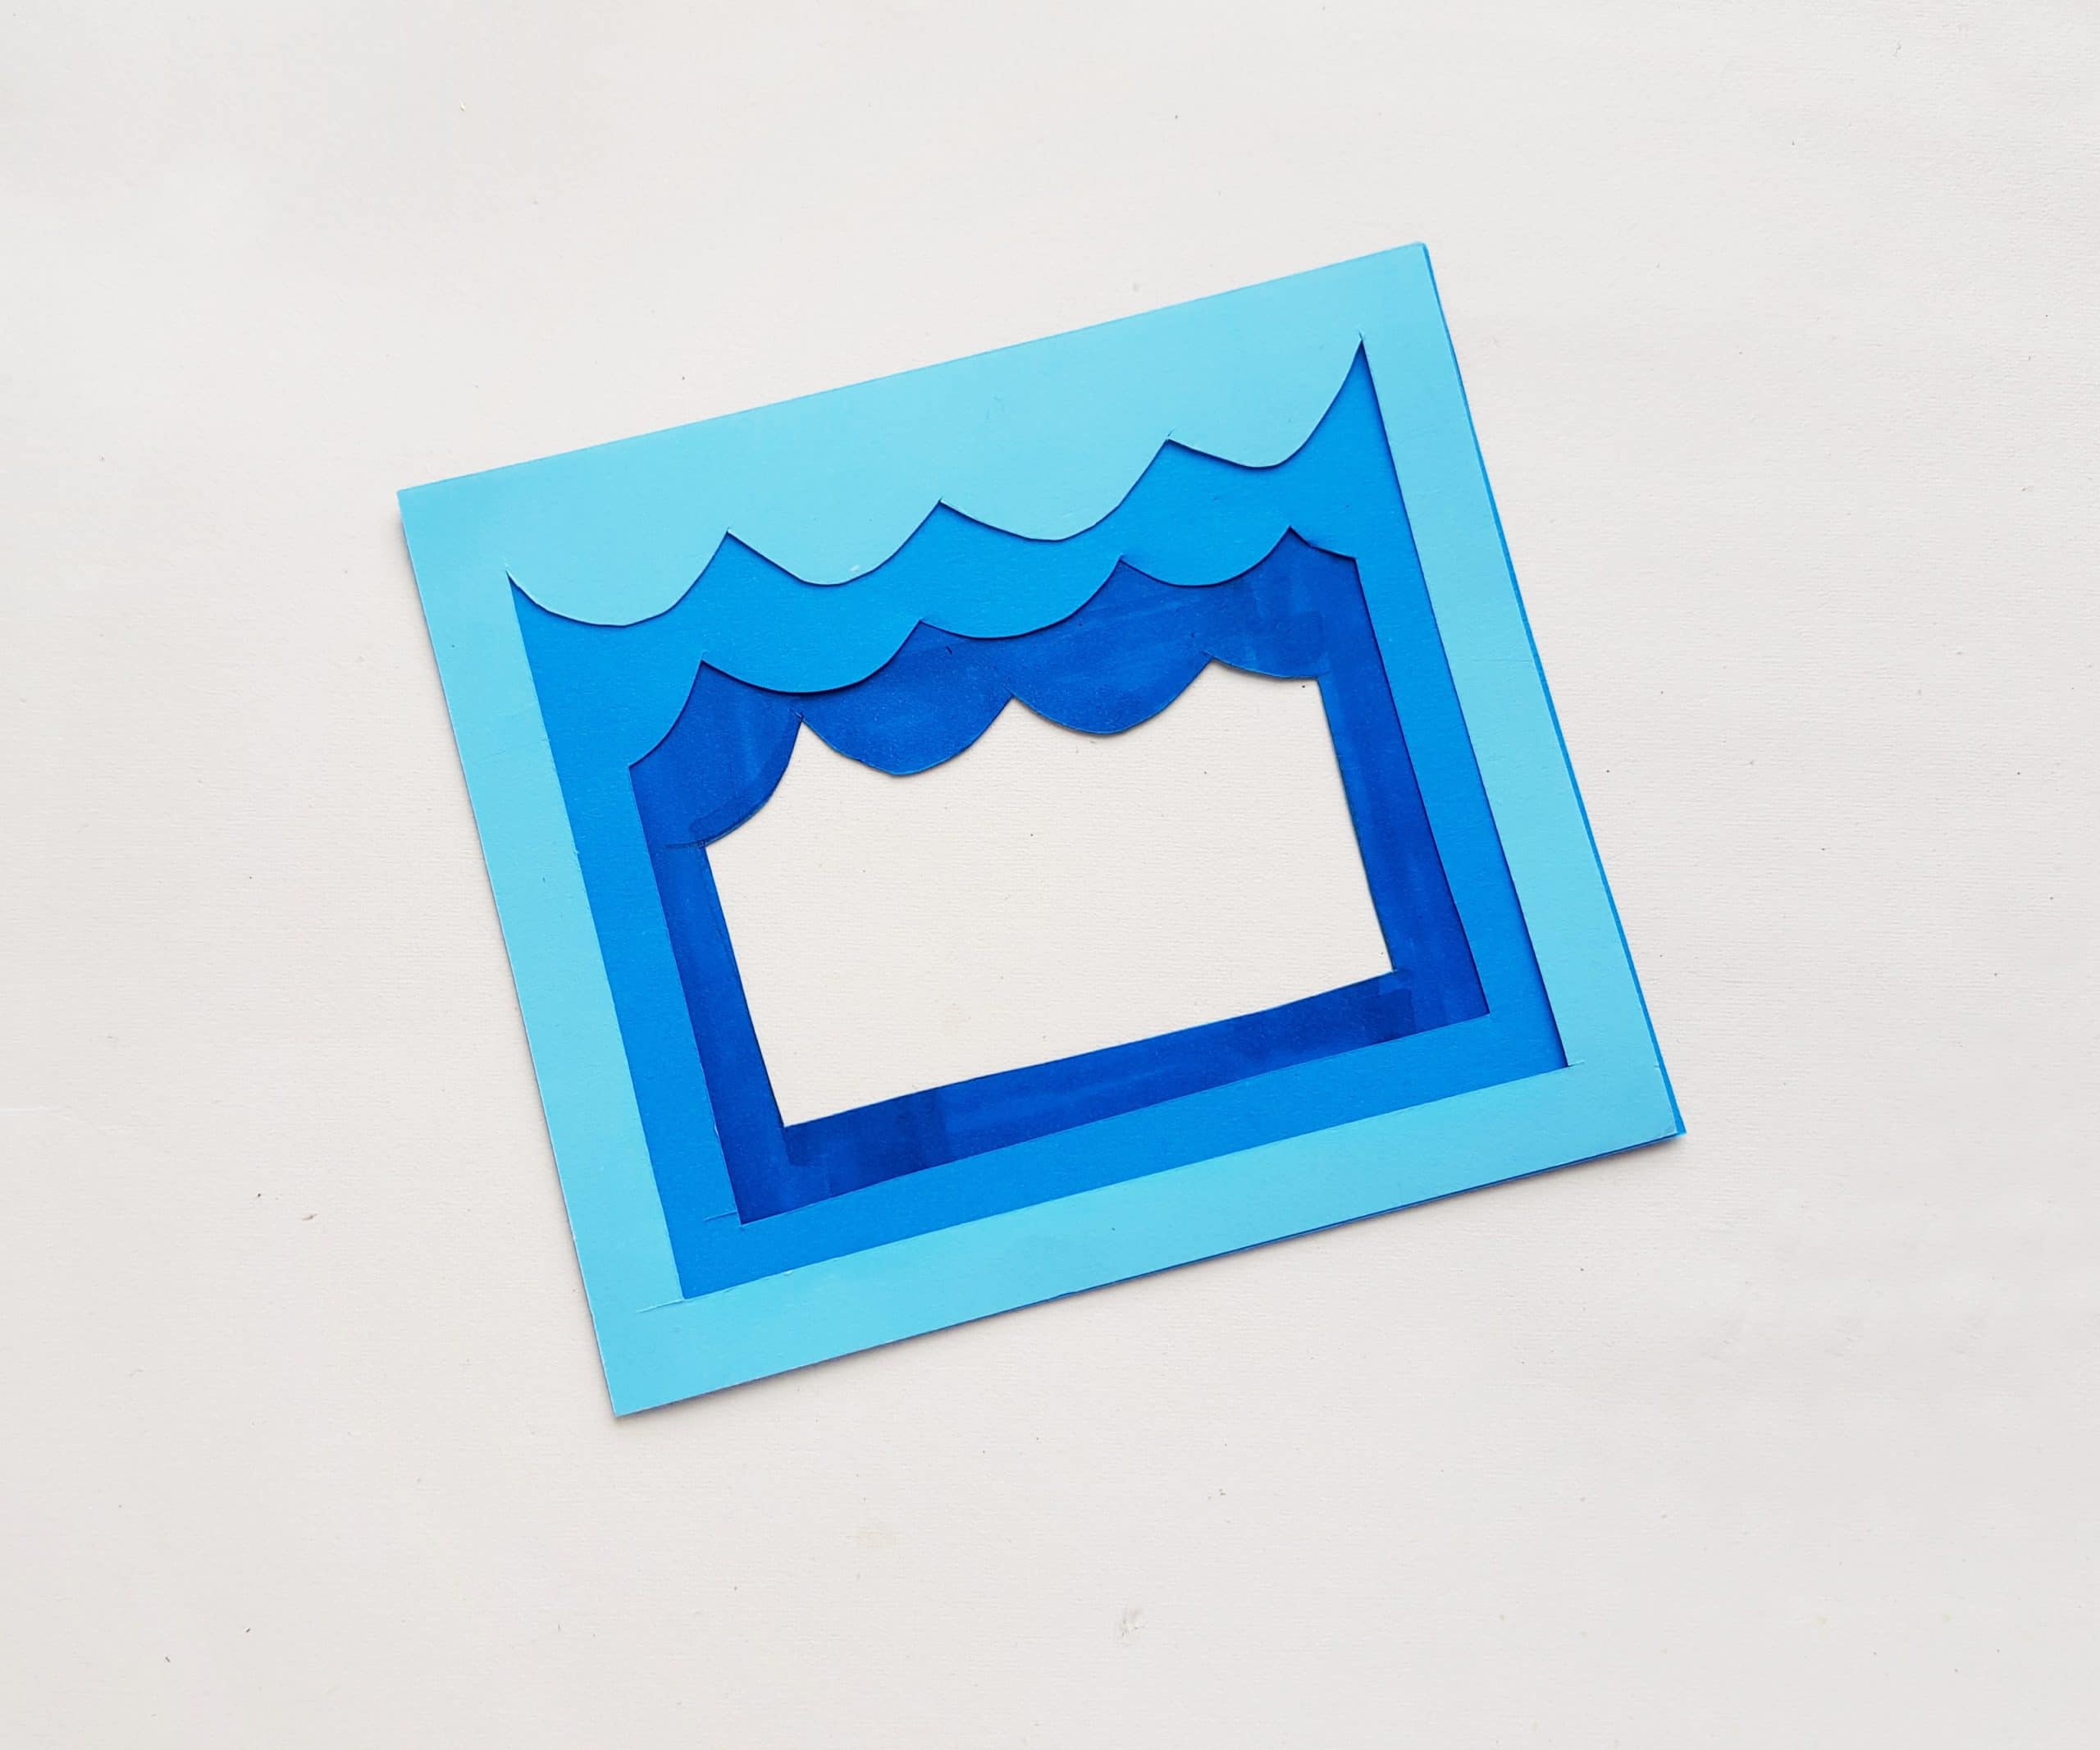
Step 3:
Arrange the layer cutouts to check the 3D scene pattern, but don’t glue anything down yet! This step is just to make sure that you traced and cut out everything correctly and that it will all line up as it should.
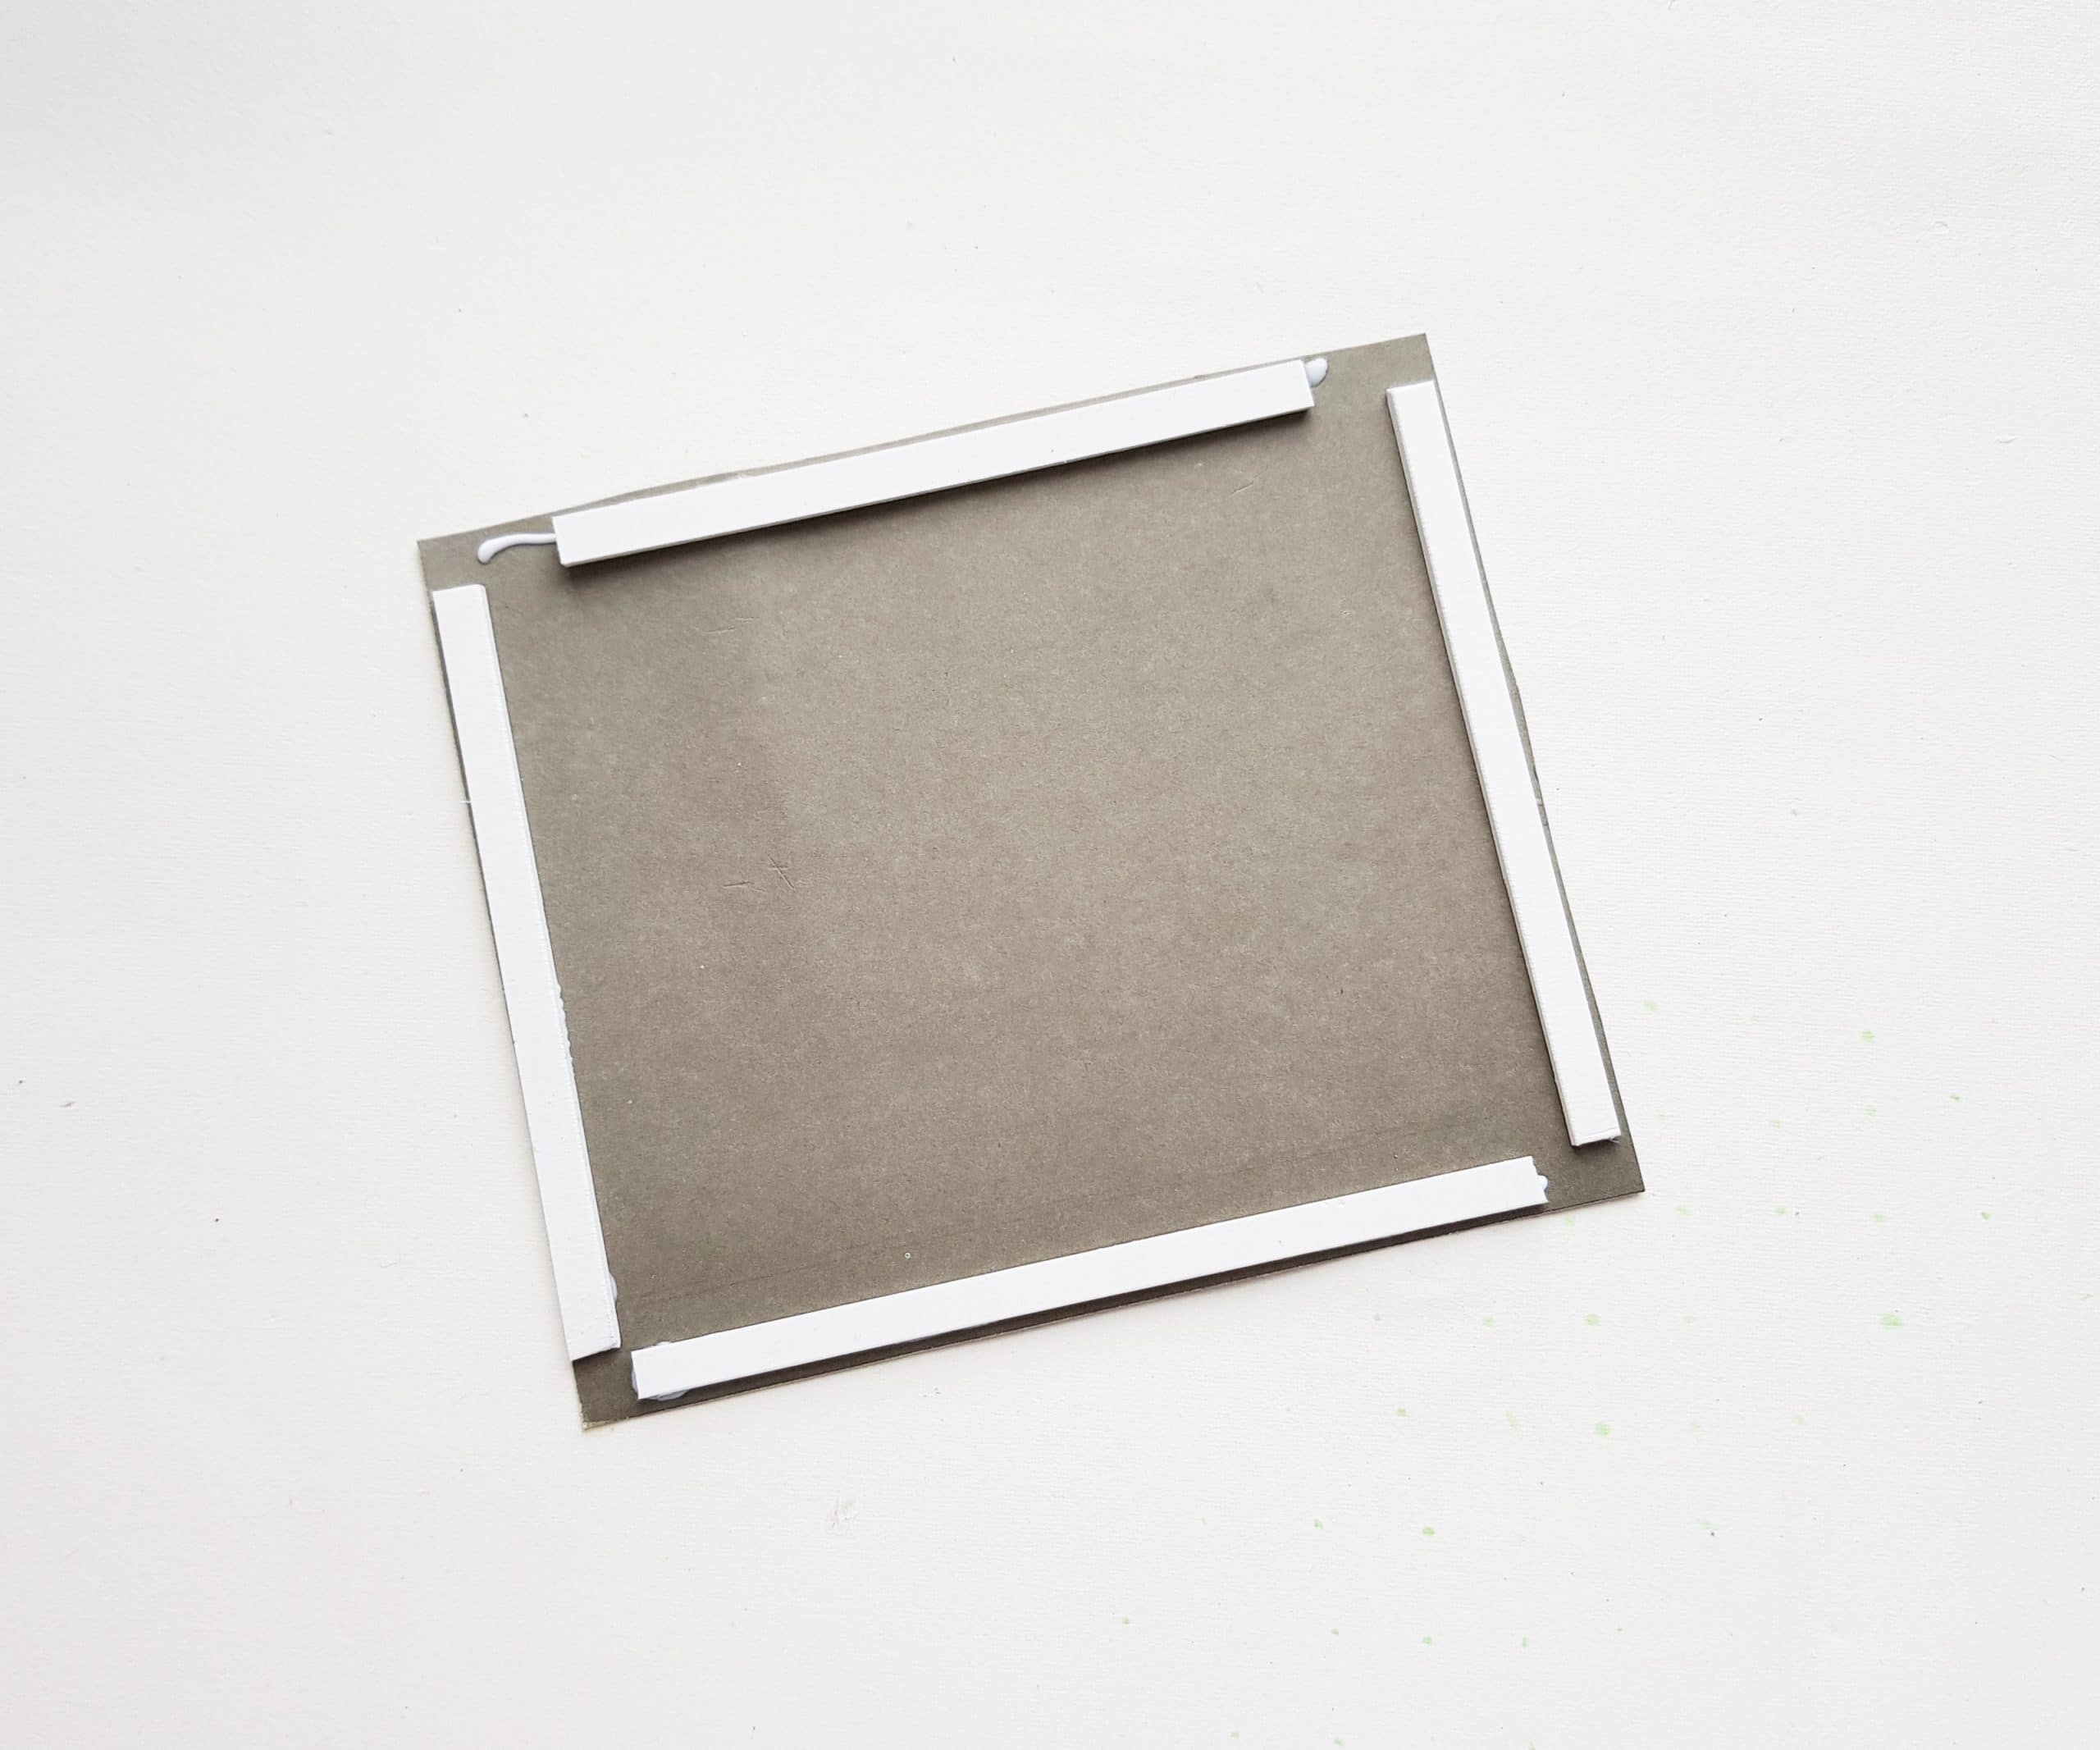
Step 4:
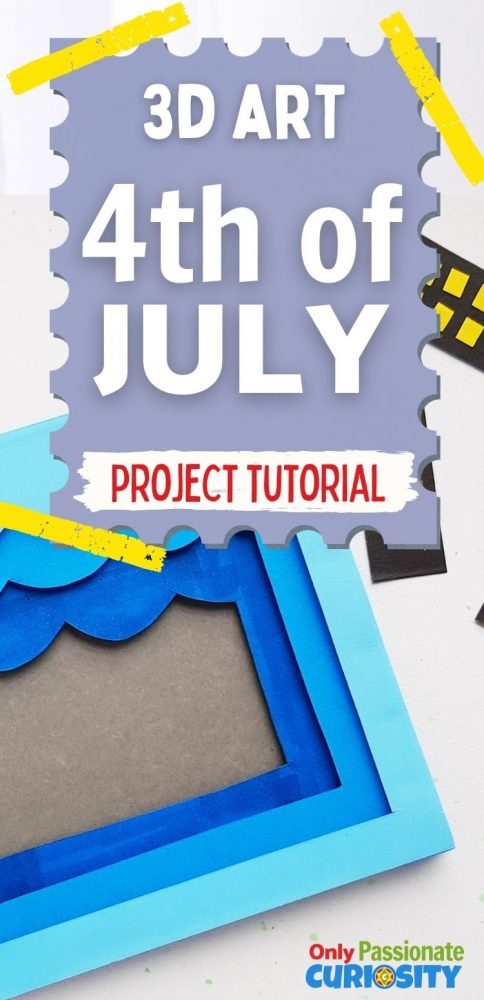
Once you’ve made sure it all lines up, you’ll start assembly! First, take the background layer (which is just a solid square the same size as the other layers) and glue 4 thin, foam trips to each side of the square. This makes a “frame” shape.
Step 5
Next, apply glue to the top of each strip of foam and gently place the bottom layer on top of the strips. Once you do this, you can probably already see how the foam lifts the bottom layer off the background and makes it “pop.” 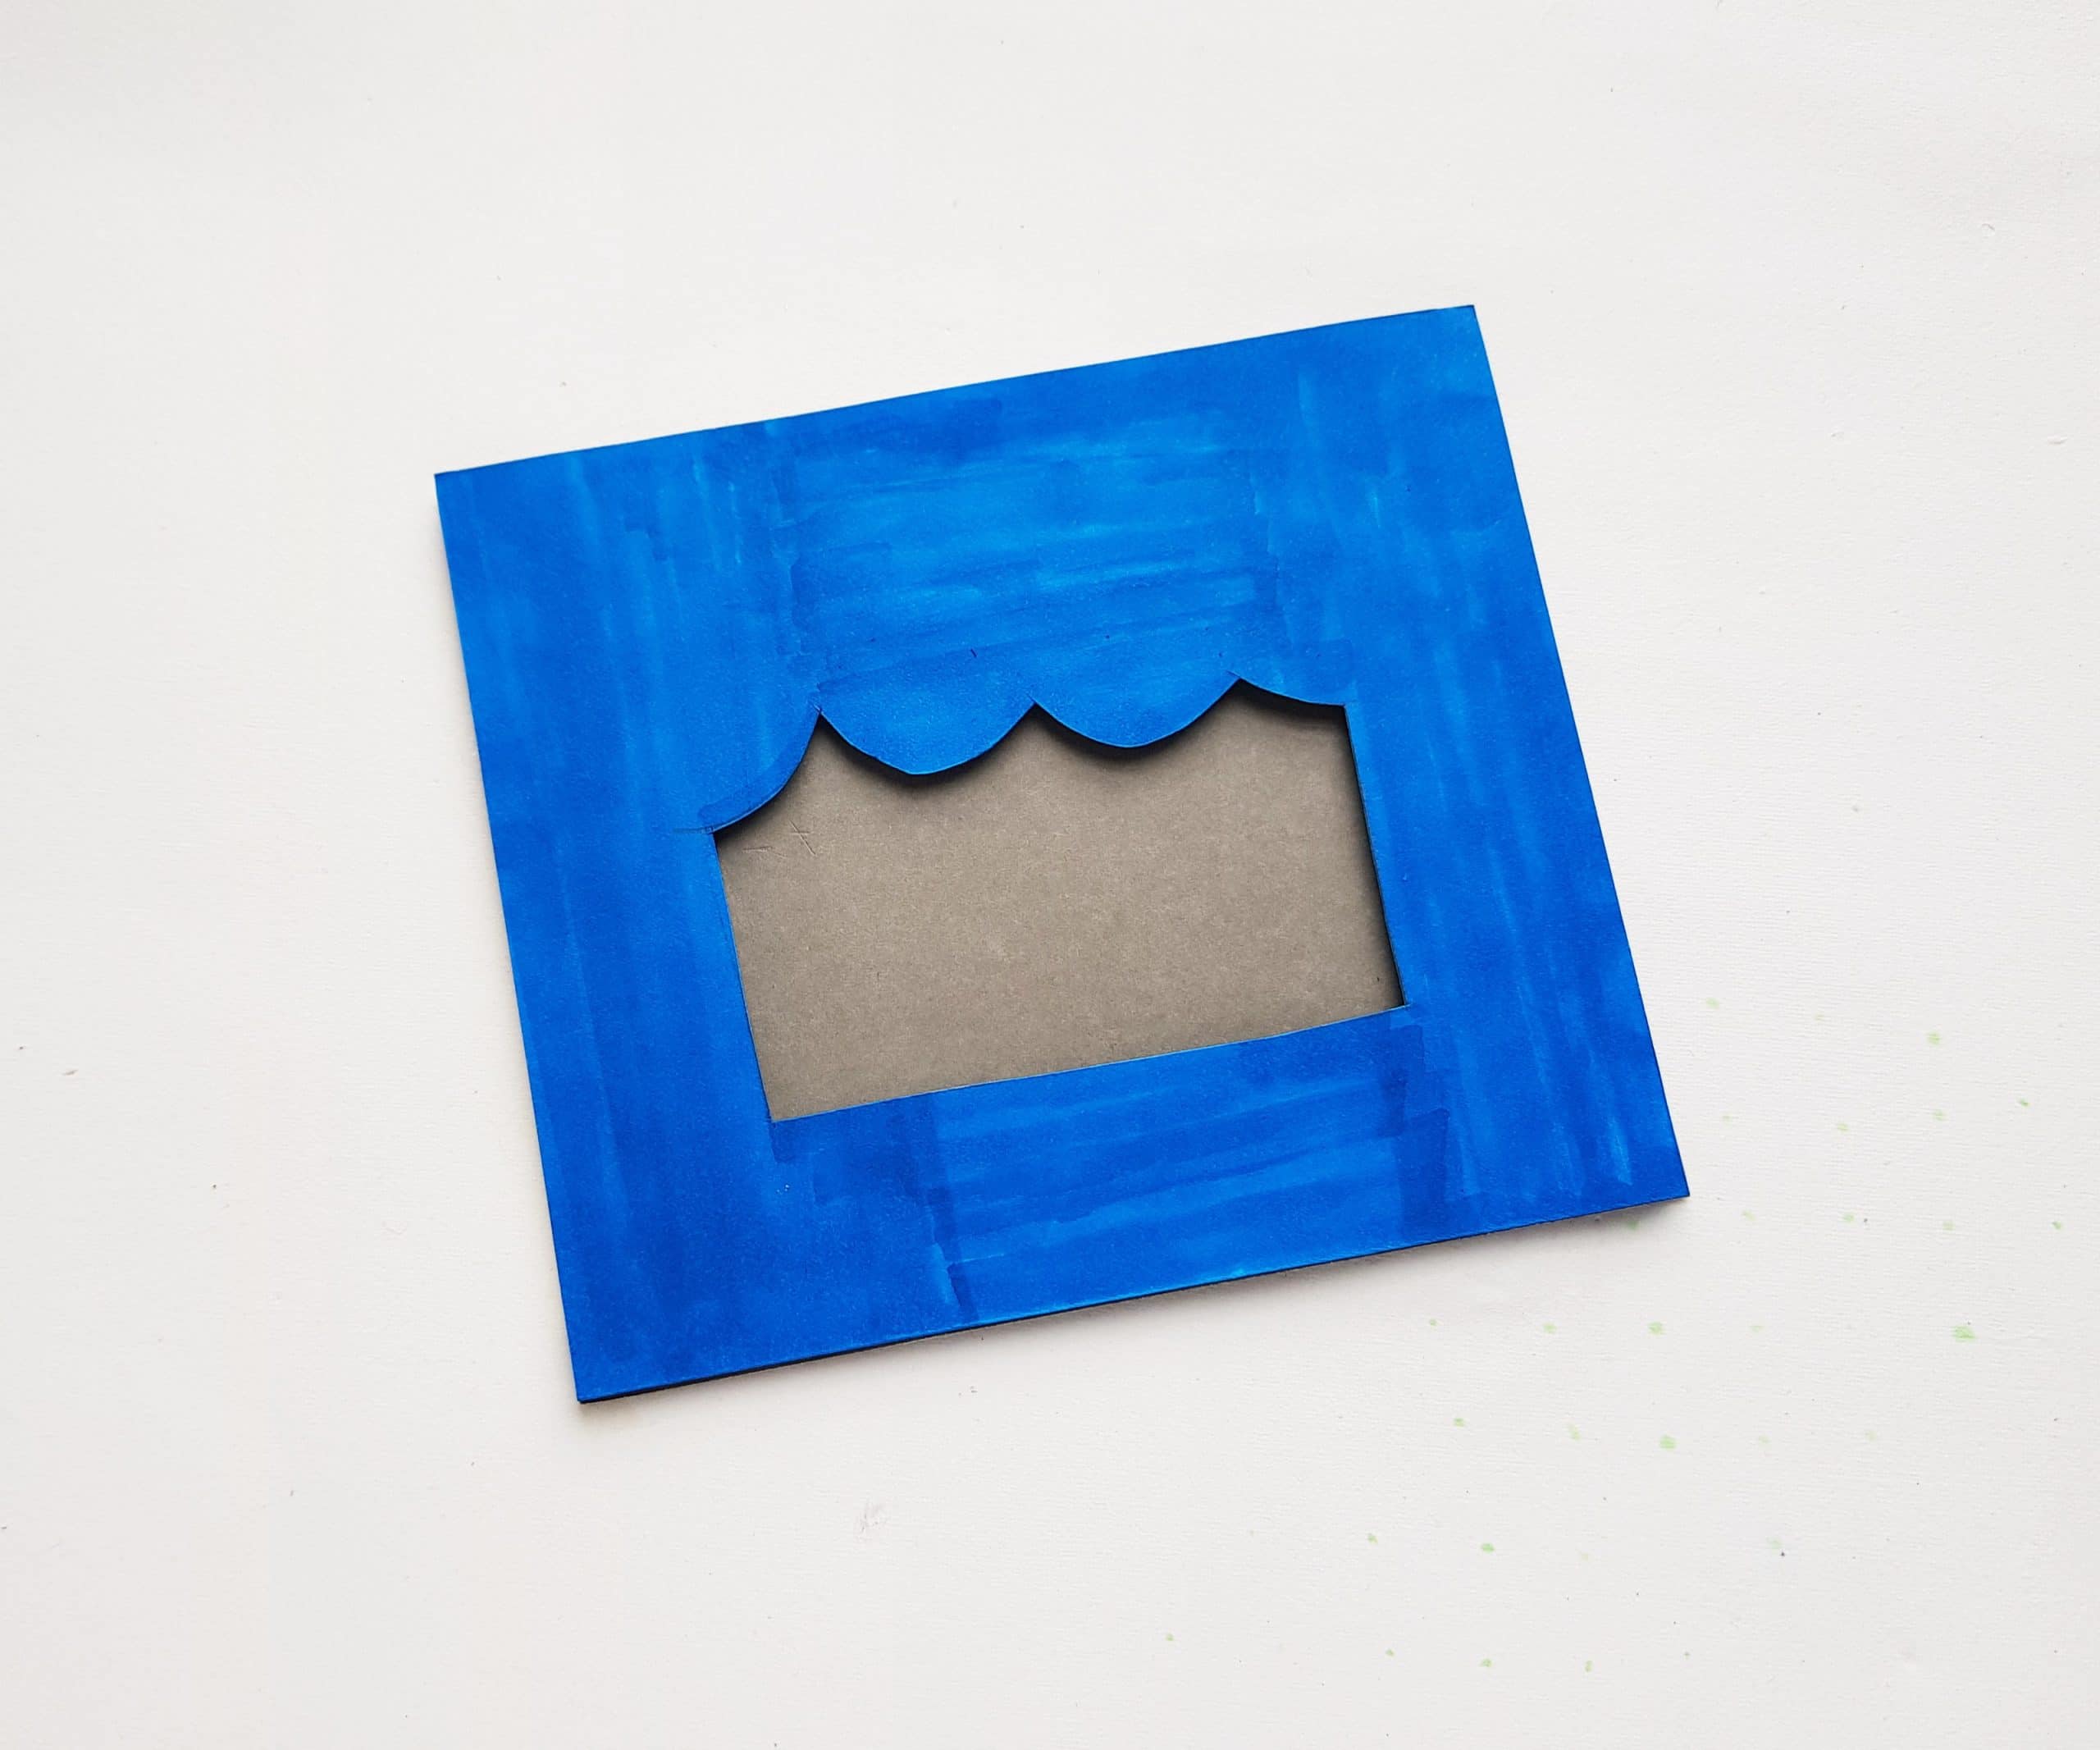
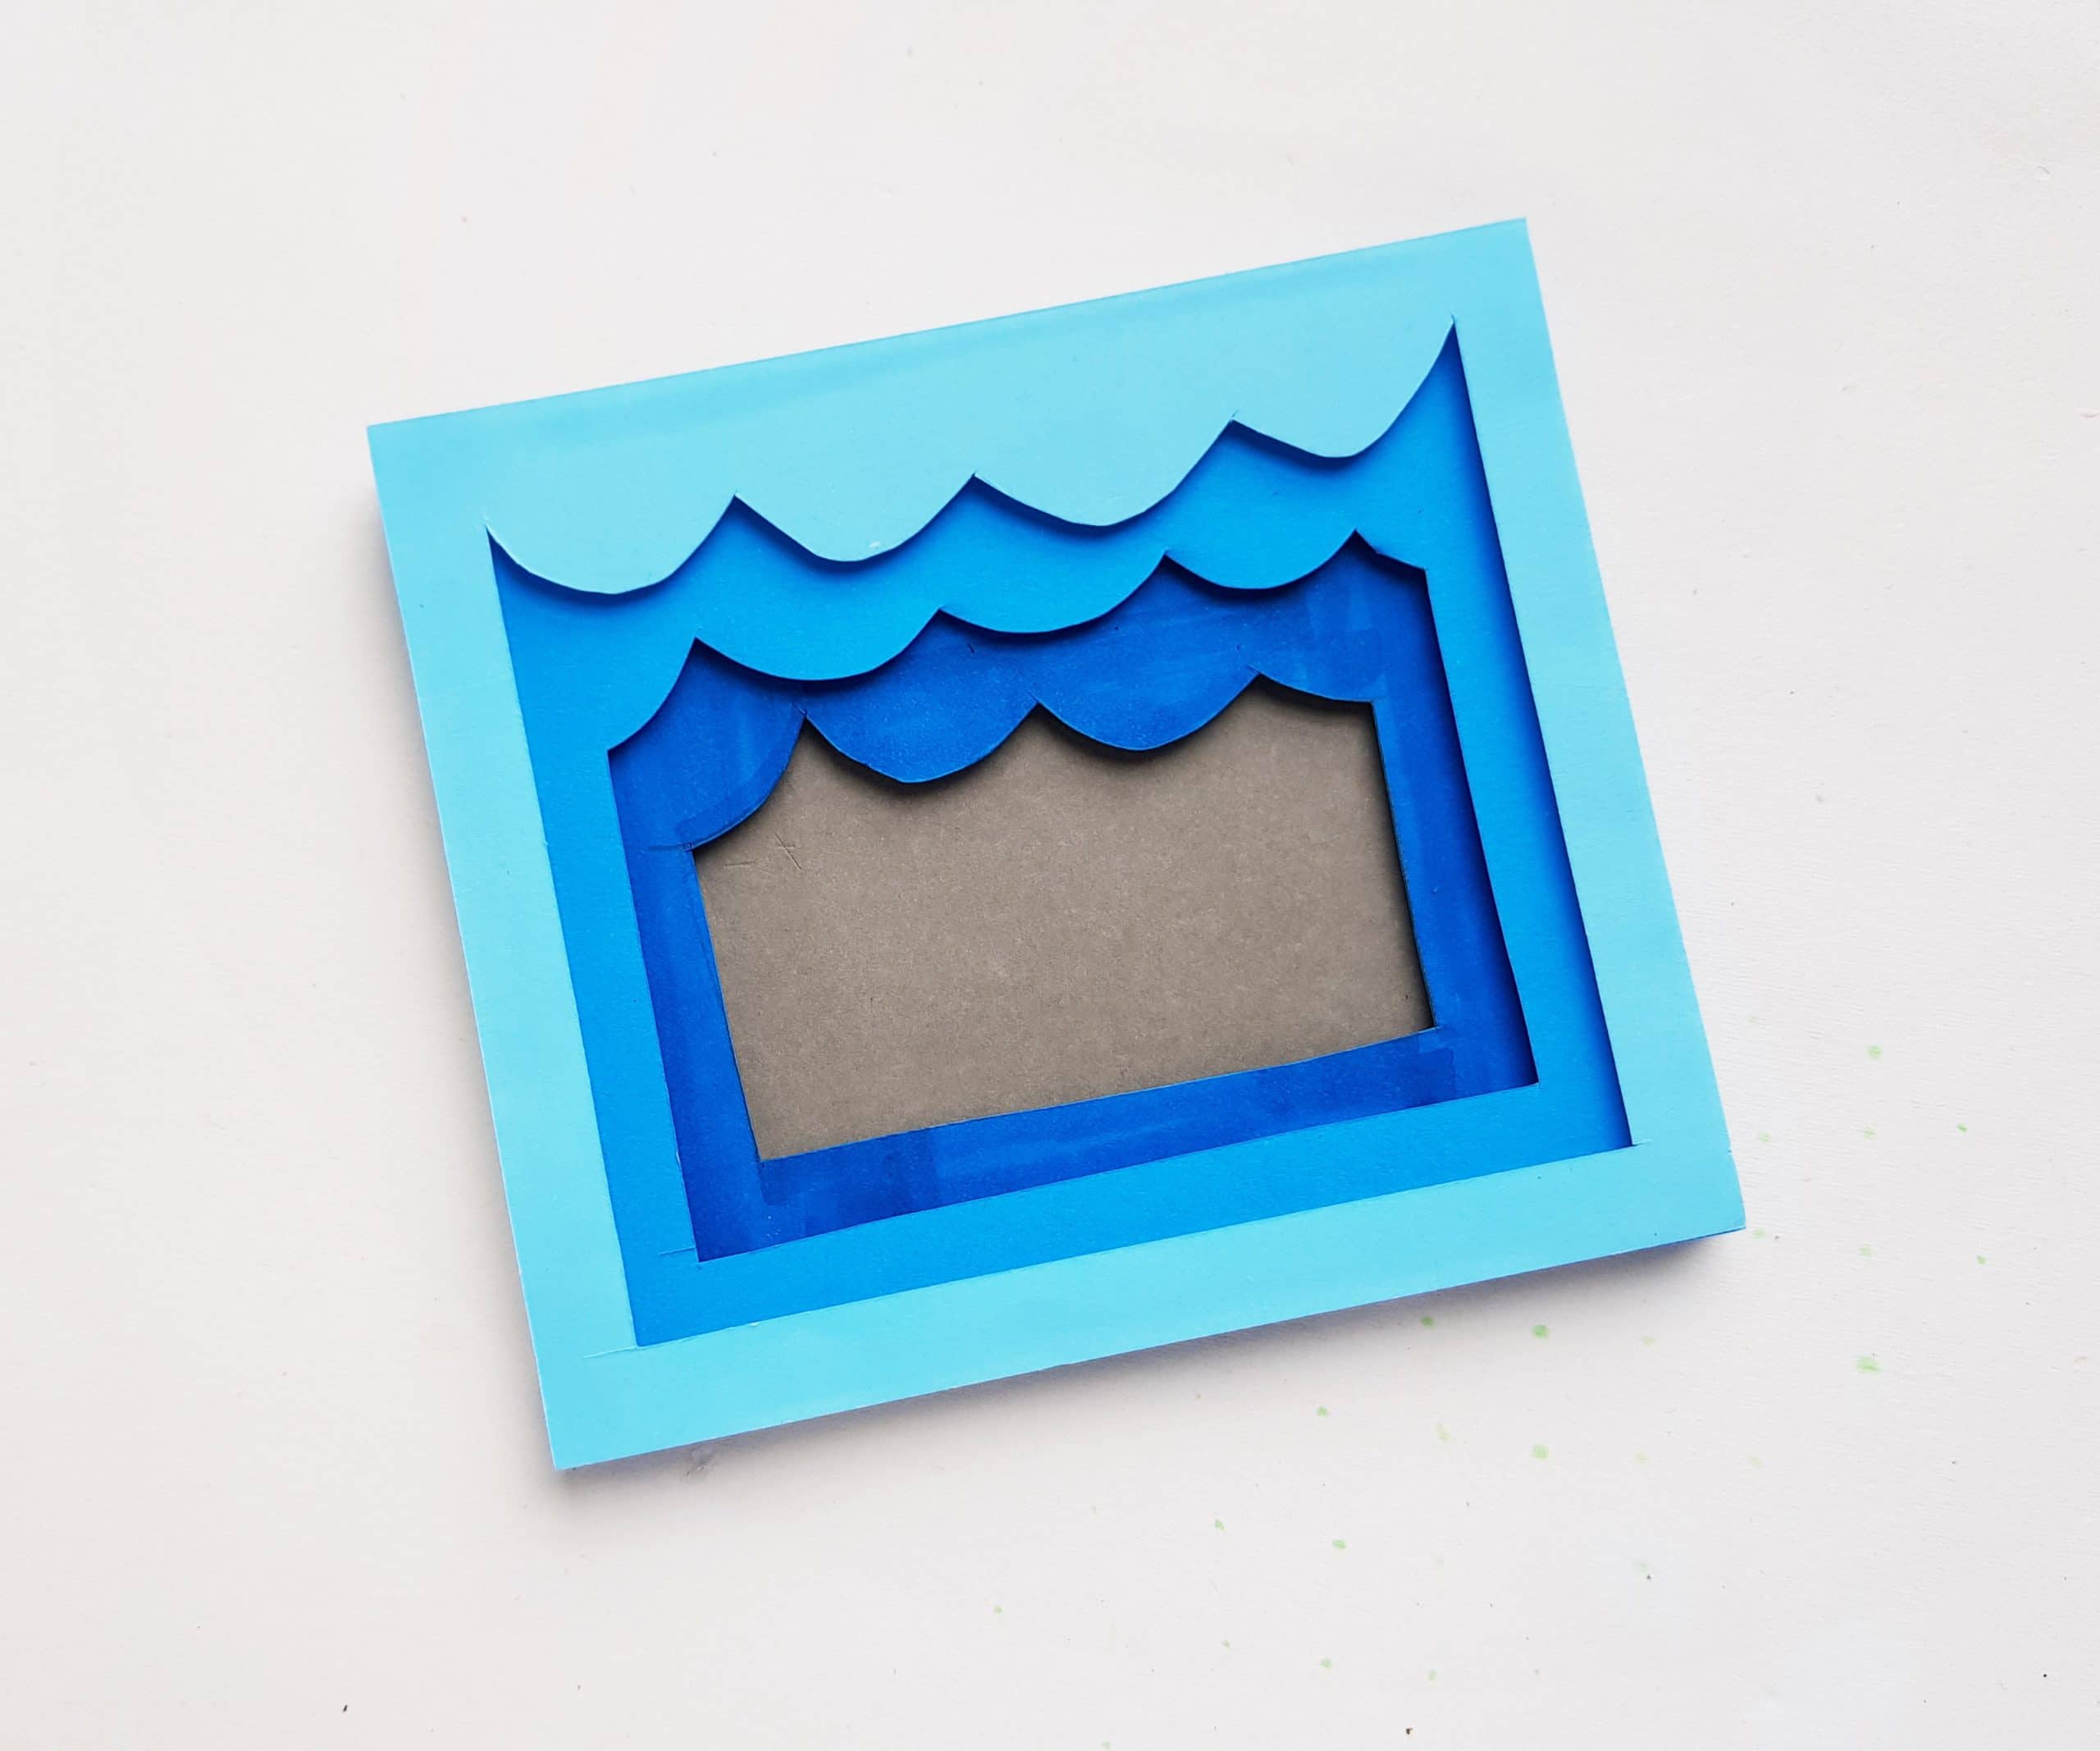
Step 6
You are going to do the same thing for each layer to achieve the cool 3D effect of this 4th of July Craft. Just glue the foam strips to each layer and then proceed glue the subsequent later onto that. Repeat. Once you’ve assembled all the layers, let it all dry.
Step 7
Once your base is established, you will work on the details that go into the 3D art. The template above includes the shapes you need to make the buildings, windows and fireworks. Choose whatever colors you like for these shapes! Colors can definitely go a long way in terms of customization. You could keep the palette more realistic, like the one pictured, or go more bold for July 4th with red, white and blue. (You could even use this same design/concept to create a birthday card for someone in his/her favorite colors.) Once you’ve picked the colors for each item, trace and cut out the shapes using the templates.
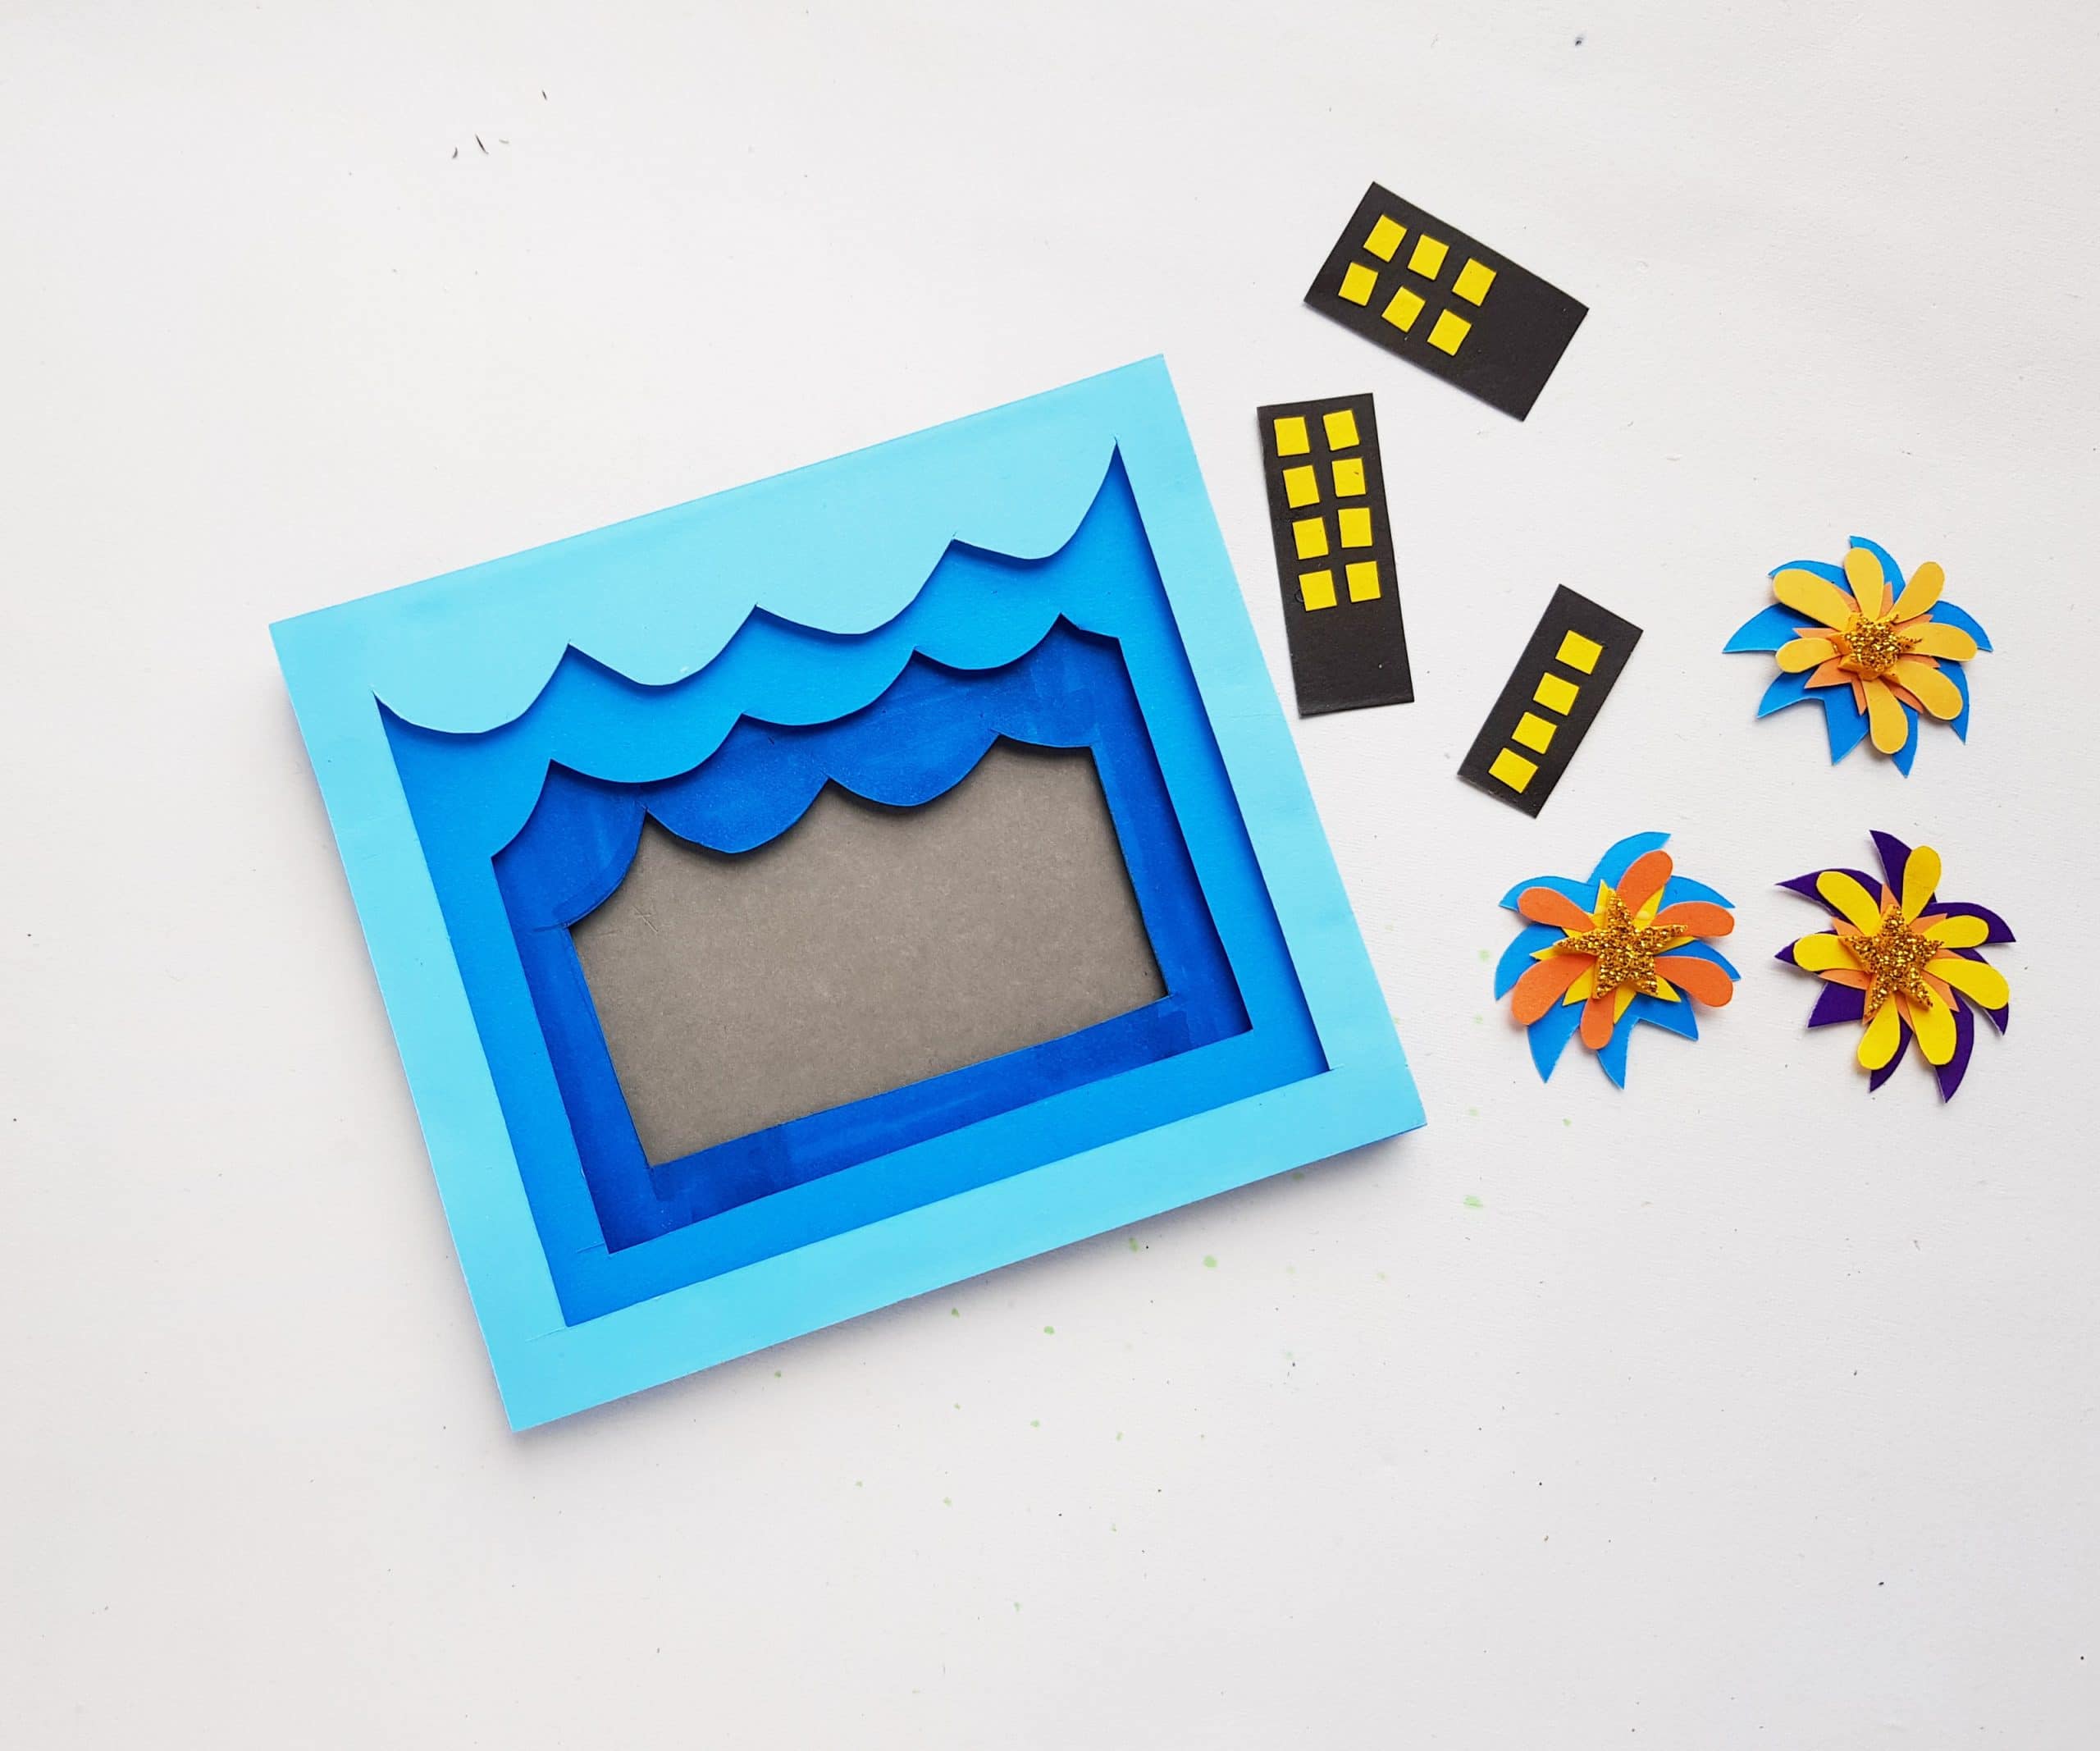
Step 8
Once you’ve got all the smaller pieces cut out, go ahead and assemble all the decorative elements (fireworks, buildings). Arrange and glue the different components of each firework together and glue the windows onto the buildings. Once all the elements are put together, play around with different ways that you might arrange them onto your 3D scene. You should be able to tell at this point if you need to make more decorative elements or if you have enough.
Step 9
The last step is simply to put it all together! After playing around with ways to arrange the buildings and fireworks you created, glue each piece down where you want it. You will get more of a 3D effect when you vary which layers you glue each item to. Try to make sure each layer has at least one item connected to it, and your end result should look really cool!
We hope you enjoy making this fun and slightly sophisticated 4th of July craft with your older child or teen (or maybe just by yourself!) Don’t forget that you need the templates to make this craft (it’d be really hard without them). You can download those by clicking the link below!
Click Here to Get The Templates for This 3D 4th of July Craft!
We also recently posted a fun 4th of July Color by Number printable that’s perfect for younger children. If you have several children, the younger ones could work on that while you do this craft with the older ones! If you’re interested in the color by number activity or more on-theme learning for Independence Day, click this link!