Red Velvet Valentine Cake Pops
Valentines day is right around the corner and my husbands favorite treat is my red velvet whoopie pies. But this year when I went to make them, I realized I didn’t have enough cream cheese to make the frosting. So I decided to take my recipe for red velvet whoopie pies and transform it into red velvet cake pops. Because who doesn’t love homemade cake pops?
Cake pops are both easy and fun to make. Kids of all ages will love squishing the cake between their fingers when they are mixing the crumbled cake with a frosting mixture. I have had friends ask, isn’t making cake pops a lot of work, and the answer is not really. It does take 3 steps, but they aren’t hard steps it can just be a little time consuming.
The first step is to make the cake. For this particular recipe I took the recipe I had for the cake part of my red velvet whoopie pies and added a little extra buttermilk in order to make the cake a little more moist to start out with. One major plus of making cake pops is that when you bake the cake portion it doesn’t really matter what it looks like, since your simply going to crumble it up anyway.
I recommend lining your baking dish with parchment paper. I know this is normally easier said than done. One trick I have learned is that if you spray your baking dish with a little coconut oil (or PAM or whatever you use) it will help the paper stay down and in place while you are trying to pour the batter in. Then once the cake is baked you can simply pull the cake out of the dish and leave it on a cooling rack to cool all the way through.
The second step is the crumble up the cake and add the frosting. The frosting is really quite easy to make, and has only three ingredients. This is where you get to be messy. Roll up your sleeves because the best way to combine the cake and frosting is with your hands! Once everything is mixed together you can form your cake pops. Simply use a nifty cookie scoop or a spoon (so that they are all roughly the same size) and scoop some of the cake/frosting mix into your hands. Then mush it some more and roll it into a ball. Place your cake pop balls onto a wax paper lined tray and add the stick. Let’s face it, you can’t call it a pop if it isn’t on a stick!
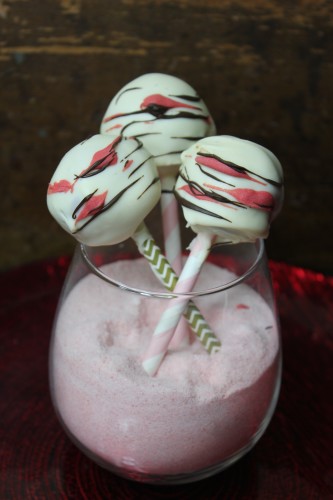
Now since I didn’t have candy pop sticks just laying around the house I just cut some cute paper straws in half. I love using paper straws as cake pop sticks because you can find them in all sorts of fun colors! I used pink and gold straws since these are meant for Valentine’s Day. Once all your cake pops are formed and have been sticked (that’s a word right?), then you can either put them in the refrigerator, freezer, or if it is super cold where you are, then out the garage (covered) for 15-30 minutes. This will allow them to really set.
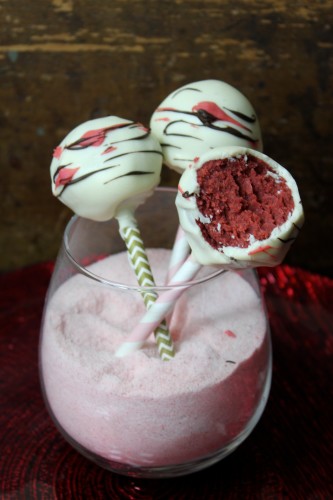
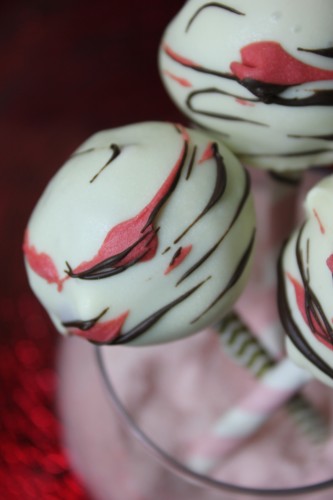
The final step is to dip your beautiful cake pops into melted chocolate. For red velvet cake I recommend white chocolate, but we also dipped some in dark chocolate and they were pretty amazing too!
Just know you will use a lot of food coloring for this particular recipe in order to get that nice deep beautiful red. I recommend using food coloring gel, because it takes a lot less; however, if you go the liquid route you will need an entire 1 oz. container.


