Patriotic Slime Recipe
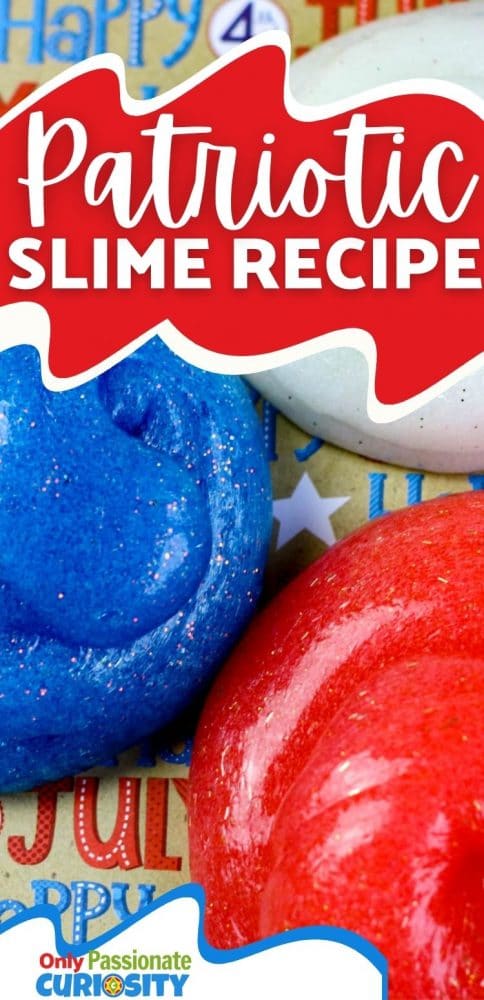
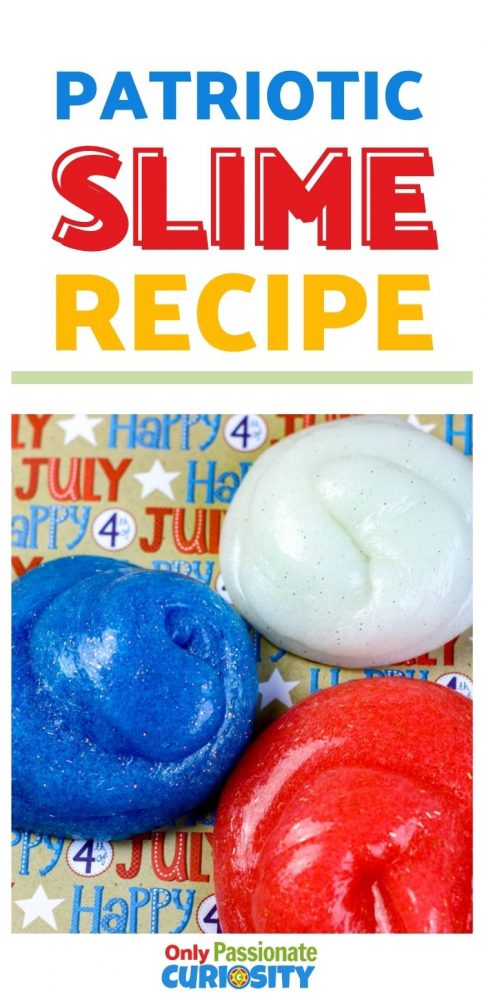
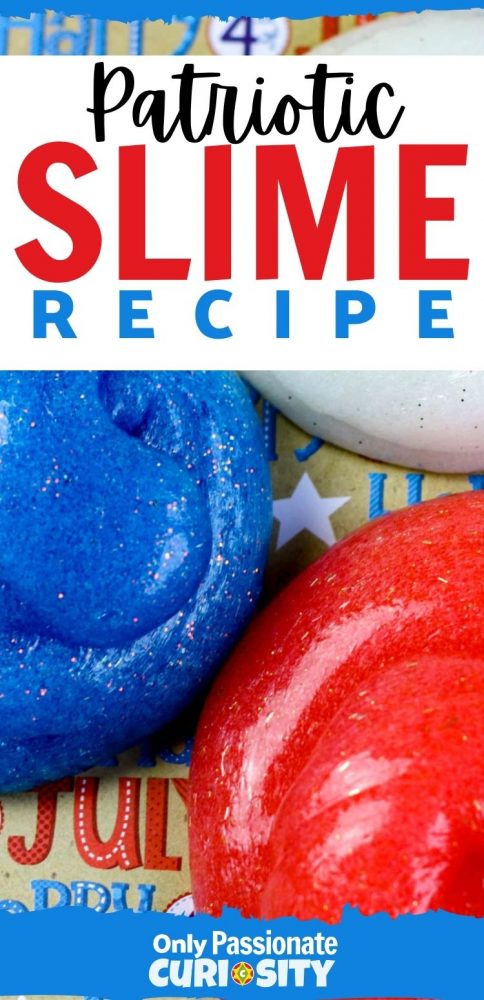
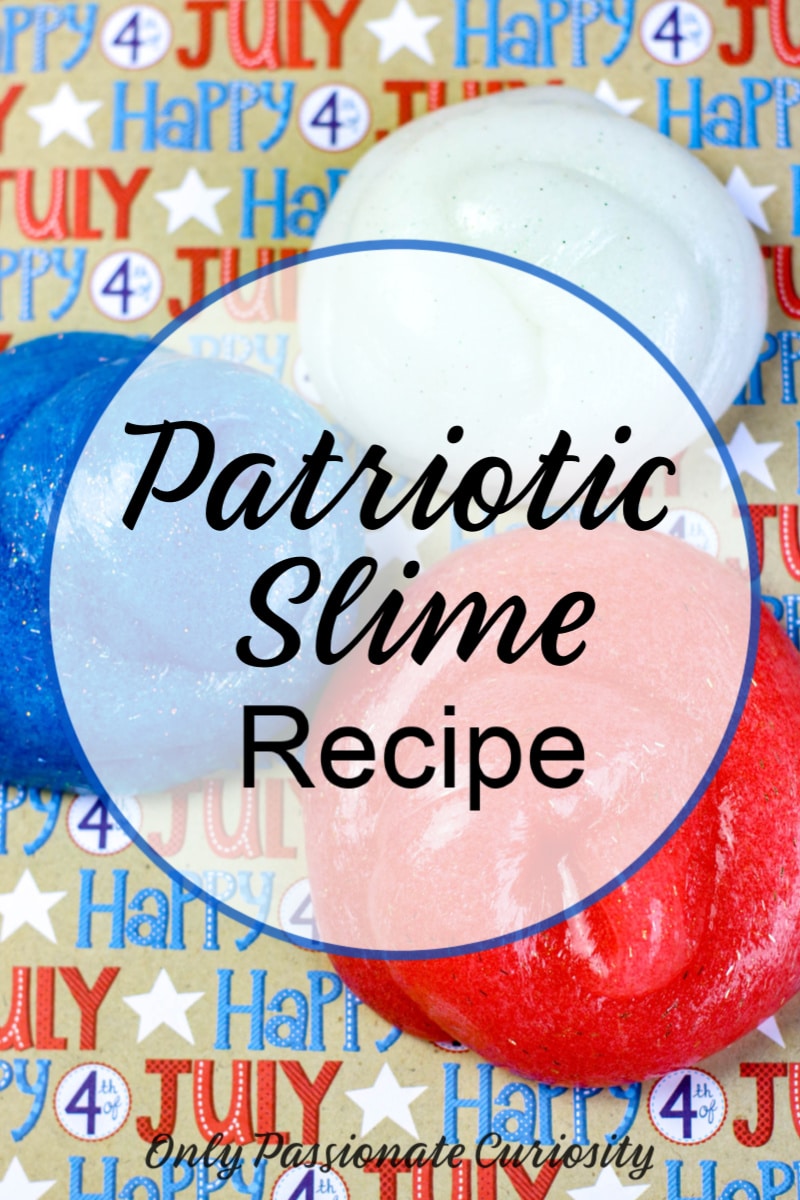
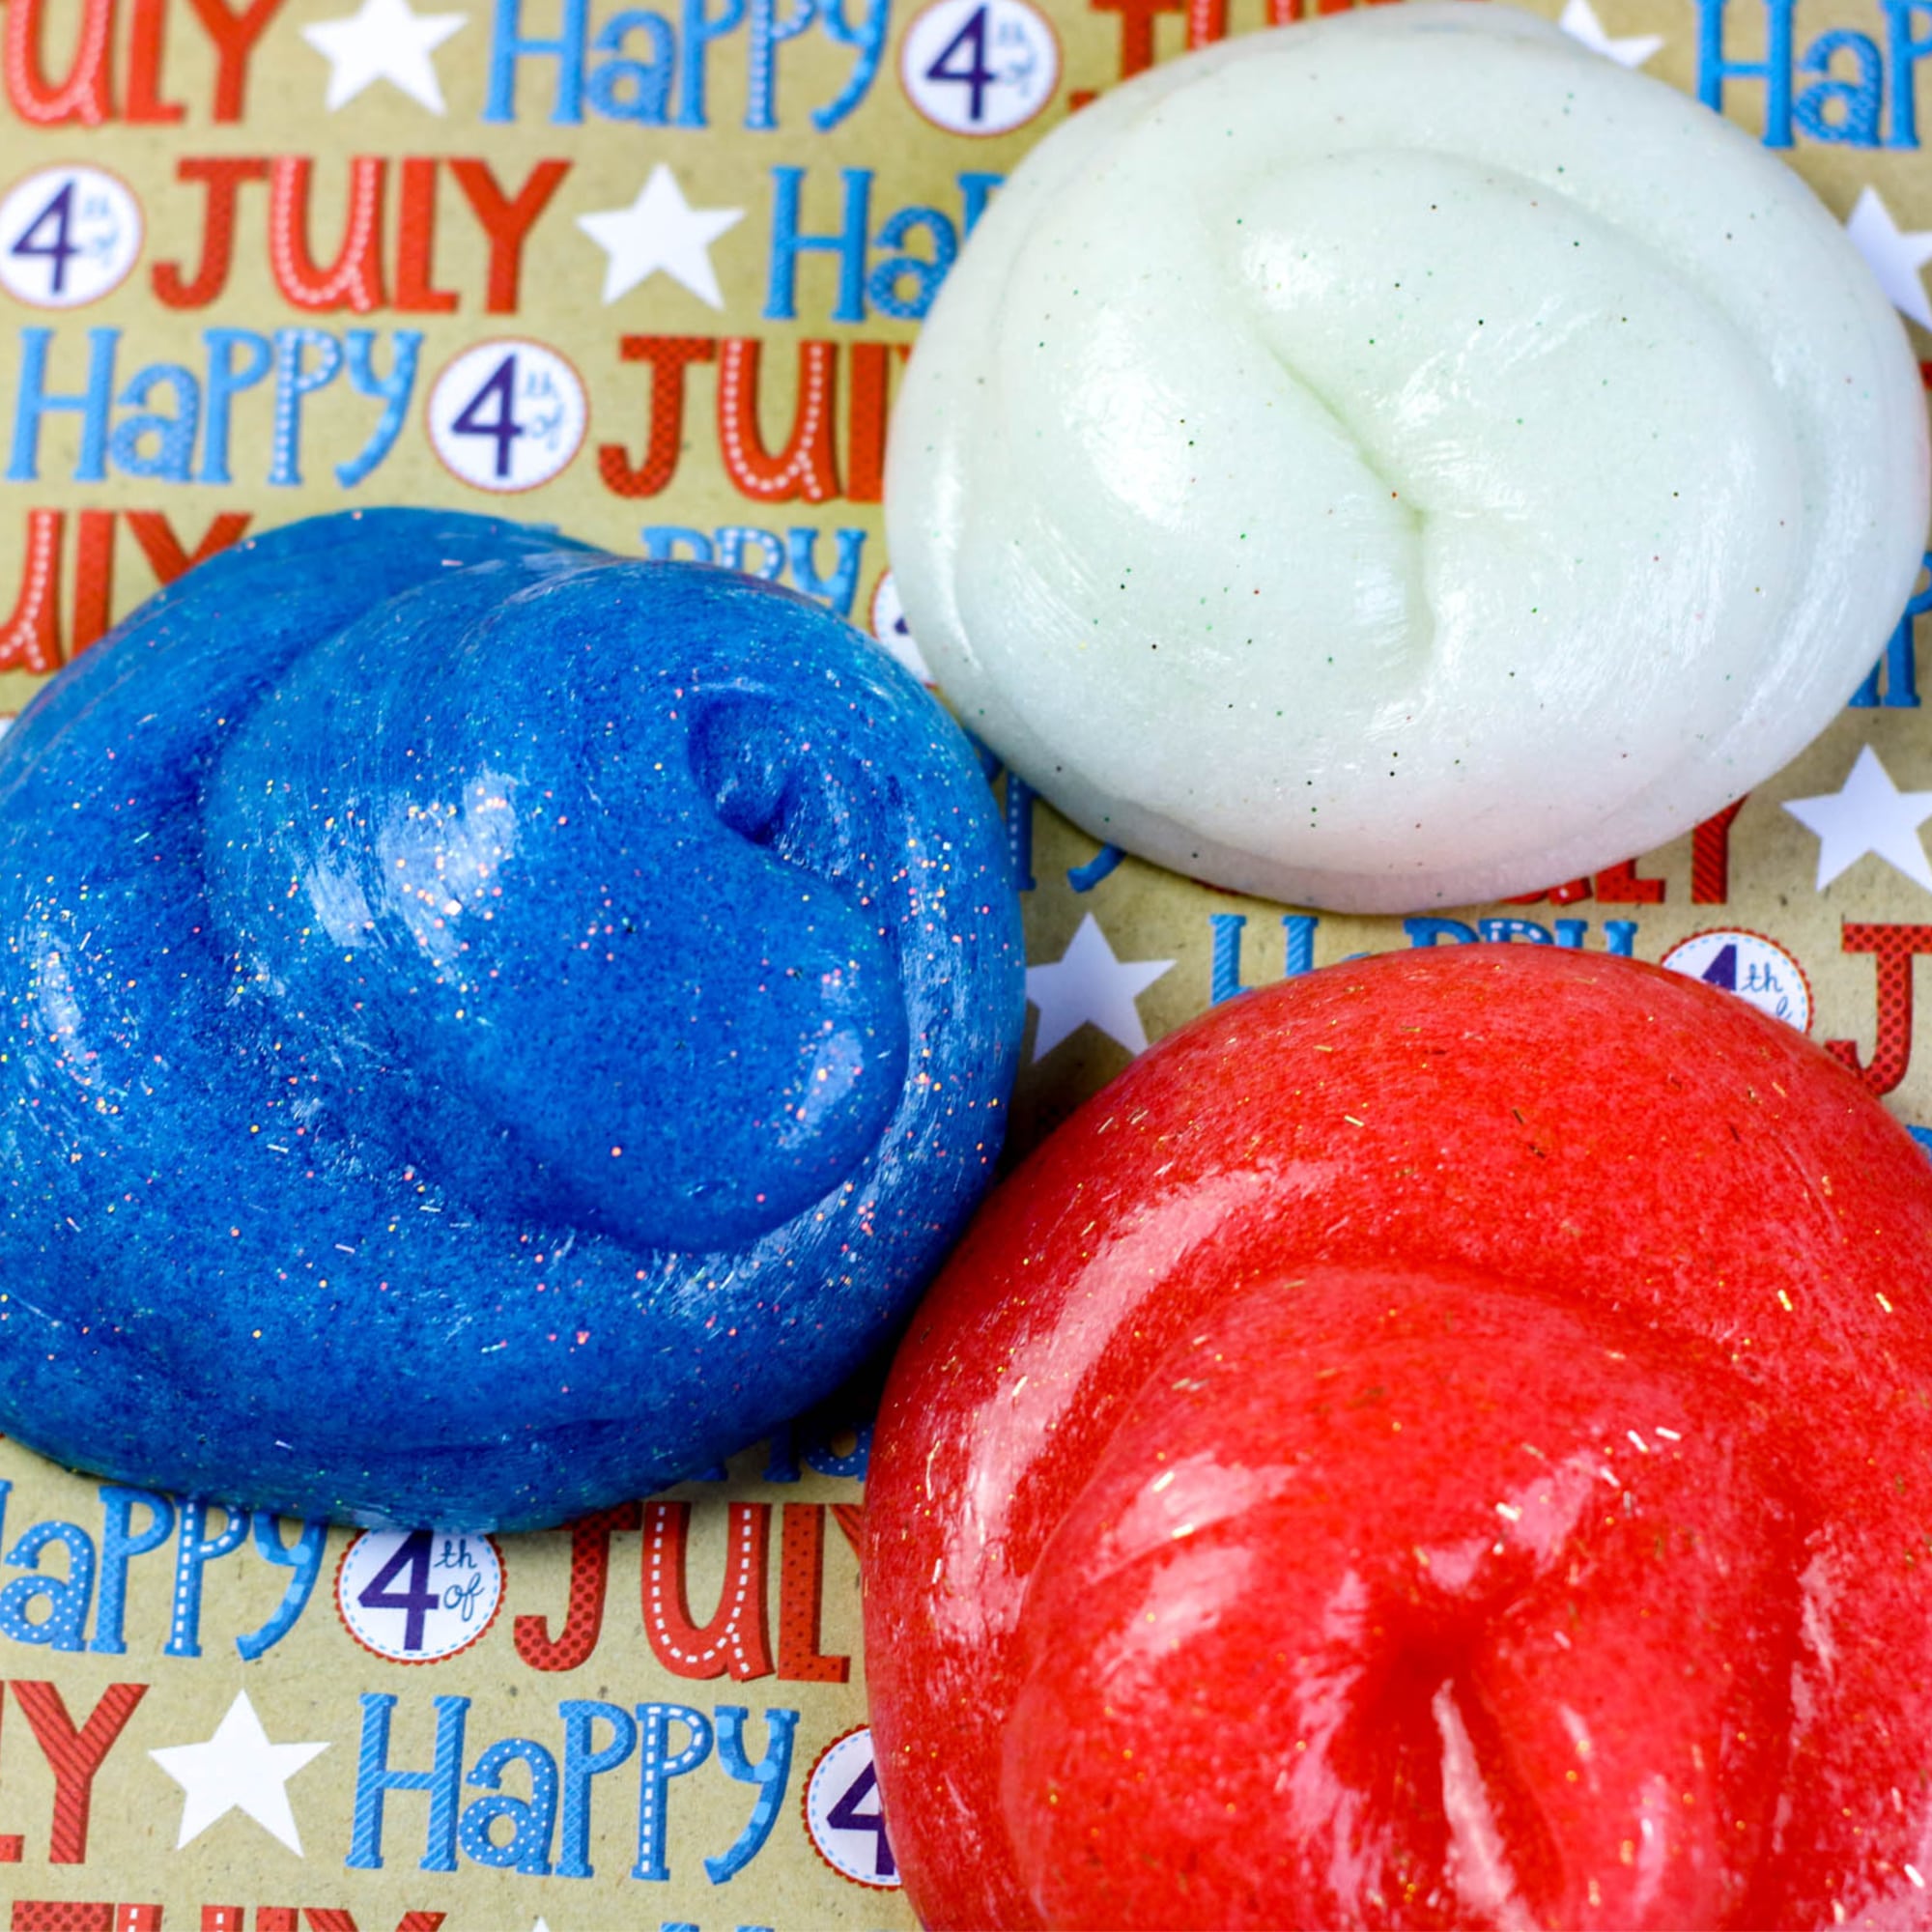
I’ve yet to meet a kid that doesn’t get excited about slime, particularly when they get to make it themselves! It’s one of those universal playthings that both younger and older children (and even teens and adults) find appealing. Today we’re bringing you a fun and easy recipe for making high-quality slime at home! You can actually make this recipe in a variety of colors, but today we’re showing you how to do a patriotic trio of red, white and blue slime for the 4th of July! This would be a great craft to make earlier in the day on the 4th of July and then take outside to play with while waiting for fireworks.
Not a fan of fabulously fun goop because of the mess? Since you’ll be overseeing the making of the slime with your kids, you’ll have a prime opportunity to lay down the law about when, how and where you want it to be played with. Another nice thing about this recipe is that it’s so easy and inexpensive to make, you can either let your kids keep their slimy creations indefinitely or allow it to “disappear” after a couple of days. It doesn’t take much time or money to make a new batch of slime whenever another special occasion arises and -let’s be honest- making it is a big part of the fun!
Supplies for this Craft:
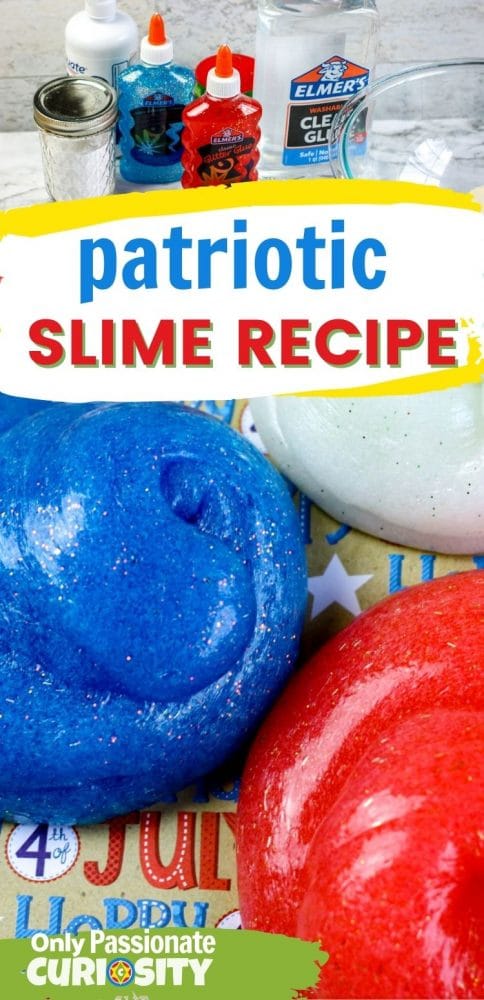
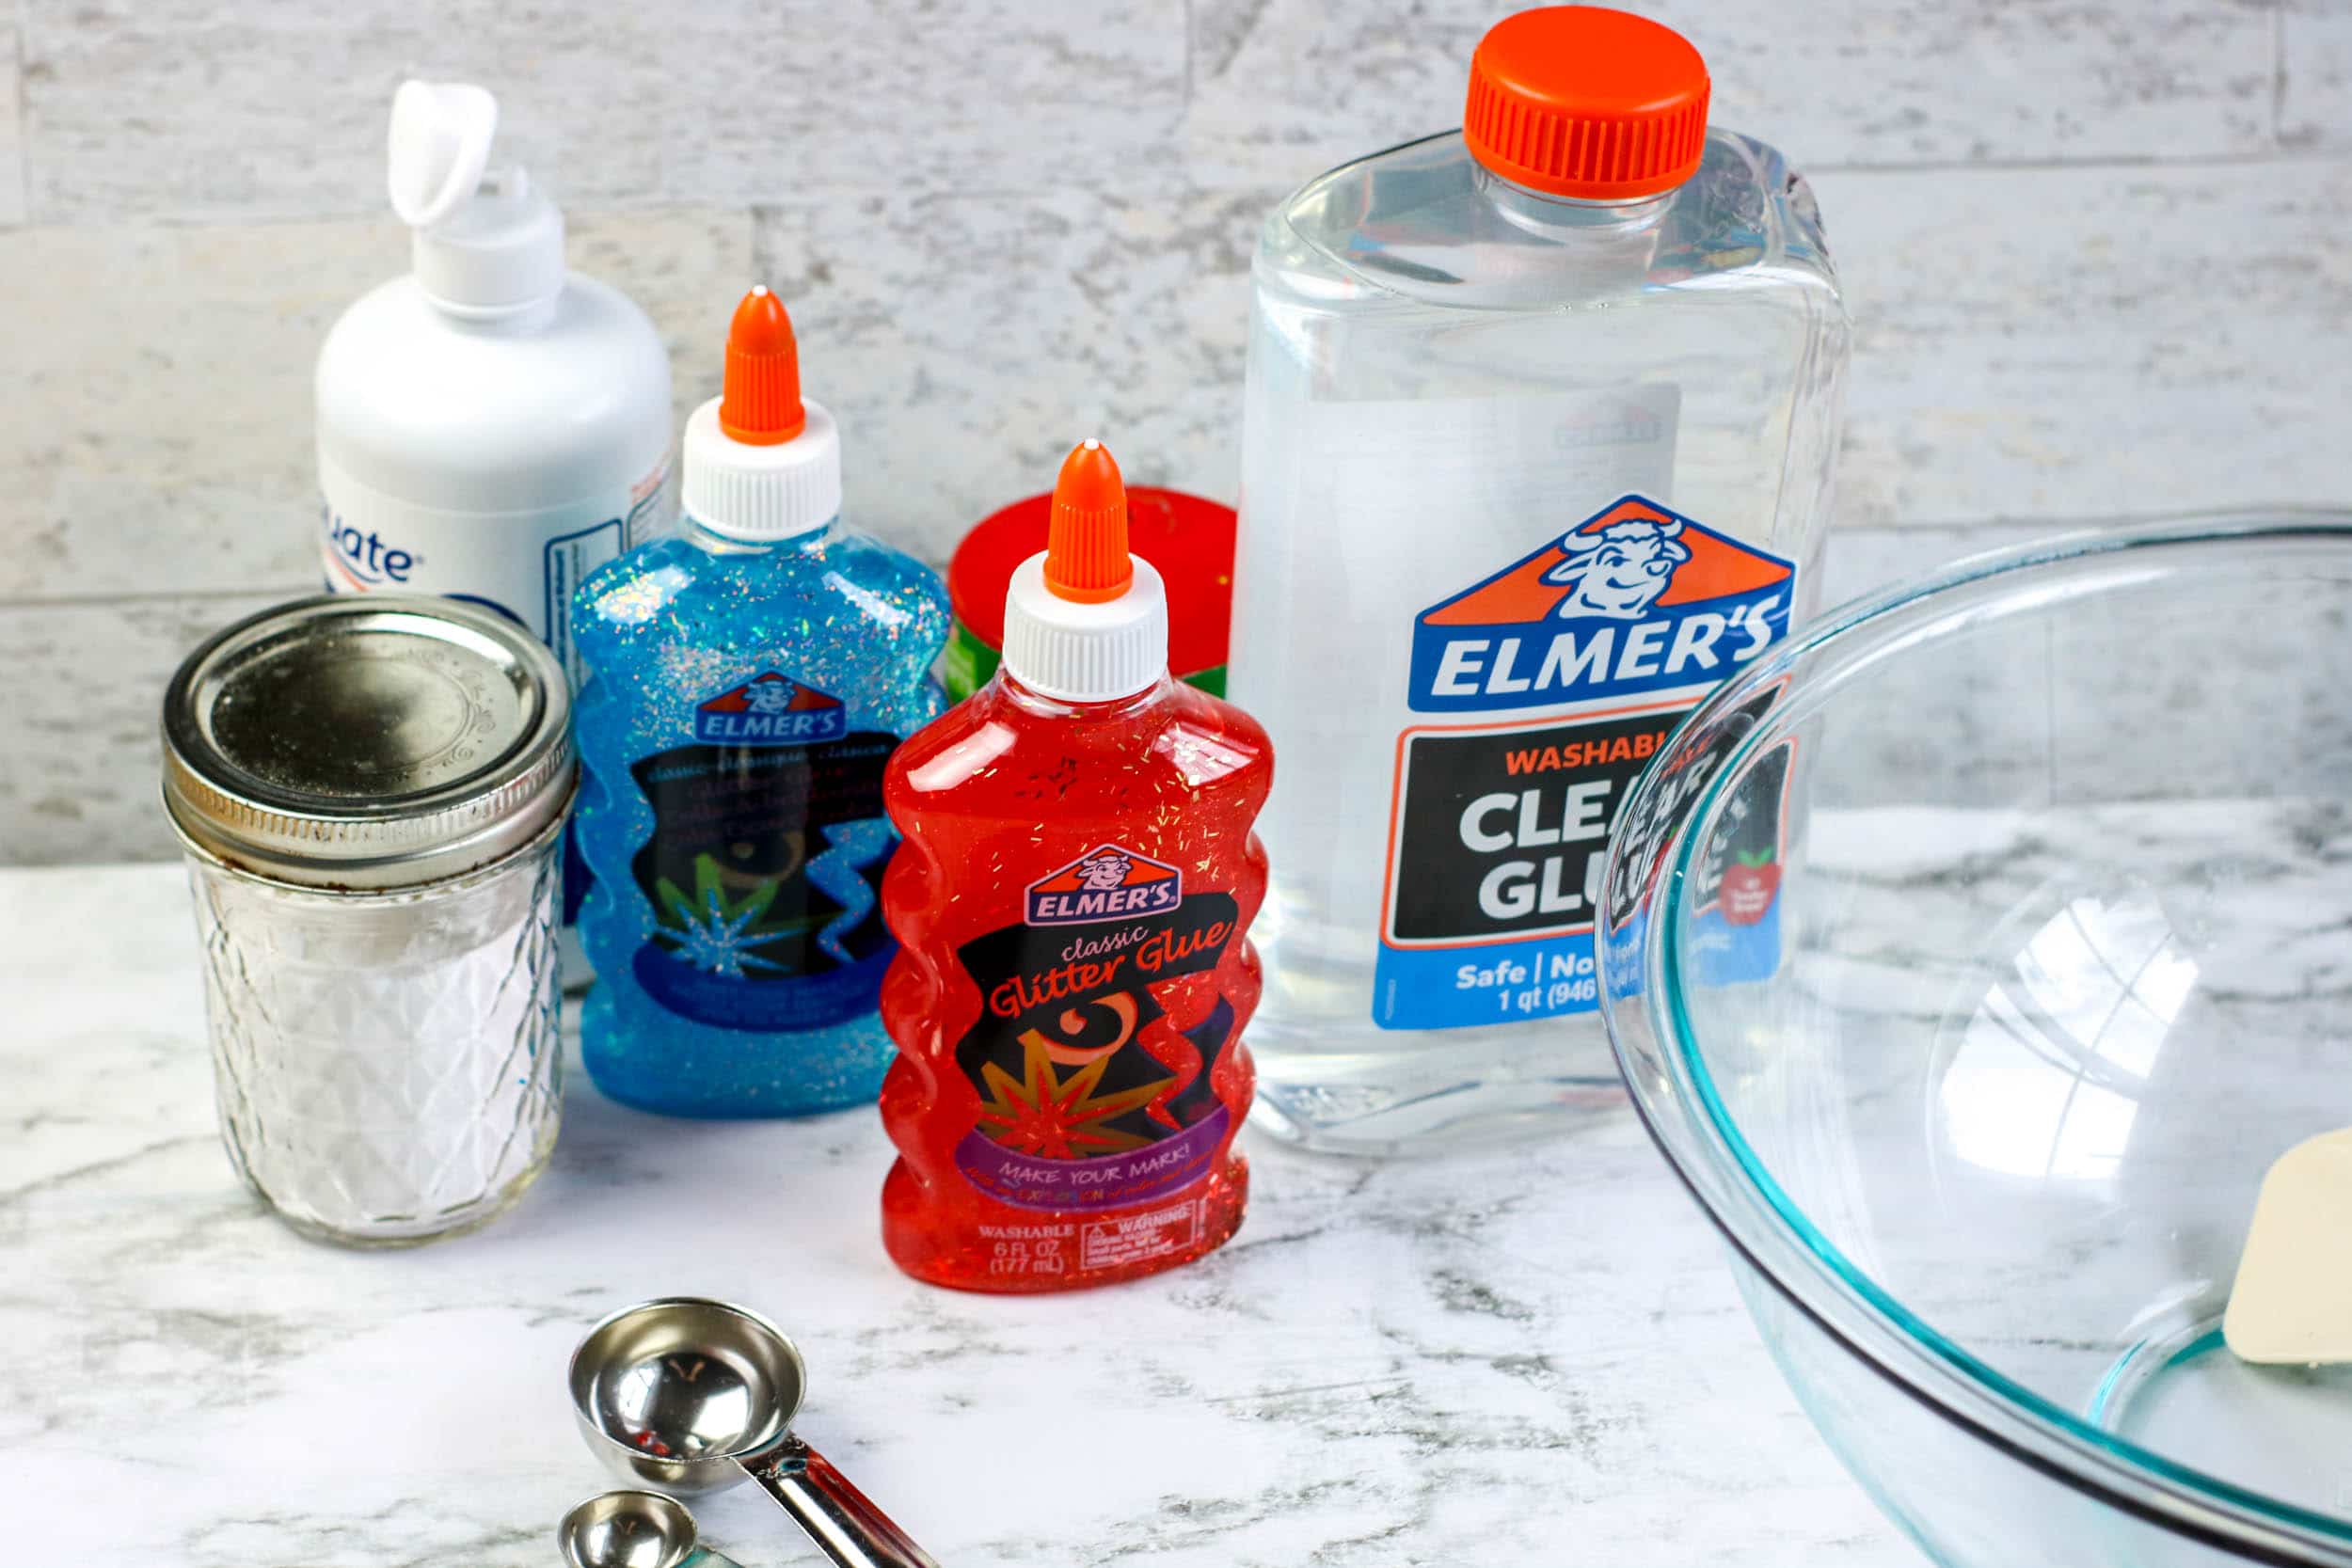
To make this patriotic slime, you will need:
- 1 (6 ounce) bottle Elmer’s Glue in each: blue, red, and white or clear
- About ½ cup warm water, for each batch
- ½ teaspoon baking soda, for each batch
- 1 tablespoon contact lens solution (containing boric acid), for each batch
- White or iridescent glitter, for the white slime
- Optional: Red and blue food coloring (only if darker colors are desired)
How to Make It:
When you have your ingredients and are ready to make your patriotic slime, you’ll assemble three bowls: one the blue glue, one for the red glue and one for the white glue. Empty each bottle of into its own bowl.
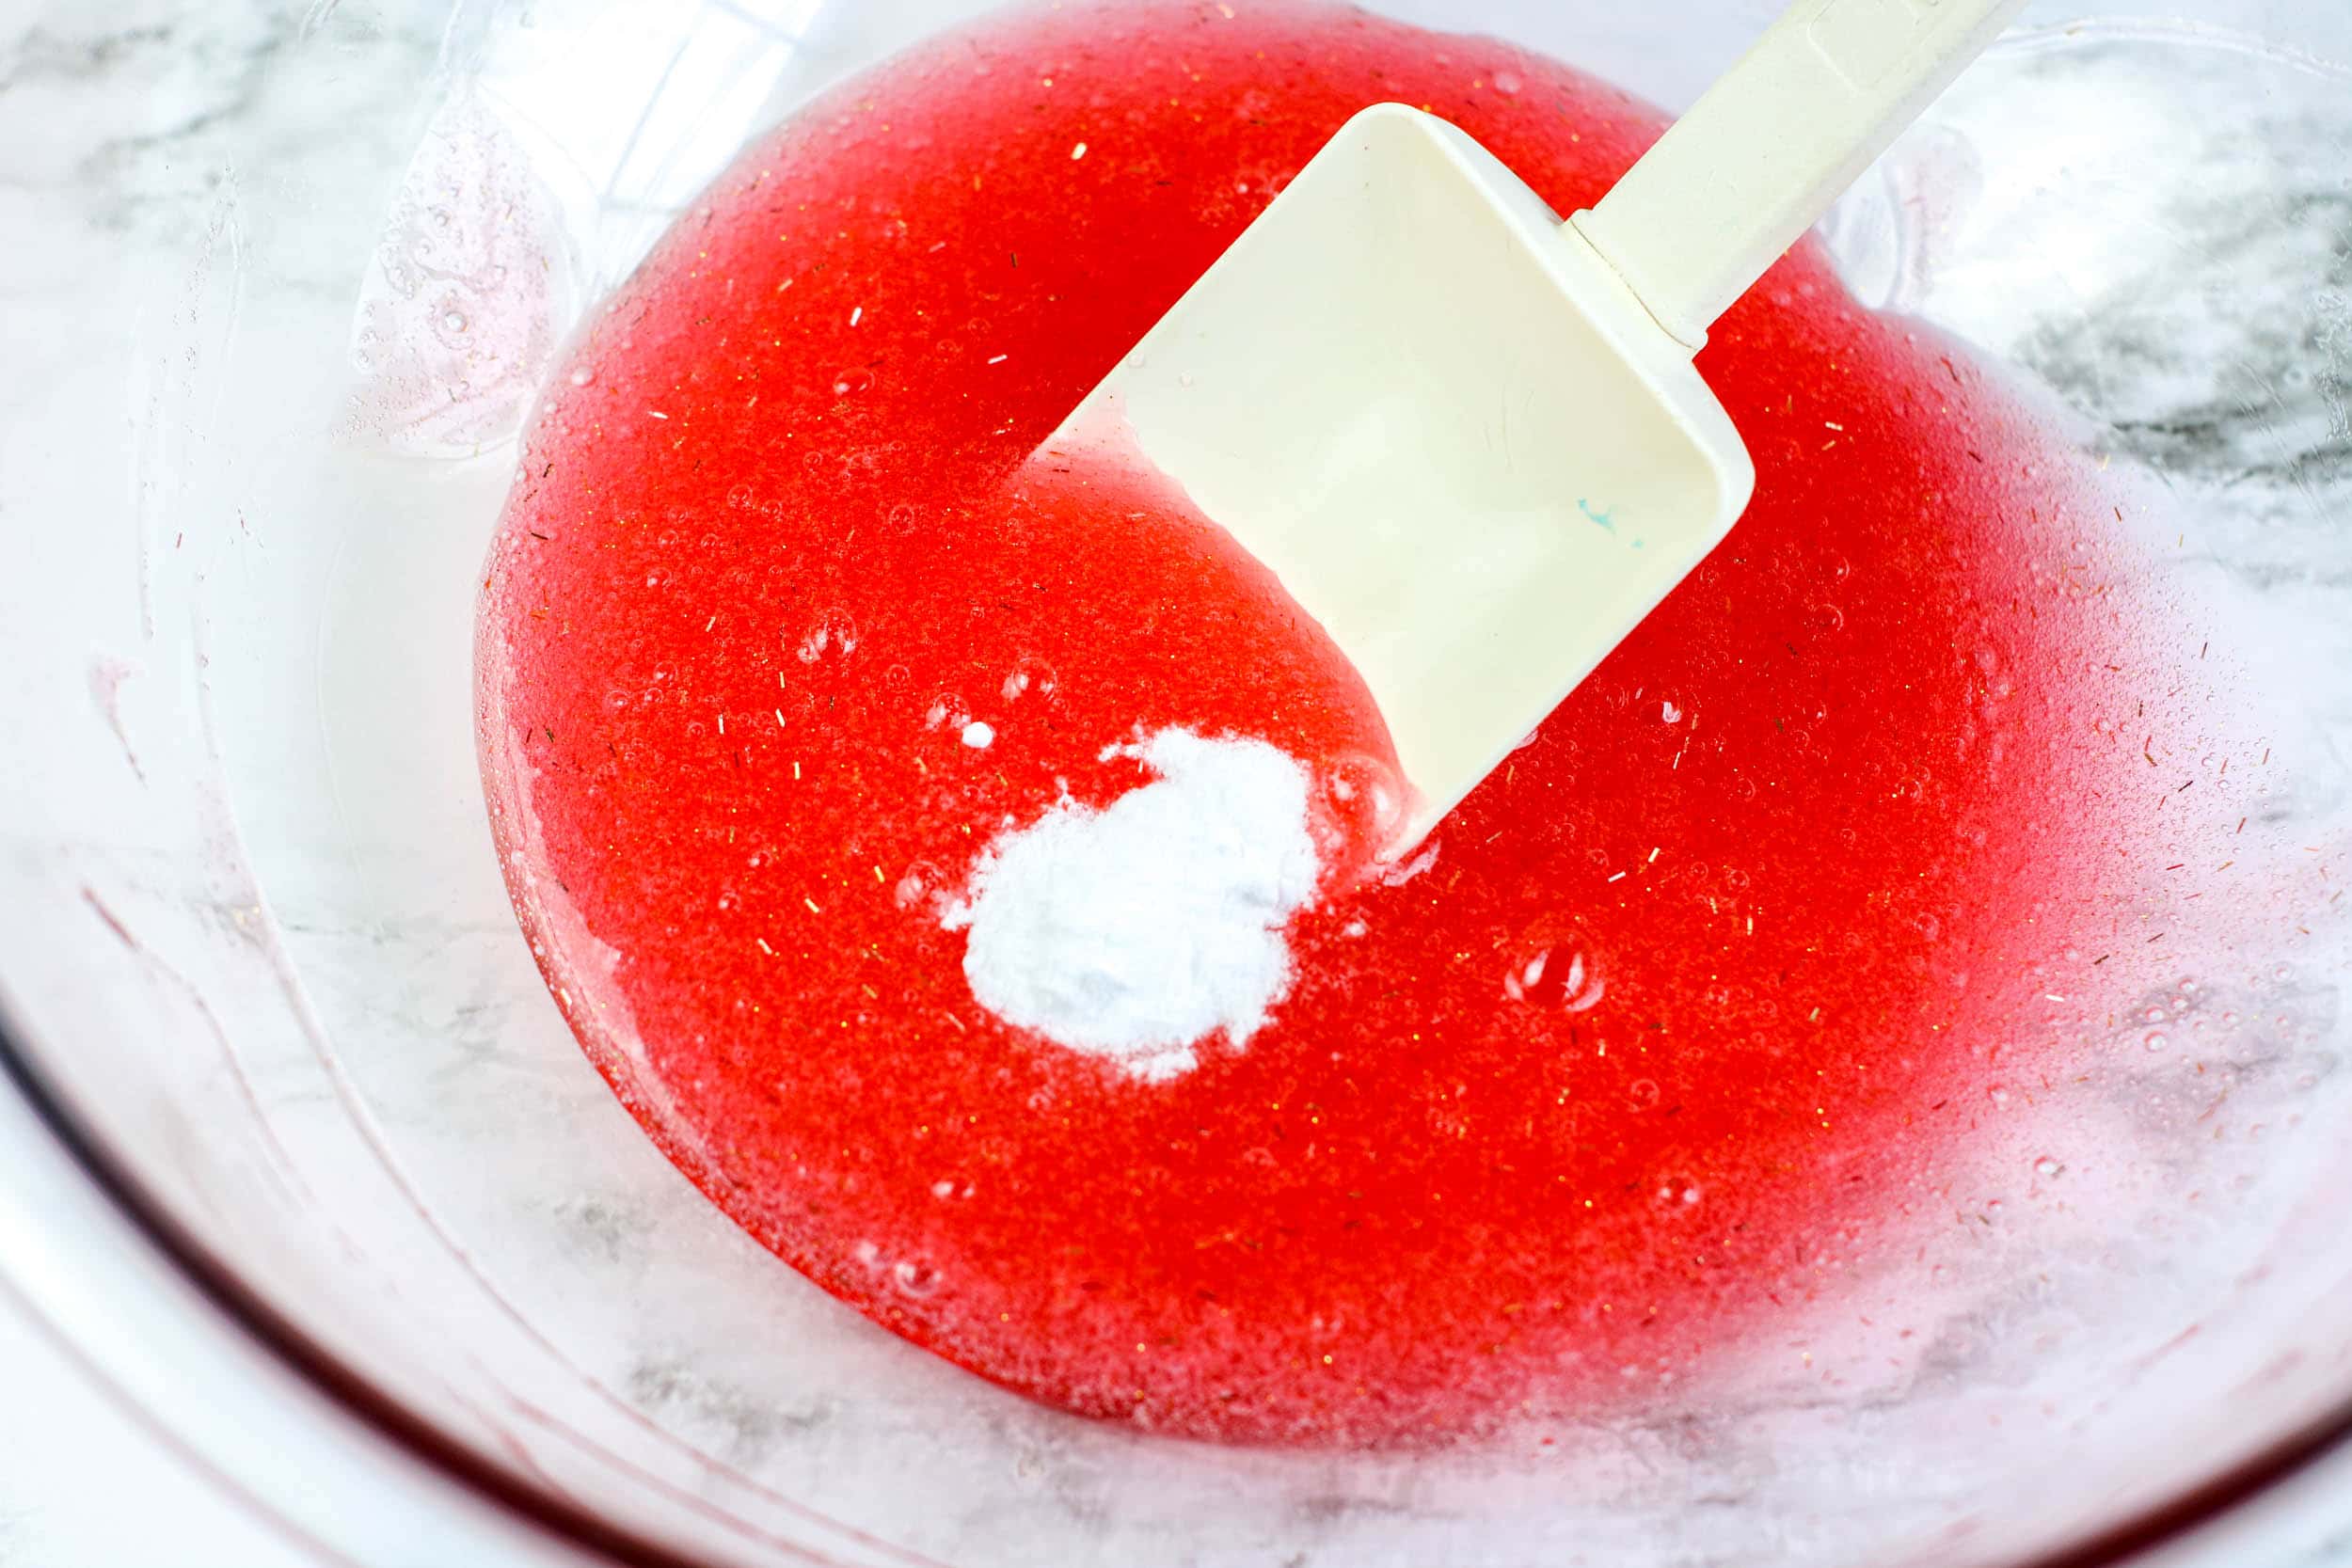
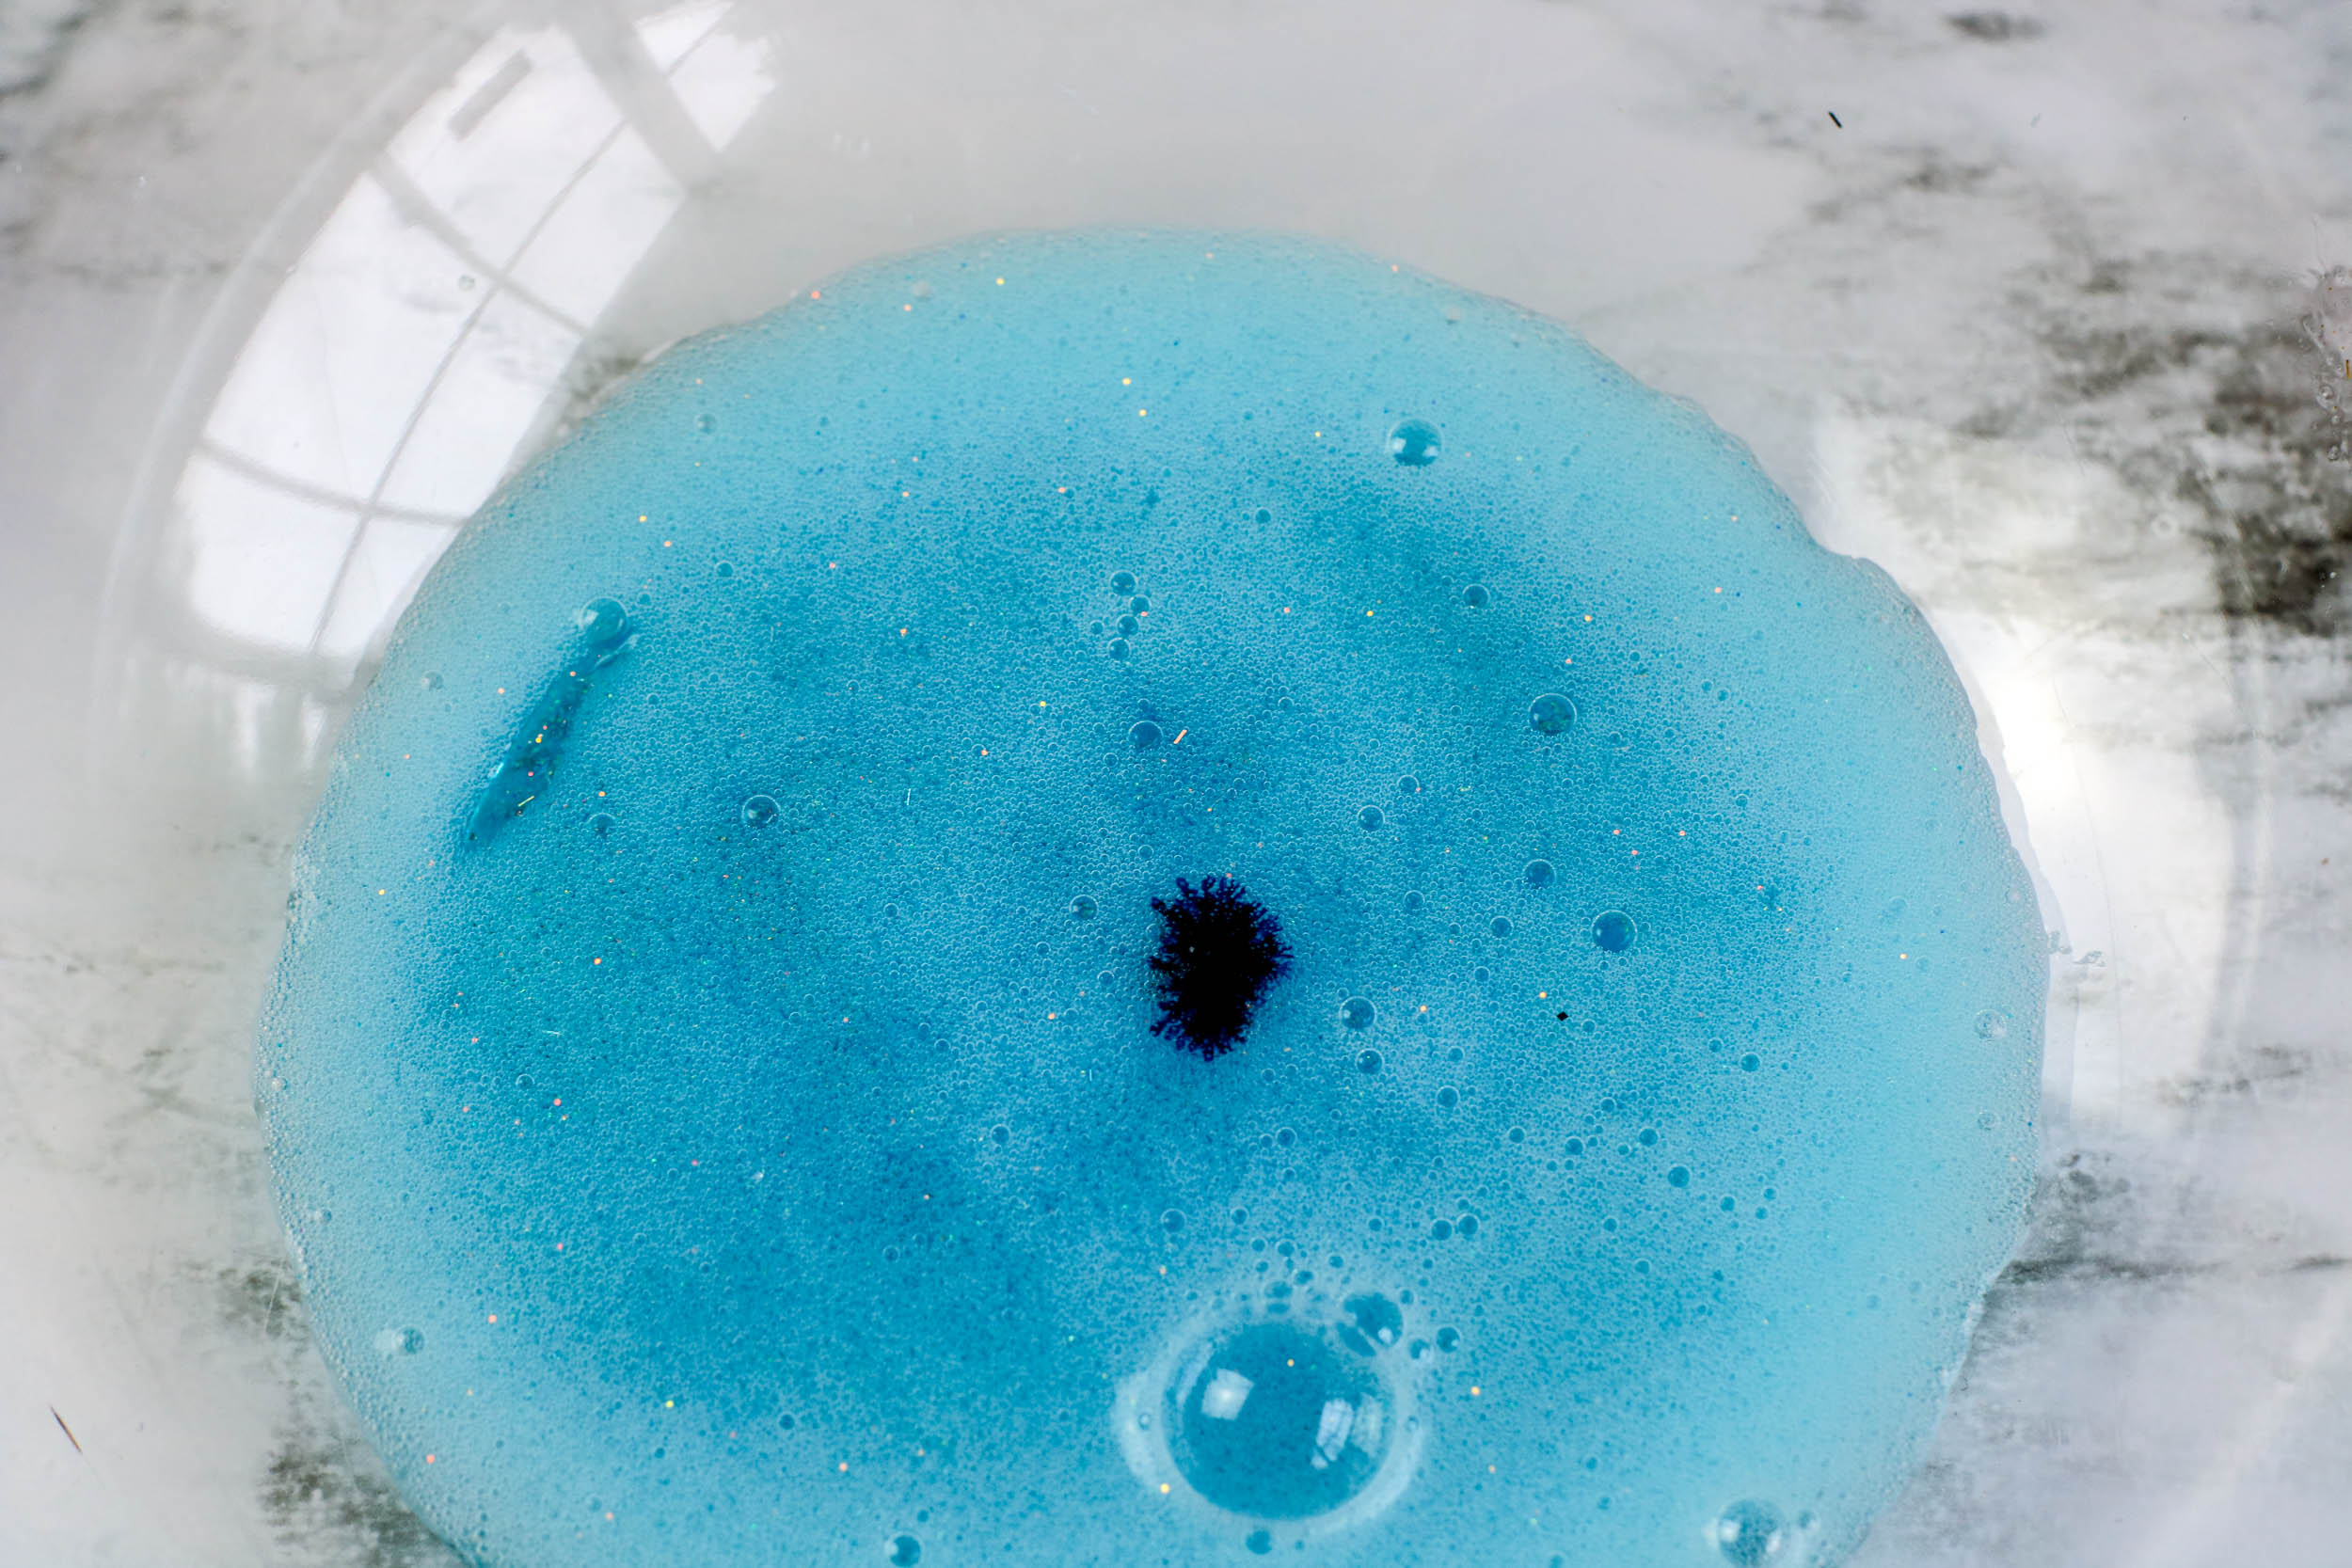
Next, fill each empty glue bottle about 1/3 of the way with warm water. Seal all of the lids back on and then shake each bottle well, so that the leftover glue gets mixed in with the warm water. Then pour the contents of each bottle into its respective bowl. Add the baking soda (1/2 tsp per batch) to each bowl. Mix each batch separately and thoroughly.
Your red and blue glues probably already have glitter in them. However, if they don’t (or if you just want more) go ahead and add that to the batches at this point. White glue is typically pretty boring and glitter-less, so now is your chance to bling it up!
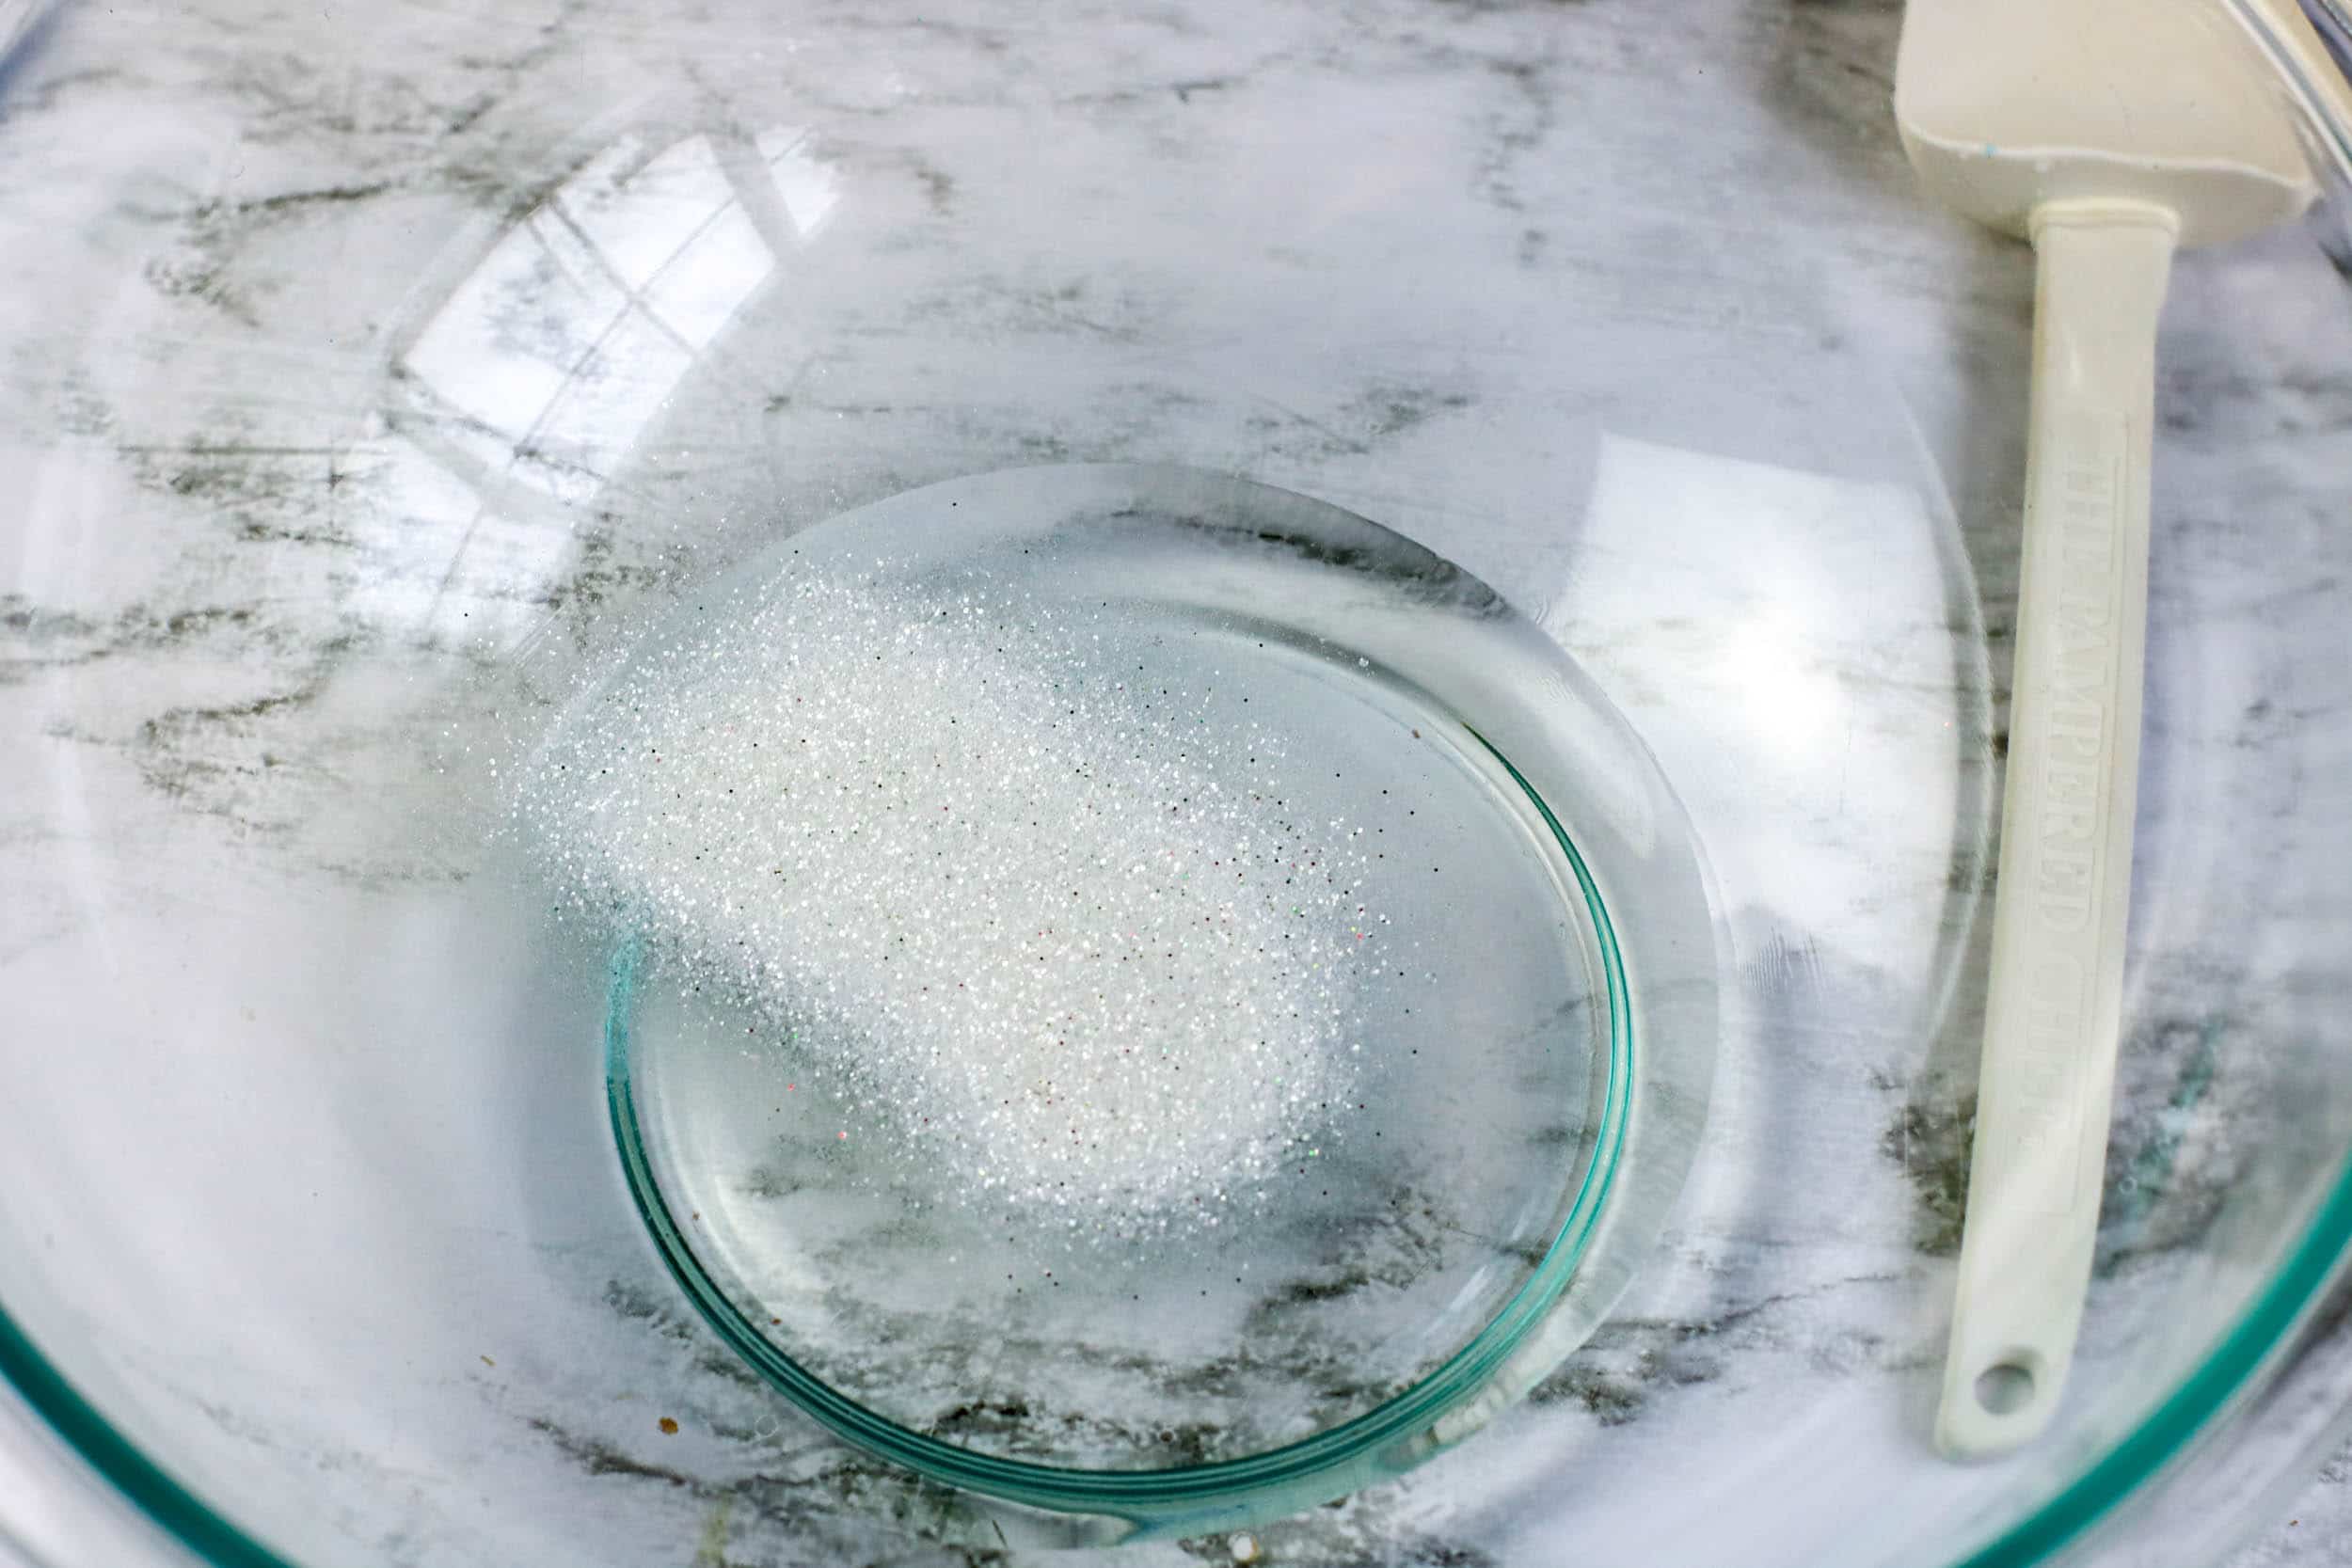
Once your slime is firework-level sparkly, add the contact lens solution to each individual batch and stir well, until the glue starts to bind together into a soft ball.
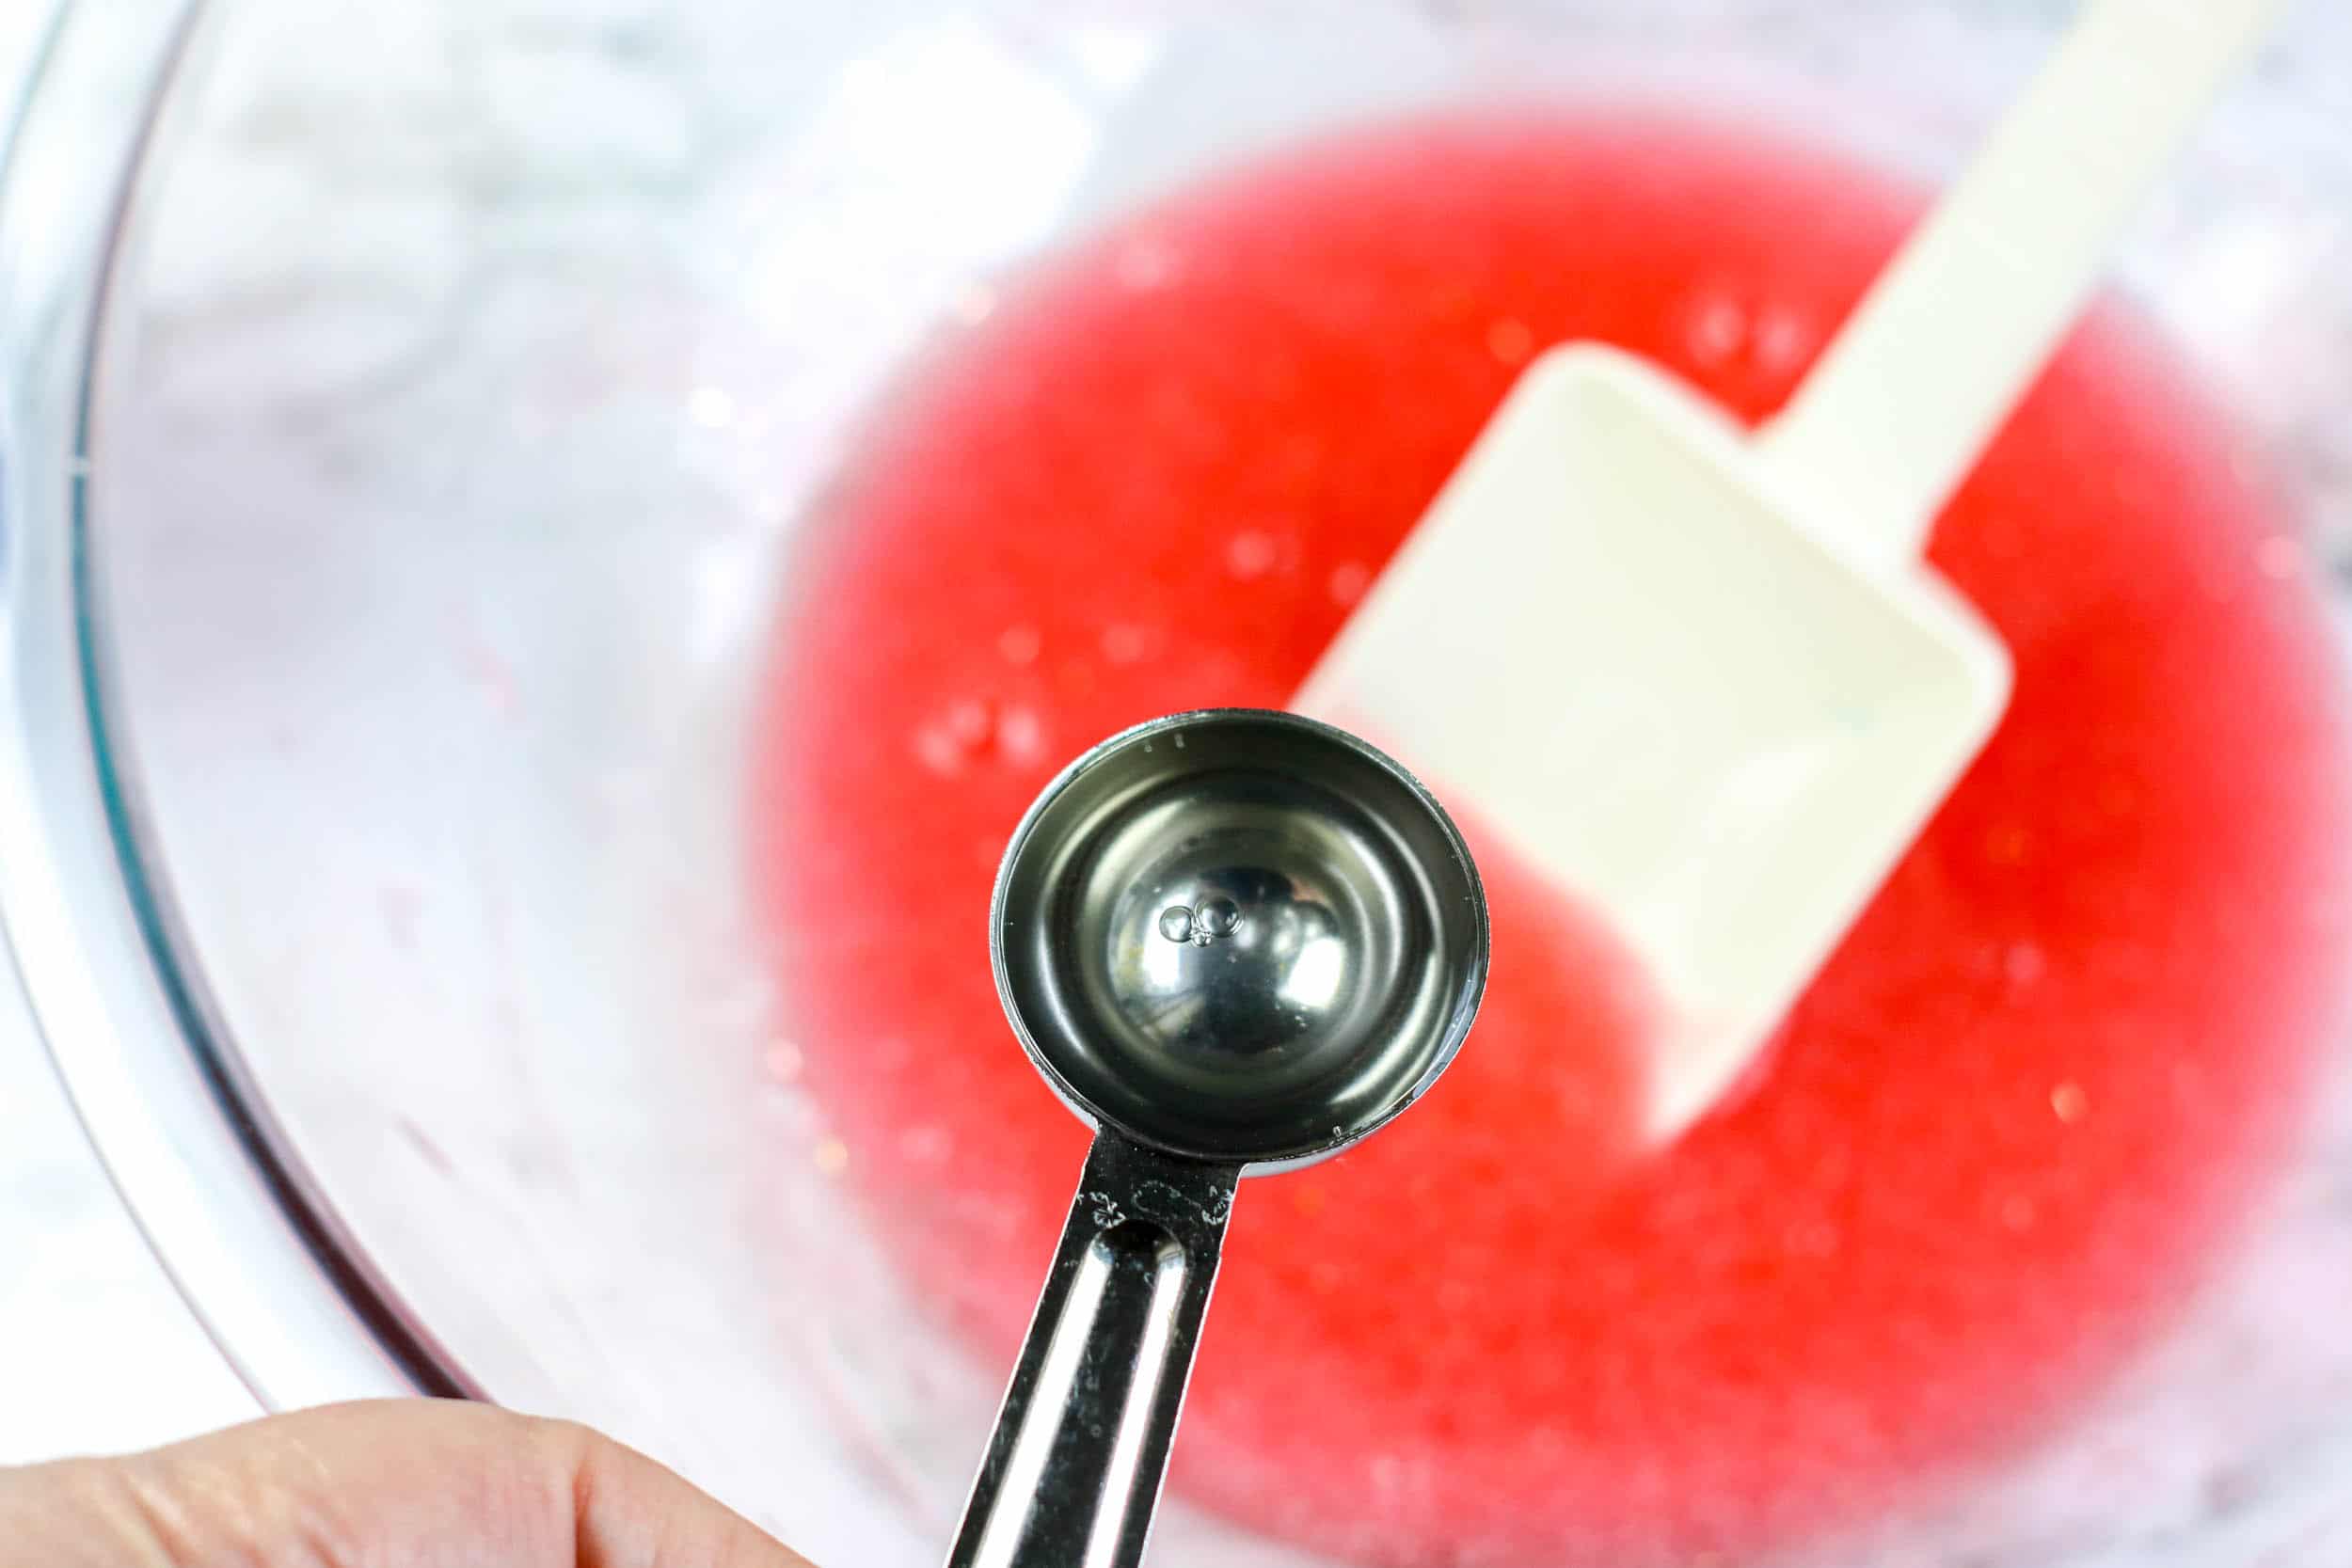
Once each batch of slime has formed a soft ball, you’re almost finished. There’s one more important step, and it will probably be your child’s favorite part! After you mix in the contact solution, the slime will be super sticky and there’s only one way to fix that: you have to play with it! You’ll need to work the slime–knead it, stretch it, and just have fun with it. This will gradually resolve its super-sticky nature and make it into the final product. When the slime is no longer sticky, you have the final product!
That’s all there is to creating this sparkly red, white and blue slime! You can store your patriotic slime in an airtight container in the refrigerator to keep it in good condition, longer. We hope you enjoy this fun craft (and the end result) with your kids this 4th of July!


