How to Grow a Pizza Garden in One Pot
What will your children say when you tell them you’re going to grow a pizza in your backyard? Will they ask for a cow, too, so they can make cheese? Gardening is a wonderful way to make memories together as a family and a great way to excite your kids about eating well. Make it fun by growing a pizza garden together!
PLANT A PIZZA IN YOUR BACKYARD
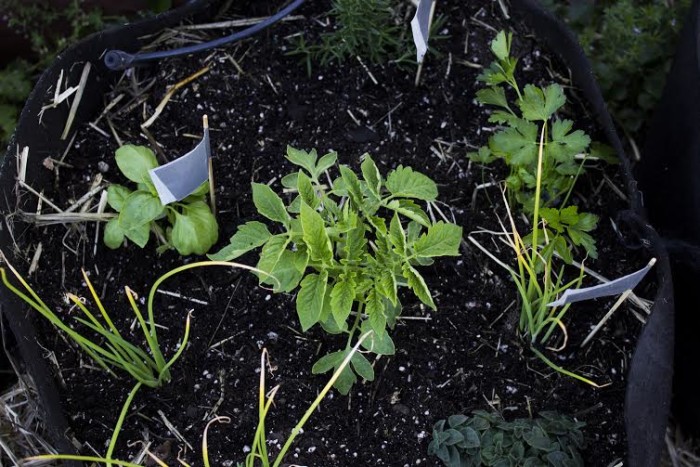
Growing a pizza garden is an easy one-pot project you can do together in an afternoon. Just follow these seven simple steps for growing fresh, nutritious vegetables and herbs and in a few weeks, you’ll have your very own homegrown pizza. {Don’t forget to read the tips at end!}
STEP 1: FIND A SUNNY GROWING SPOT
Before you zip off to the plant nursery, decide where your plants will live and grow until they’re ready to top your pizza pie. Look for a space in your garden that’s level (or nearly-level) and very sunny–not windy, and near a water source.
Once you find your growing spot, you’re ready to move to Step 2: Go shopping!
STEP 2: SHOP FOR SUPPLIES
Begin by creating a list, or you can print this basic list of supplies to take with you. It includes what you need to get started.
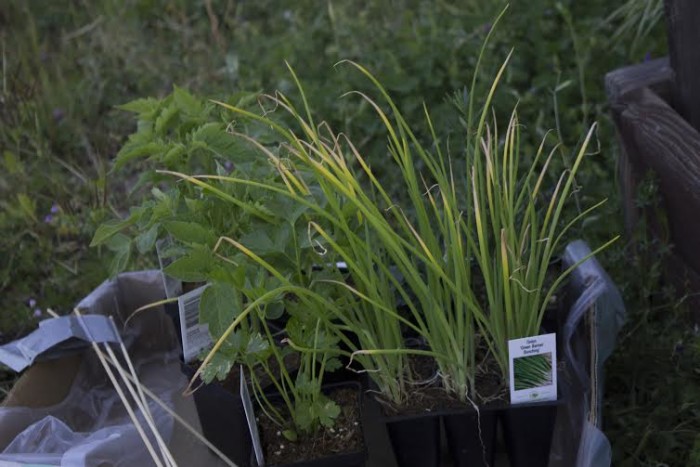
PLANTS
You need plants, of course.
- 1 Roma or San Marzano Tomato
- 1 Greek oregano
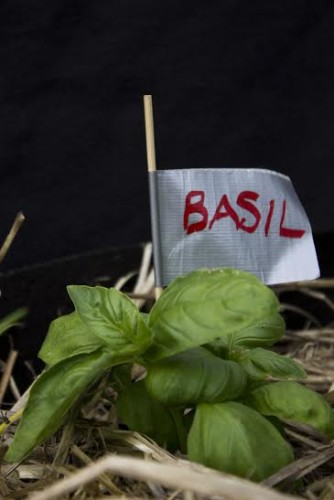
- 1 Sweet basil
- 2 Italian parsley
- 1 Rosemary
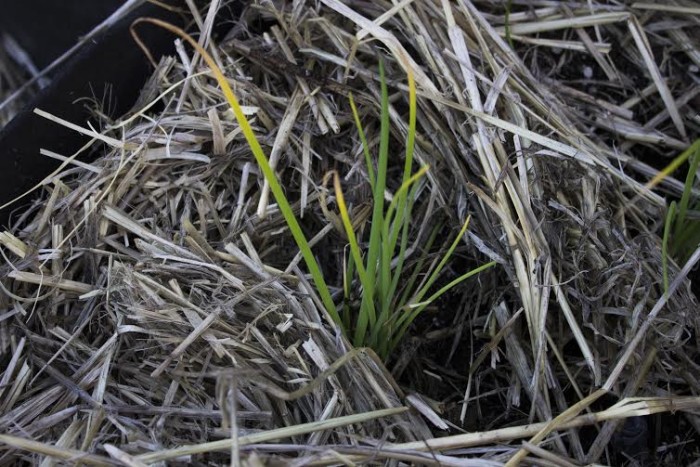
- 22 Onions (we used bunching onions)
Other good choices include
- Bell pepper
- Garlic
- Chives
- Leeks
- Thyme
- Oregano
- Arugula
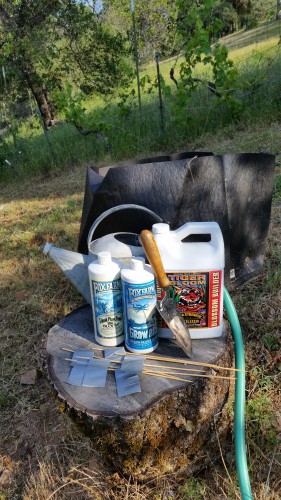
GARDEN SUPPLIES
- large garden pot. Choose a deep pot. Tomatoes need depth. I like SmartPots in 30-gallon size or larger .
- high-quality potting soil (I like Fox Farm).
- compost
- mulch (I like straw hay). Nurseries and farm/feed stores carry straw.
- fertilizer (I like Fox Farm’s Grow Big).
- drip irrigation, watering can and/or hose with adjustable nozzle
- gardening gloves
- hand trowel
- plant markers (I make plant markers using kitchen bamboo skewers, duct tape, and paint pens.)
- tomato cage
Now you’re ready to start getting dirty! Move to Step 3: Planting!
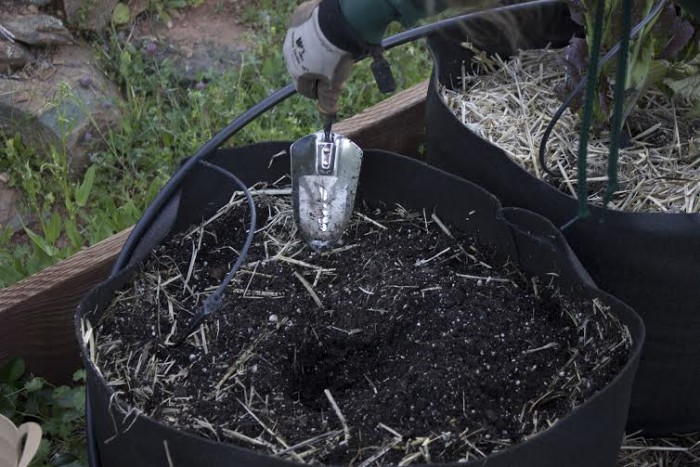
Prepare your planting bed
Mix your potting soil and compost together your pizza garden pot. If you’re using commercial products, follow their recommendations for mix ratios.
Add your plants to the soil
- Your plants should come with planting and care instructions (Not like children!) Follow the instructions. Nursery owners do the best they can to make buying and caring for plants easy.
- Before you remove your plants from their nursery pots, set them in the planting area to check for spacing. (The plant tags the accompany your plant will include recommended spacing.)
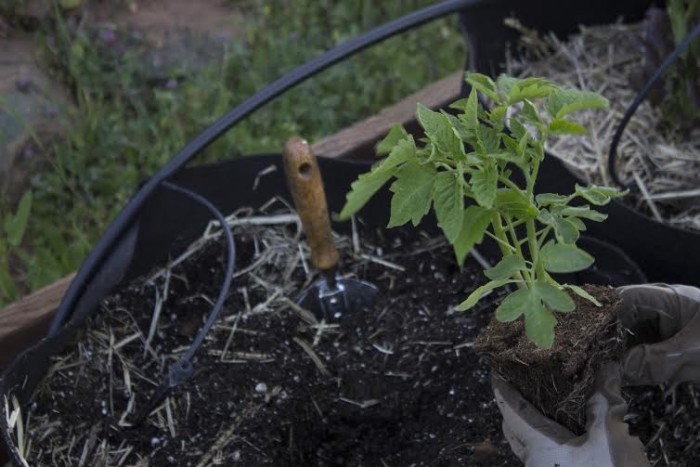
- Plant your tomato first.
A Little Something About Planting Tomatoes:
- Put it in the middle of your growing space. It will grow to be the largest plant in your pizza garden.
- Plant your tomato deeply, so the first level or two of leaves is buried. This helps the tomato plant develop a stronger root system.
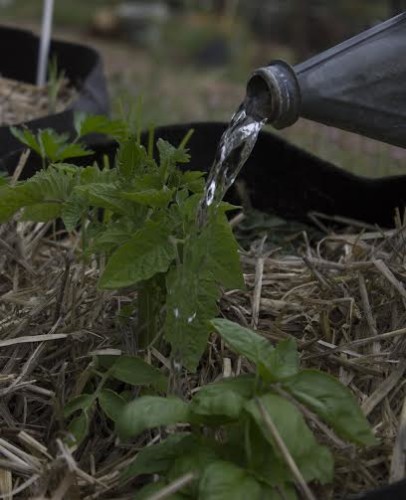
- Young tomato plants need 1 quart of water every day for 7 -10 days. Water the roots, not the leaves.
- Use your fingers to gently pinch off any damaged leave or stems
- Gently loosen the roots. (Called “teasing” the roots.)
- Put a support cage over your tomato plant now. (It’s harder to do later.)
Add your remaining plants.
Follow the plant-spacing recommendations for each plant type.
Plant all non-tomato plants to the same depth they were planted in their original pots.
(*I use the term “plant”, but technically you’re transplanting.)
Step 4: LABEL YOUR PLANTS
Trust me. You won’t remember what you planted where. So at the same time you tuck your new darlings into their dirt beds, add plant ID markers along with them. You can use the tags they come with or make your own.
Step 5: MULCH. MULCH. MULCH.
Mulch is a gardener’s best friend. A heavy layer of straw mulch (3 to 4 inches deep) keeps water in and weeds out! A healthy layer of mulch also works like to a blanket to maintain a constant temperature for your plant’s roots. They’ll be less likely to experience “shock” if there’s a sudden change in temperature.
STEP 6: WATER
Follow the watering instructions that come with your plants.
Water daily for 7-10 days to keep the soil moist and the roots growing. Don’t over water.
Special Note: Roma or San Marzano (best choice) tomatoes need 1 quart of water every day for 7 days. Herbs–basil, oregano–need less water.
STEP 7: HARVEST
Harvest your pizza garden and enjoy a deliciously nutritious, homegrown pizza!
Roma tomatoes need about 60 days to develop “fruit.” The herbs will be ready to harvest sooner.
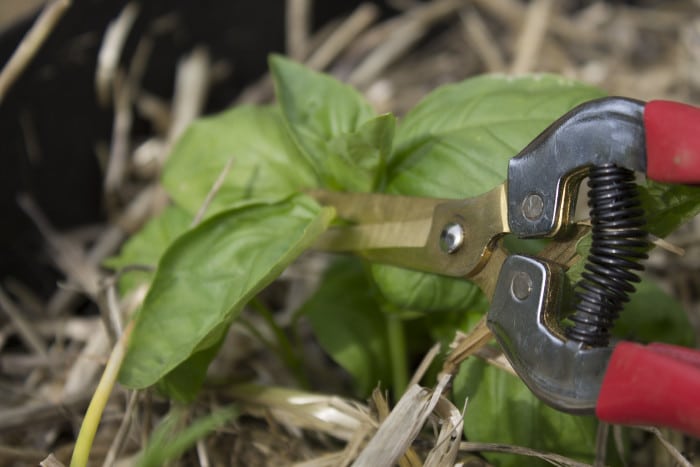
Use garden snips to harvest leaves from oregano and basil.
Have Fun Growing Your Pizza Garden
Learning to grow a pizza garden is a wonderful way to encourage your kids to enjoy pizzas loaded with fresh, homegrown vegetables. And, since gardening crosses so many different academic areas, it lends itself perfectly to unit studies. Botany, entomology (study of insects), horticulture, geography, physical geography, math, spelling, history, and life skills can all be covered in one beautiful afternoon in the garden. Use your imagination to make it fun and rewarding.
BONUS GARDEN TIPS
- Make a simple craft project out of creating identification markers for your plants. Use Duct Tape, bamboo kitchen skewers, and paint pens to make “flags” displaying the plant’s name.
- Mulch HEAVILY with straw to save water, time, and keep your plants happy.
- Using a Big Bag Bed is a no-dig planting choice that also keeps your plants safe from foot traffic.
- Erect a fence or barrier to keep your plants safe from dogs or animals who might nibble on your pizza plants before you do.
- Use an automatic watering system to provide the right amount of water at the right time. (It’s also a great time-saver!)
- Keep your eye on the weather in case you need to defend your plants from extreme heat or cold.
Extra Fun Project: Make A Big Round Pizza Garden
If you have the space, time and energy to create a BIG pizza garden in the ground, try this!:
- Use a garden spade to draw a circle with a 4- to 5-foot diameter.
- Use stakes and string, rocks, or chalk to create triangular “pizza” slices
- Plant within the slices, putting the tallest plants (tomatoes) in narrow tips of the triangles toward the center of the circle
- (optional) Instead of digging, use a Big Bag Bed 4-ft diameter.
Happy Gardening!
Sally Olson

Sally’s son Samuel snapped all the beautiful photos for this post. Samuel Olson, a sophomore in homeschool high school, is a self-taught photographer. He lives in rural Northern California with his family where he practices his life long interest in photography by capturing landscapes and wildlife in digital form.
Follow Garden Valley Homestead on Social Media for more great tips!
Facebook, Pinterest, and Twitter!


