Paper Plate Poinsettia Craft

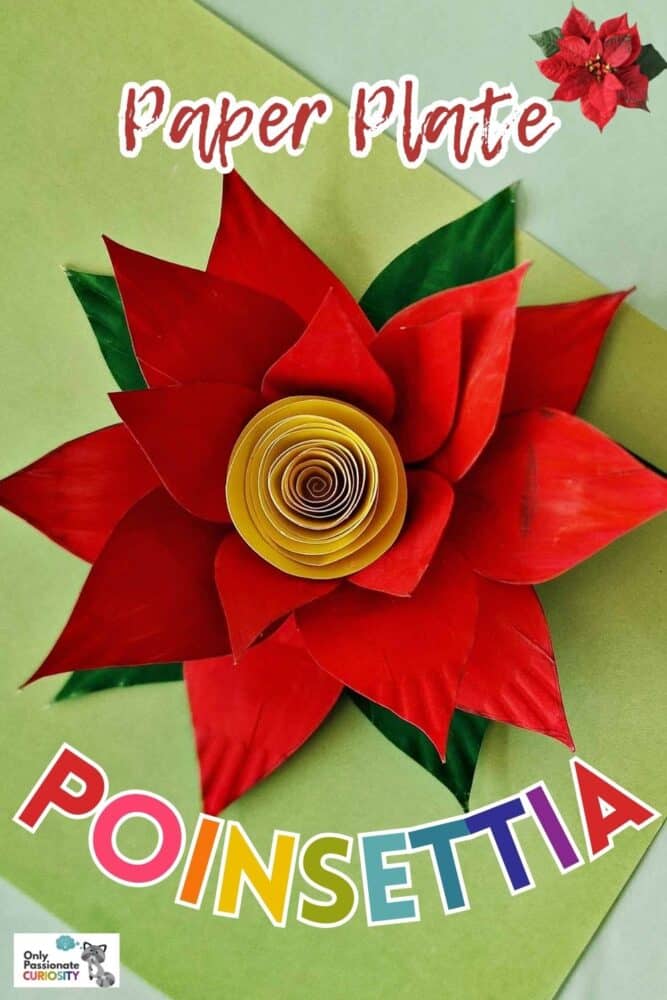
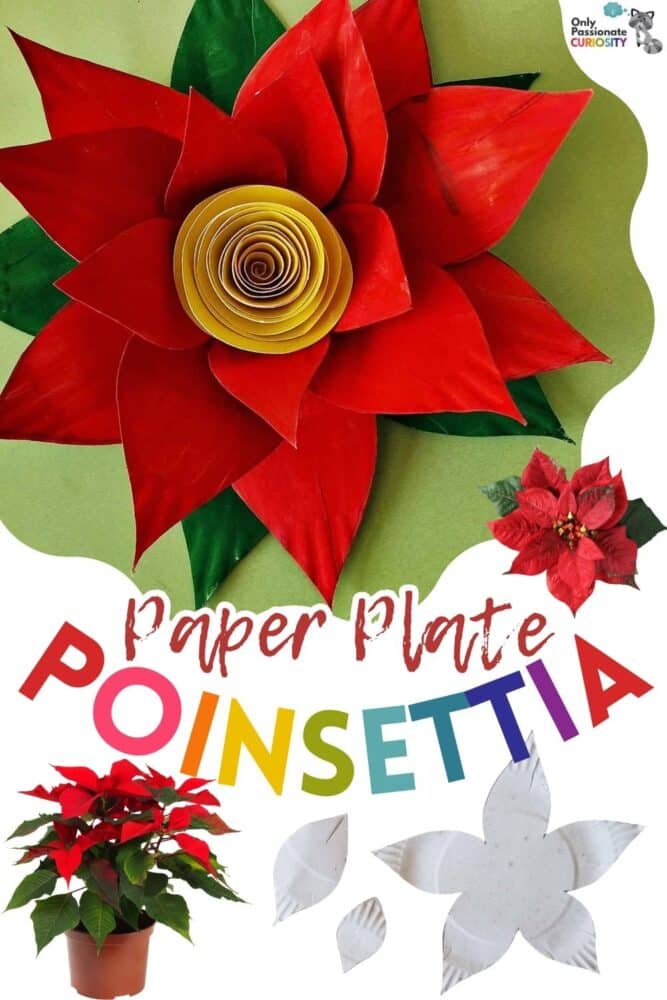
Poinsettias are a traditional holiday flower, and it’s not hard to see why! The bright red leaves are just beautiful, and add a lovely splash of color to a white or snowy landscape. This poinsettia craft gives you and your kids the opportunity to add that splash of color to your home décor and enjoy some fun crafting time together in the process.
Keep in mind that this craft will have two stages. You need to paint the paper plates red in advance and let the paint dry completely before the stage of cutting and gluing the poinsettia craft together. So, you might want to pull out the paints and brushes and let your kids do the painting one day, and then the next day work together to assemble the flowers.
List of Supplies for Poinsettia Craft:
- Paper plates (white is best if you want to paint it; if you have red paper plates, then you can skip the painting part)
- Colored craft paper
- Acrylic paint
- Paint brush
- Craft glue
- Pencil
- A pair of scissors
- Poinsettia Template (opens in new tab)
Instructions for Poinsettia Craft:
Step 1:
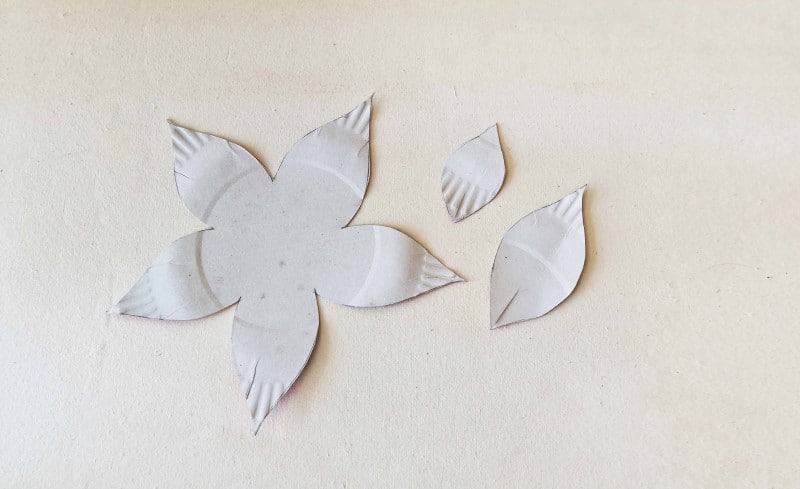
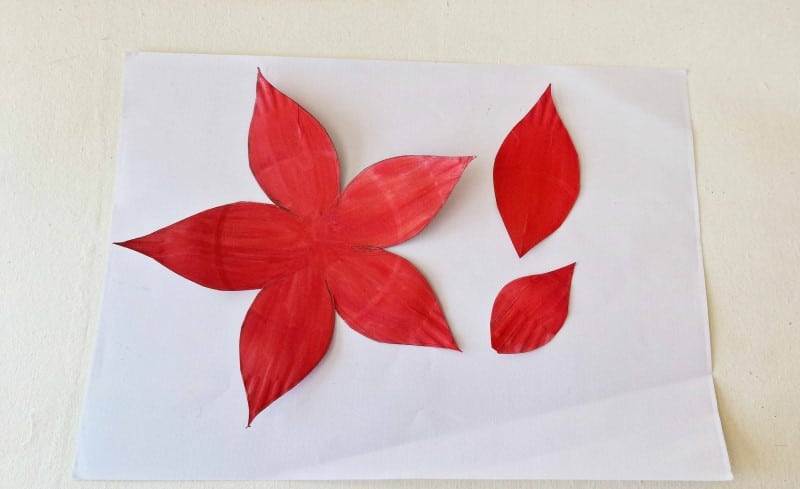
You can use the provided template or draw a freehand pattern for the flower according to the size of the paper plate you have. The template includes a 5-petaled flower base, a small petal and a big petal pattern. You will want to trace and cut out 4 or 5 pieces of the small and big petals.
Step 2:
Apply red acrylic paint on the paper plate. If the paper plate you’re using is colorful, paint it with white for the base layer. Once the base layer dries completely, you can then use the red paint. Again, allow the paint to dry completely before moving on to the next part of the poinsettia craft.
Step 3:
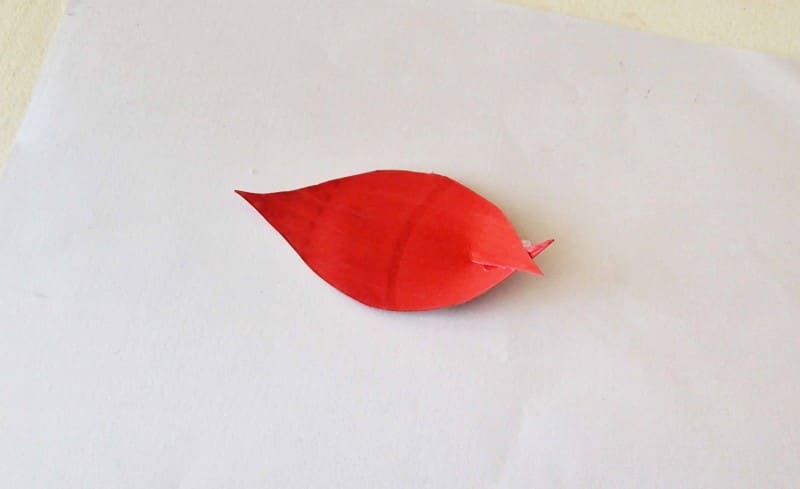
Take a petal and use scissors to cut a 1-centimeter slit from any one end of the petal.

Step 4:
Overlap both sides of the slit and apply glue to join the overlapped parts.
Step 5:
You’ll need to repeat steps three and four for the rest of the petals.

Step 6:
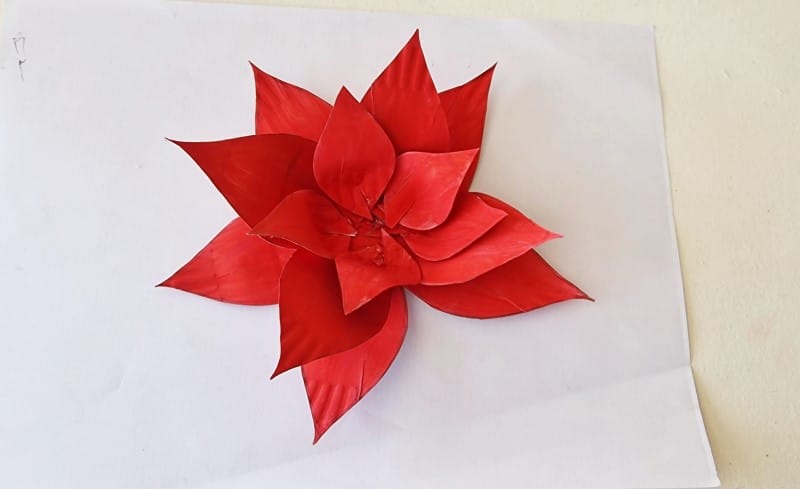
Place the base pattern on a flat surface. Glue the big petals around the base pattern, slightly away from the center.
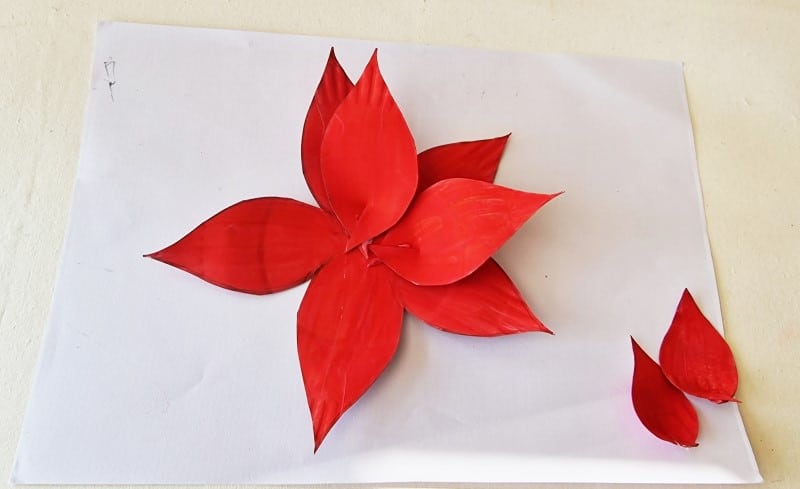
Step 7:
You can glue 4 or 5 big petals on the base. Whatever looks good to you.
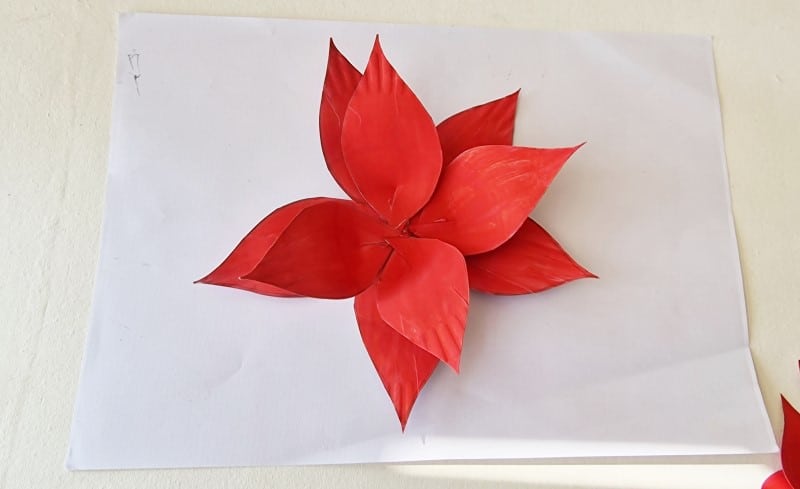
Step 8:
Now add the small petals and arrange them nicely. Then glue them to the base to give the flower a nice, blooming look.
Step 9:
Trace and cut out the twirl pattern from a piece of yellow craft paper.
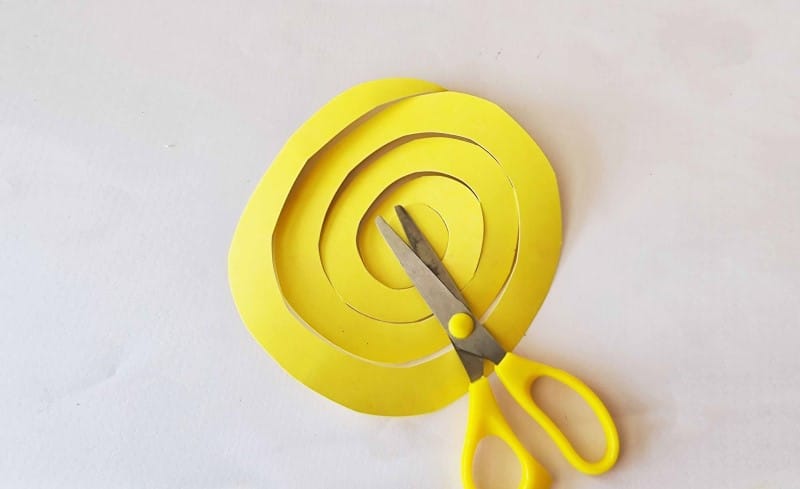
Step 10:
Begin to coil the twirl pattern from its outer edge and coil it all the way to the center. Apply glue to secure the coiled part with the center.

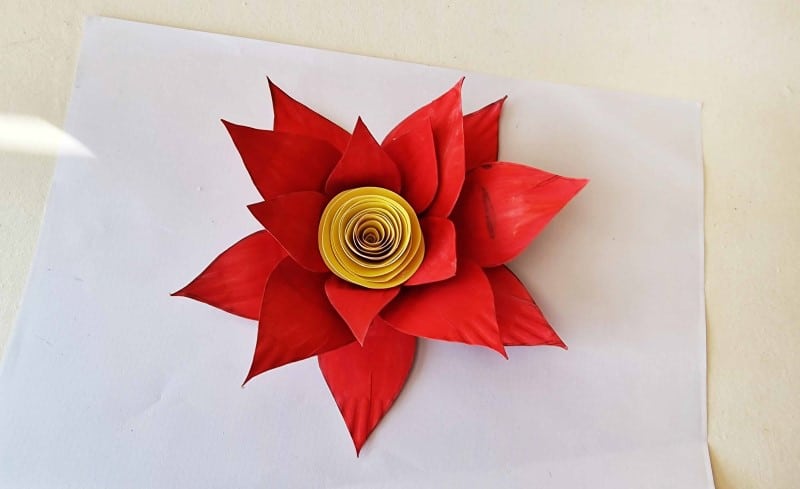
Step 11:
Now, glue the coiled pattern in the center of the paper plate poinsettia flower.
Step 12:
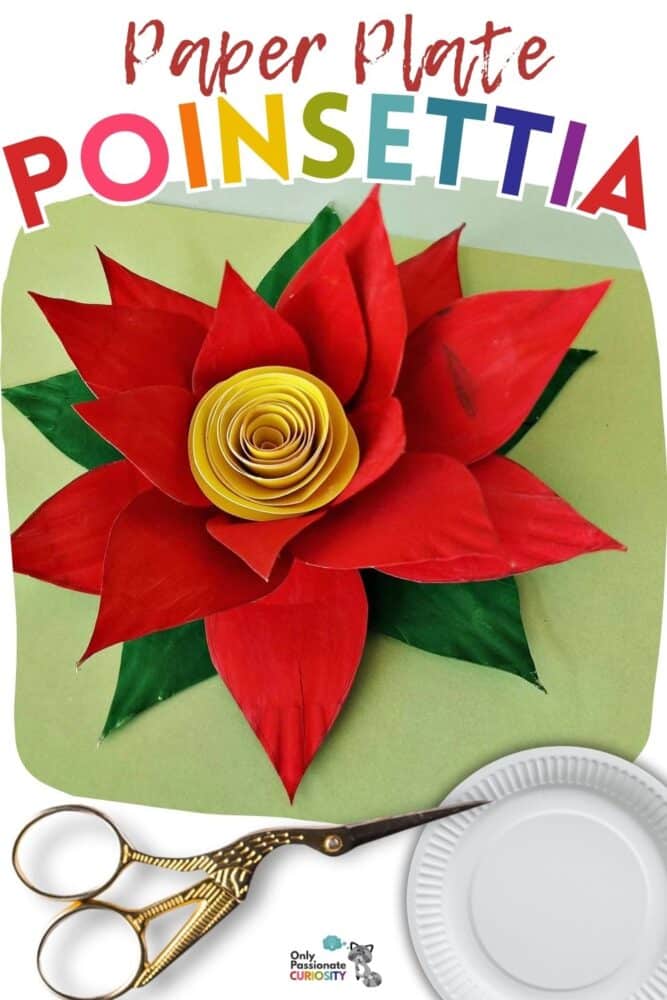
You can use the flower base pattern for the leaves as well. Apply green paint on it and allow the paint to dry. Glue the green leaf-base pattern under the flower pattern to finish your paper plate poinsettia craft.
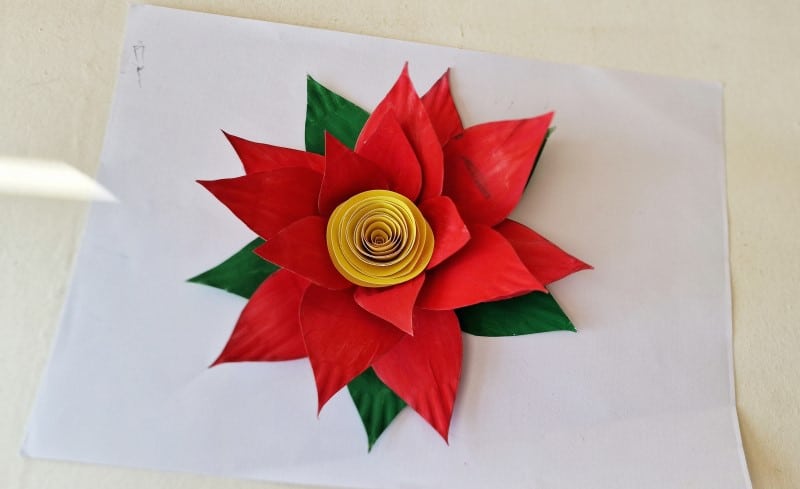
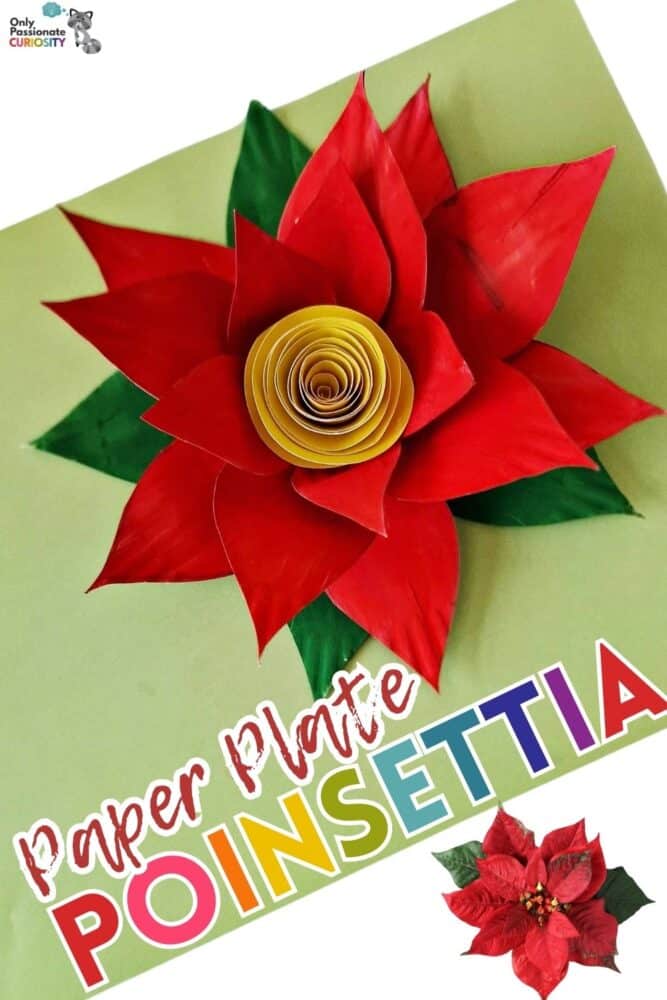
The result is so pretty and festive, isn’t it? You can probably think of a variety of ways to put these up around your house as holiday décor. You can also use them as special, handcrafted gift-wrapping decorations instead of the usual store-bought bows.
More Poinsettia Crafts
Looking for another poinsettia craft, along with some fun facts about poinsettias? Check out this pretty poinsettia origami craft.
Another lovely poinsettia craft idea is making tissue paper poinsettias. This fun art activity goes along with reading the classic children’s author Tomie dePaola’s book, Legend of the Poinsettia.