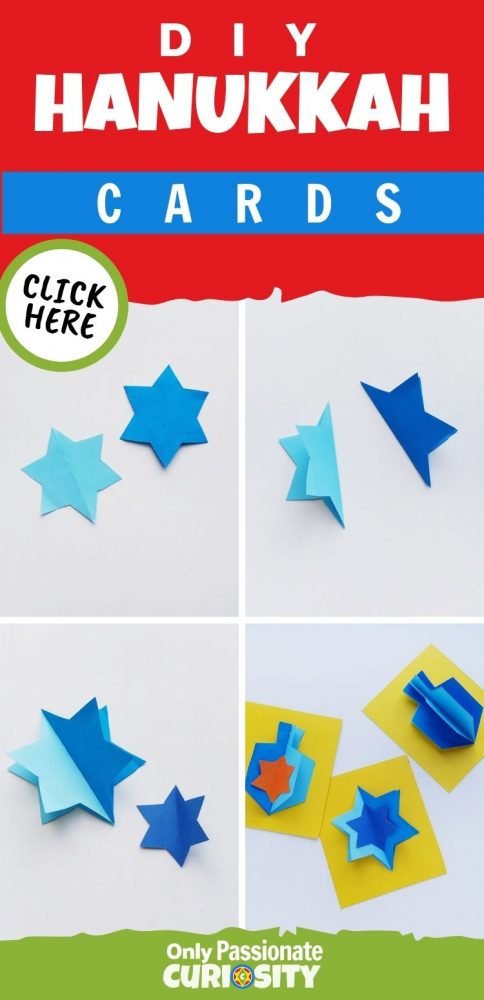
DIY Hanukkah Cards!
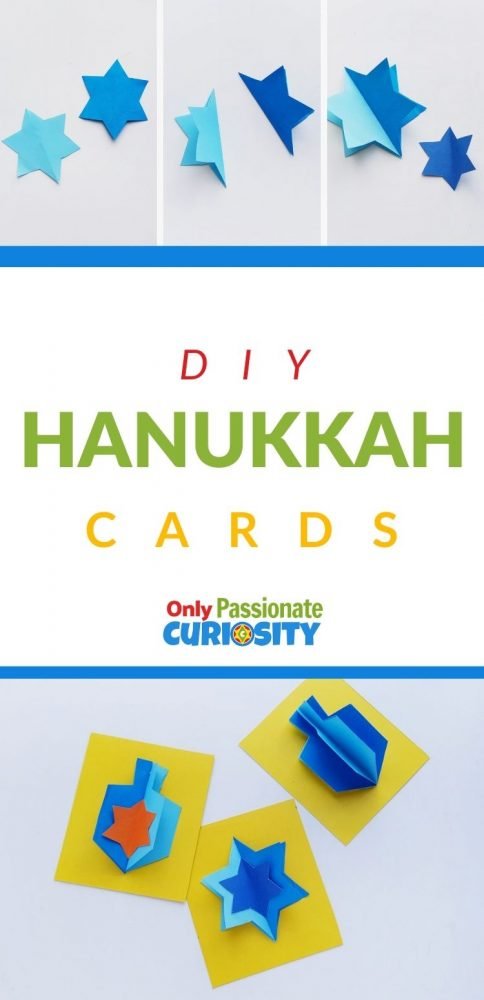
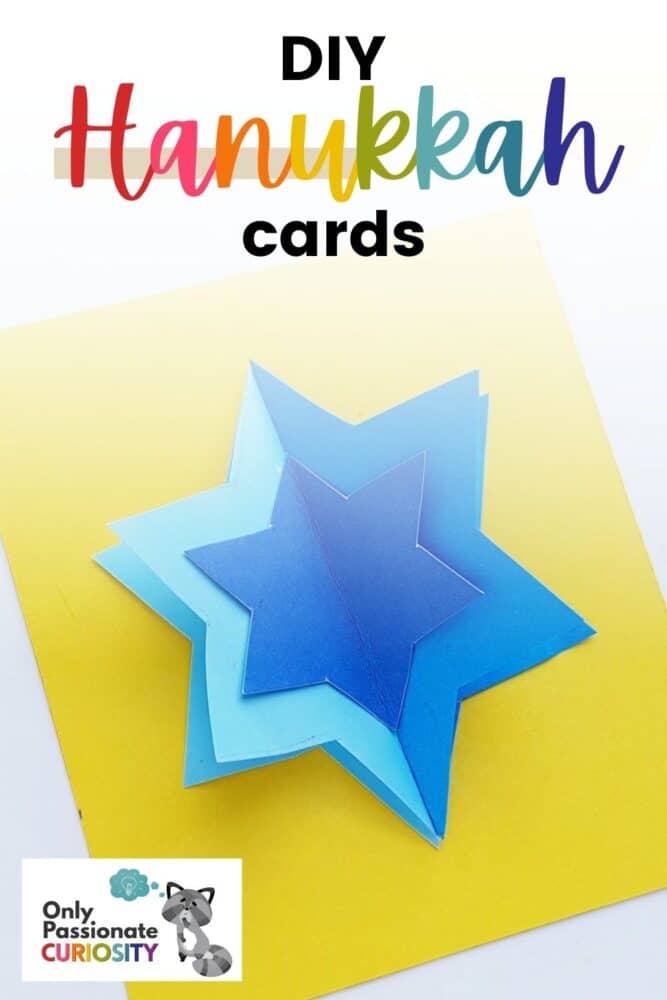
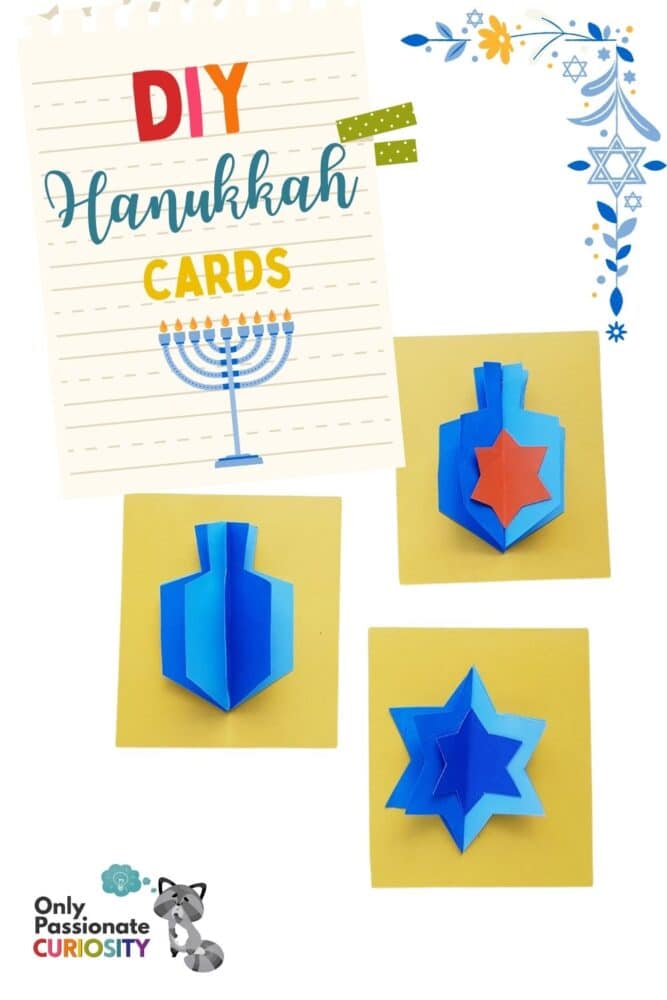
Happy holidays! Today, we’re bringing you some festive DIY Hannukah cards that you can make and give away to light up someone’s life! Hanukkah is also known as the “Festival of Lights.” Whether you are studying Hanukkah as part of your homeschool or celebrate Hanukkah as a family, the templates that come with this project help your children get creative with their DIY Hanukkah cards.
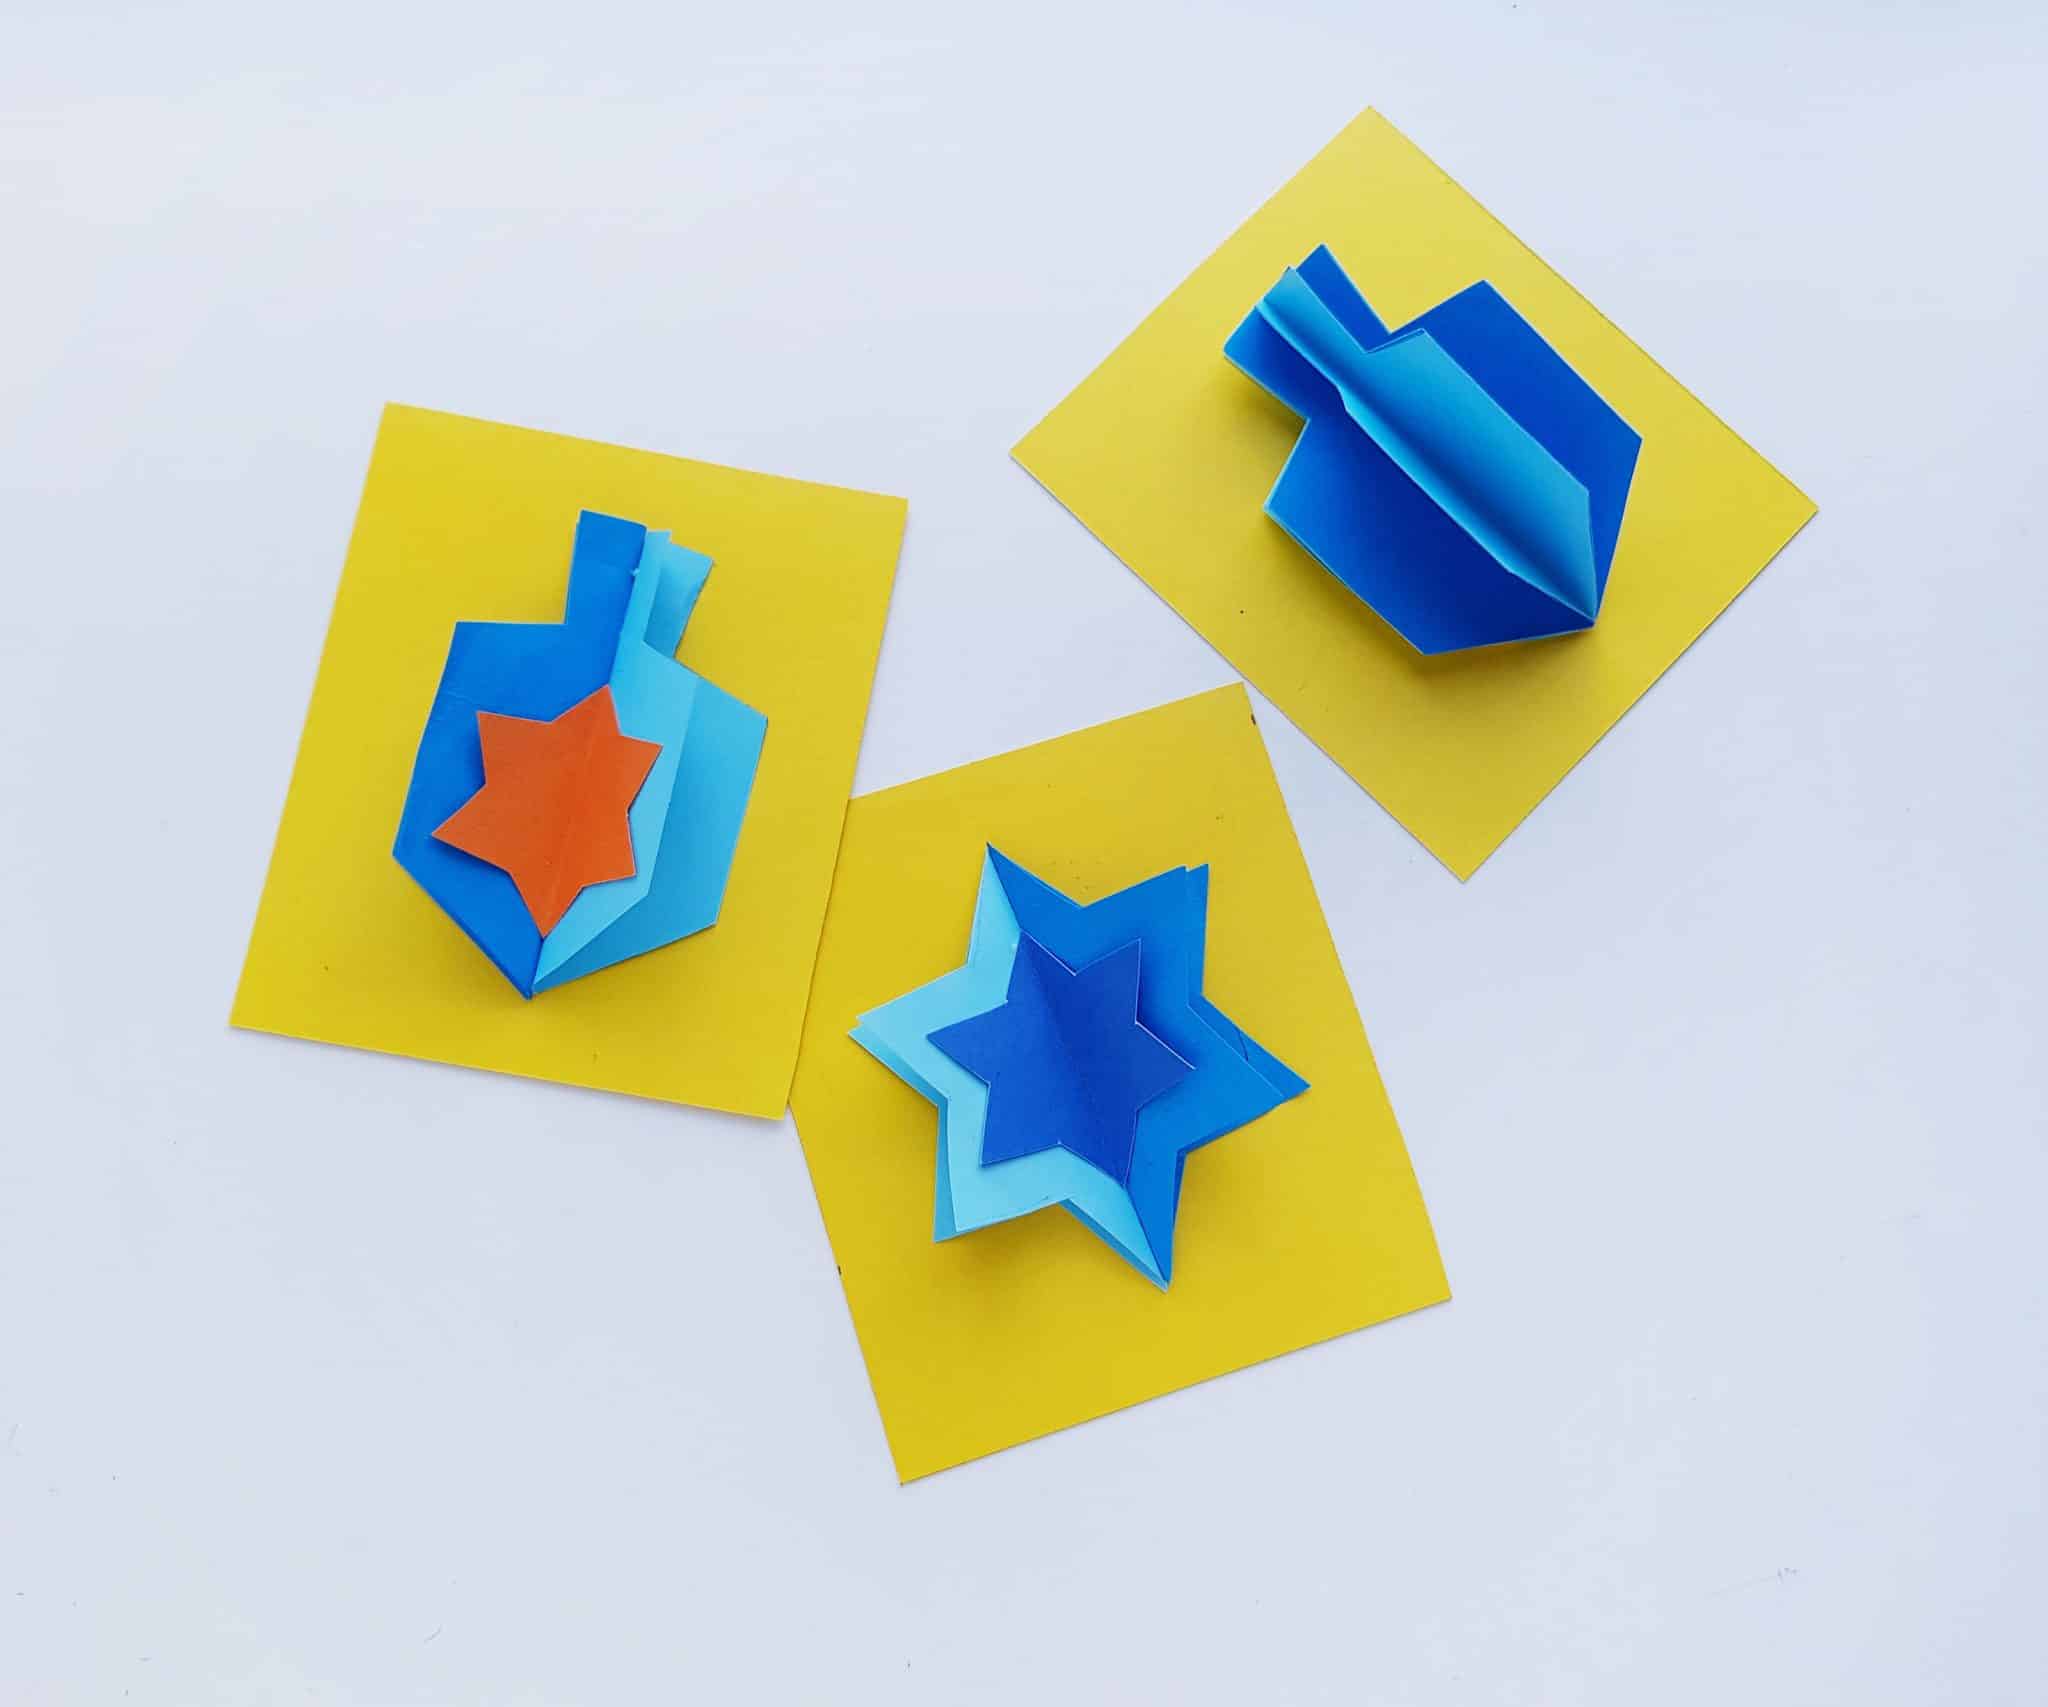
The template patterns (included in the link at the bottom of this post) and instructions show you how to make a 3D dreidel and star of David, which you use in any of number of different designs for your DIY Hanukkah cards! These cards are simple, beautiful and bright. They are especially unique because they have a cool, 3D element. We hope you enjoy making these cards and using them to decorate your home, set a holiday table, or give to friends throughout the season of Hanukkah!
 What You’ll Need
 What You’ll Need
The other really nice thing about these DIY Hanukkah cards don’t require special supplies. You probably already have everything you need to make these cards at home!
Be sure to also download the printable template (link at the bottom of the tutorial) to make your designs.
1.Colored construction paper or cardstock
2. Pencil
3. Scissors
4. Craft glue
How to Make Assemble our DIY Hanukkah Cards
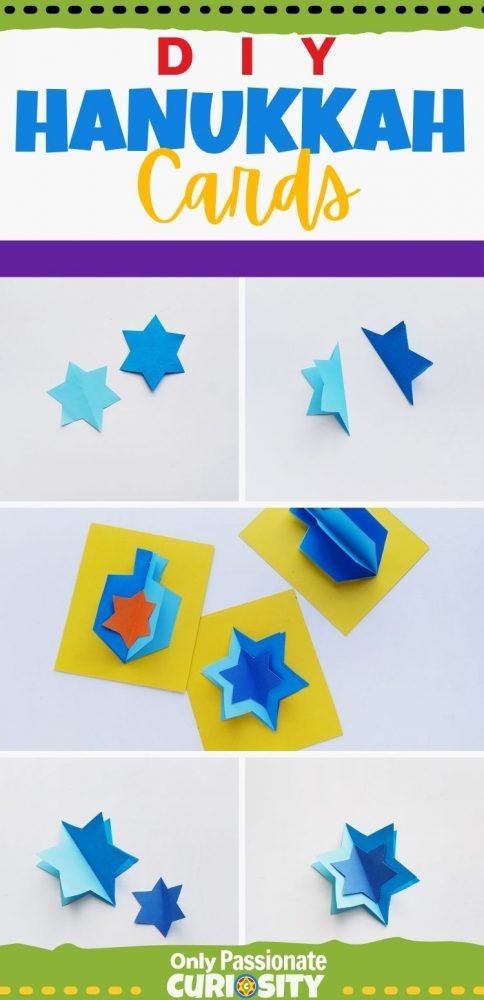
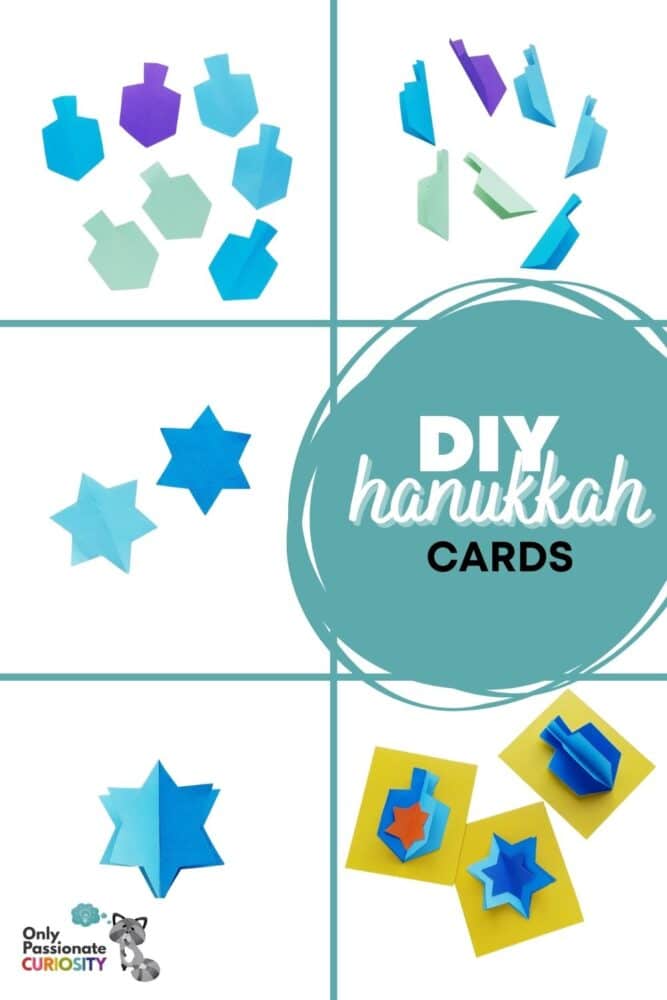
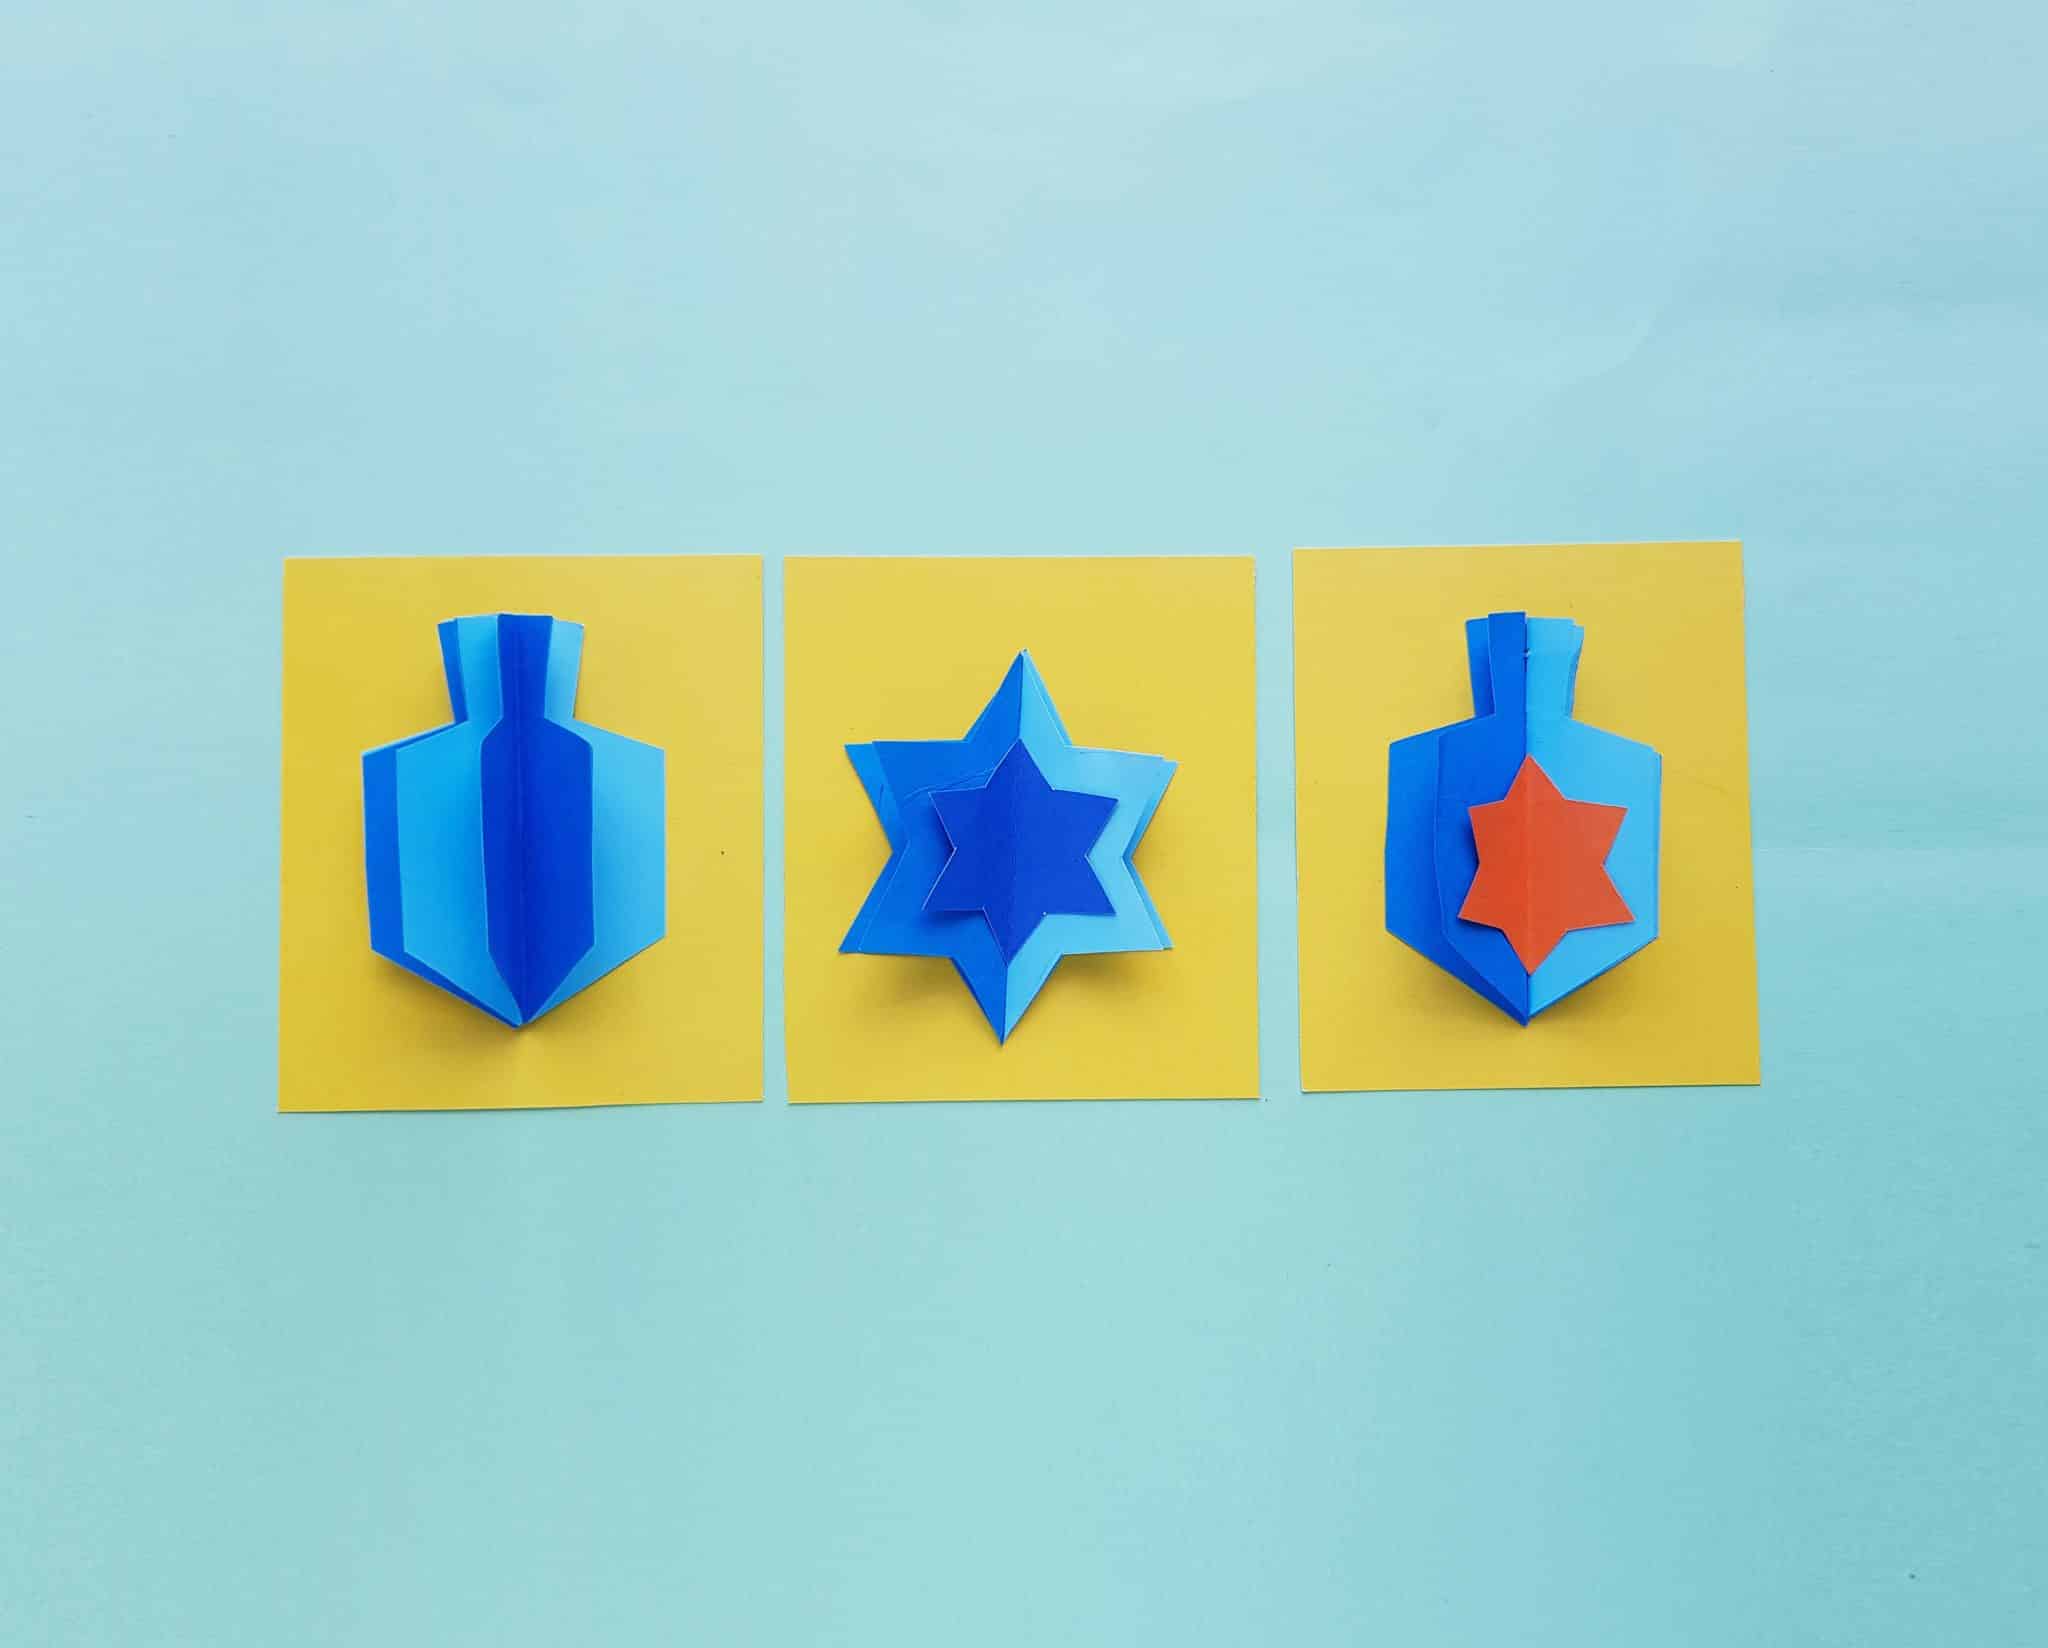
To make your cards, first print out and cut out the dreidel and star patterns from the template (link below). After you look at some of the images below, make your color selections from the craft paper/card stock. I think that contrasting colors really make these cards pop–blue and yellow, purple and orange, etc. This tutorial will show you how to make a 3D dreidel and a 3D star. Once you’ve mastered these shapes, you can do individual cards featuring each one, or combine the two in a number of ways! Be creative! But first, here’s how to make the dreidel.
For the Dreidel
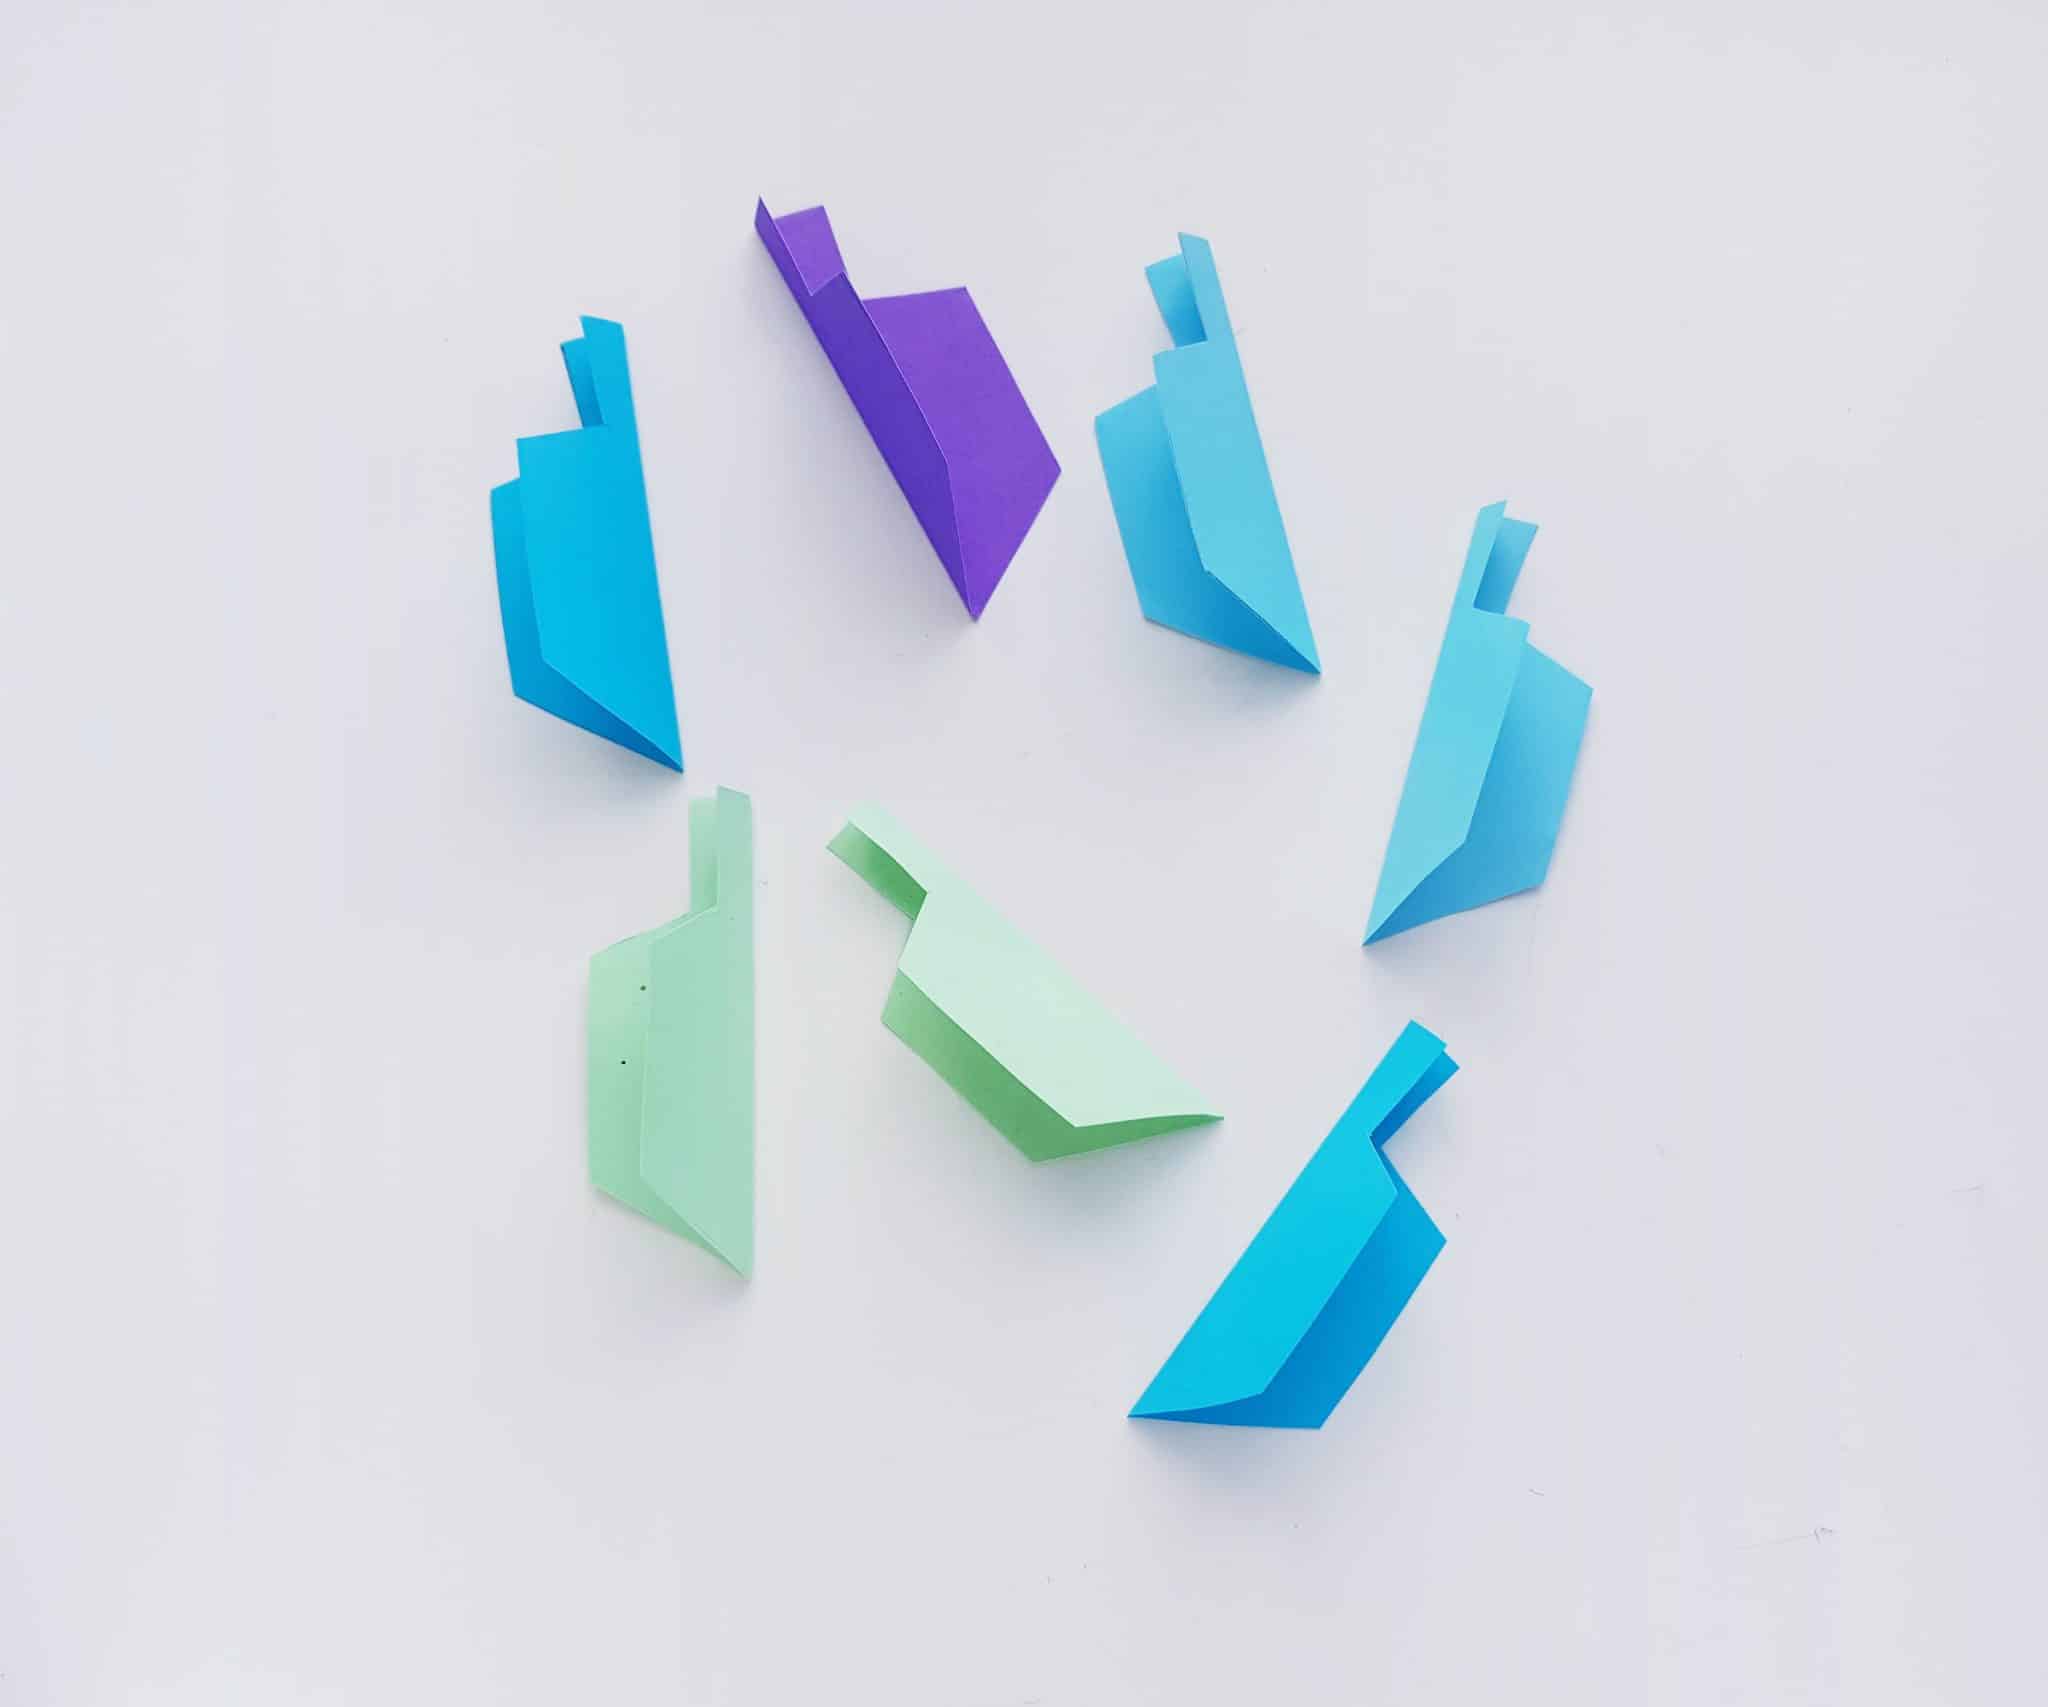
Print and cut out the dreidel patterns and trace them onto craft paper/cardstock in (at least) two different colors.
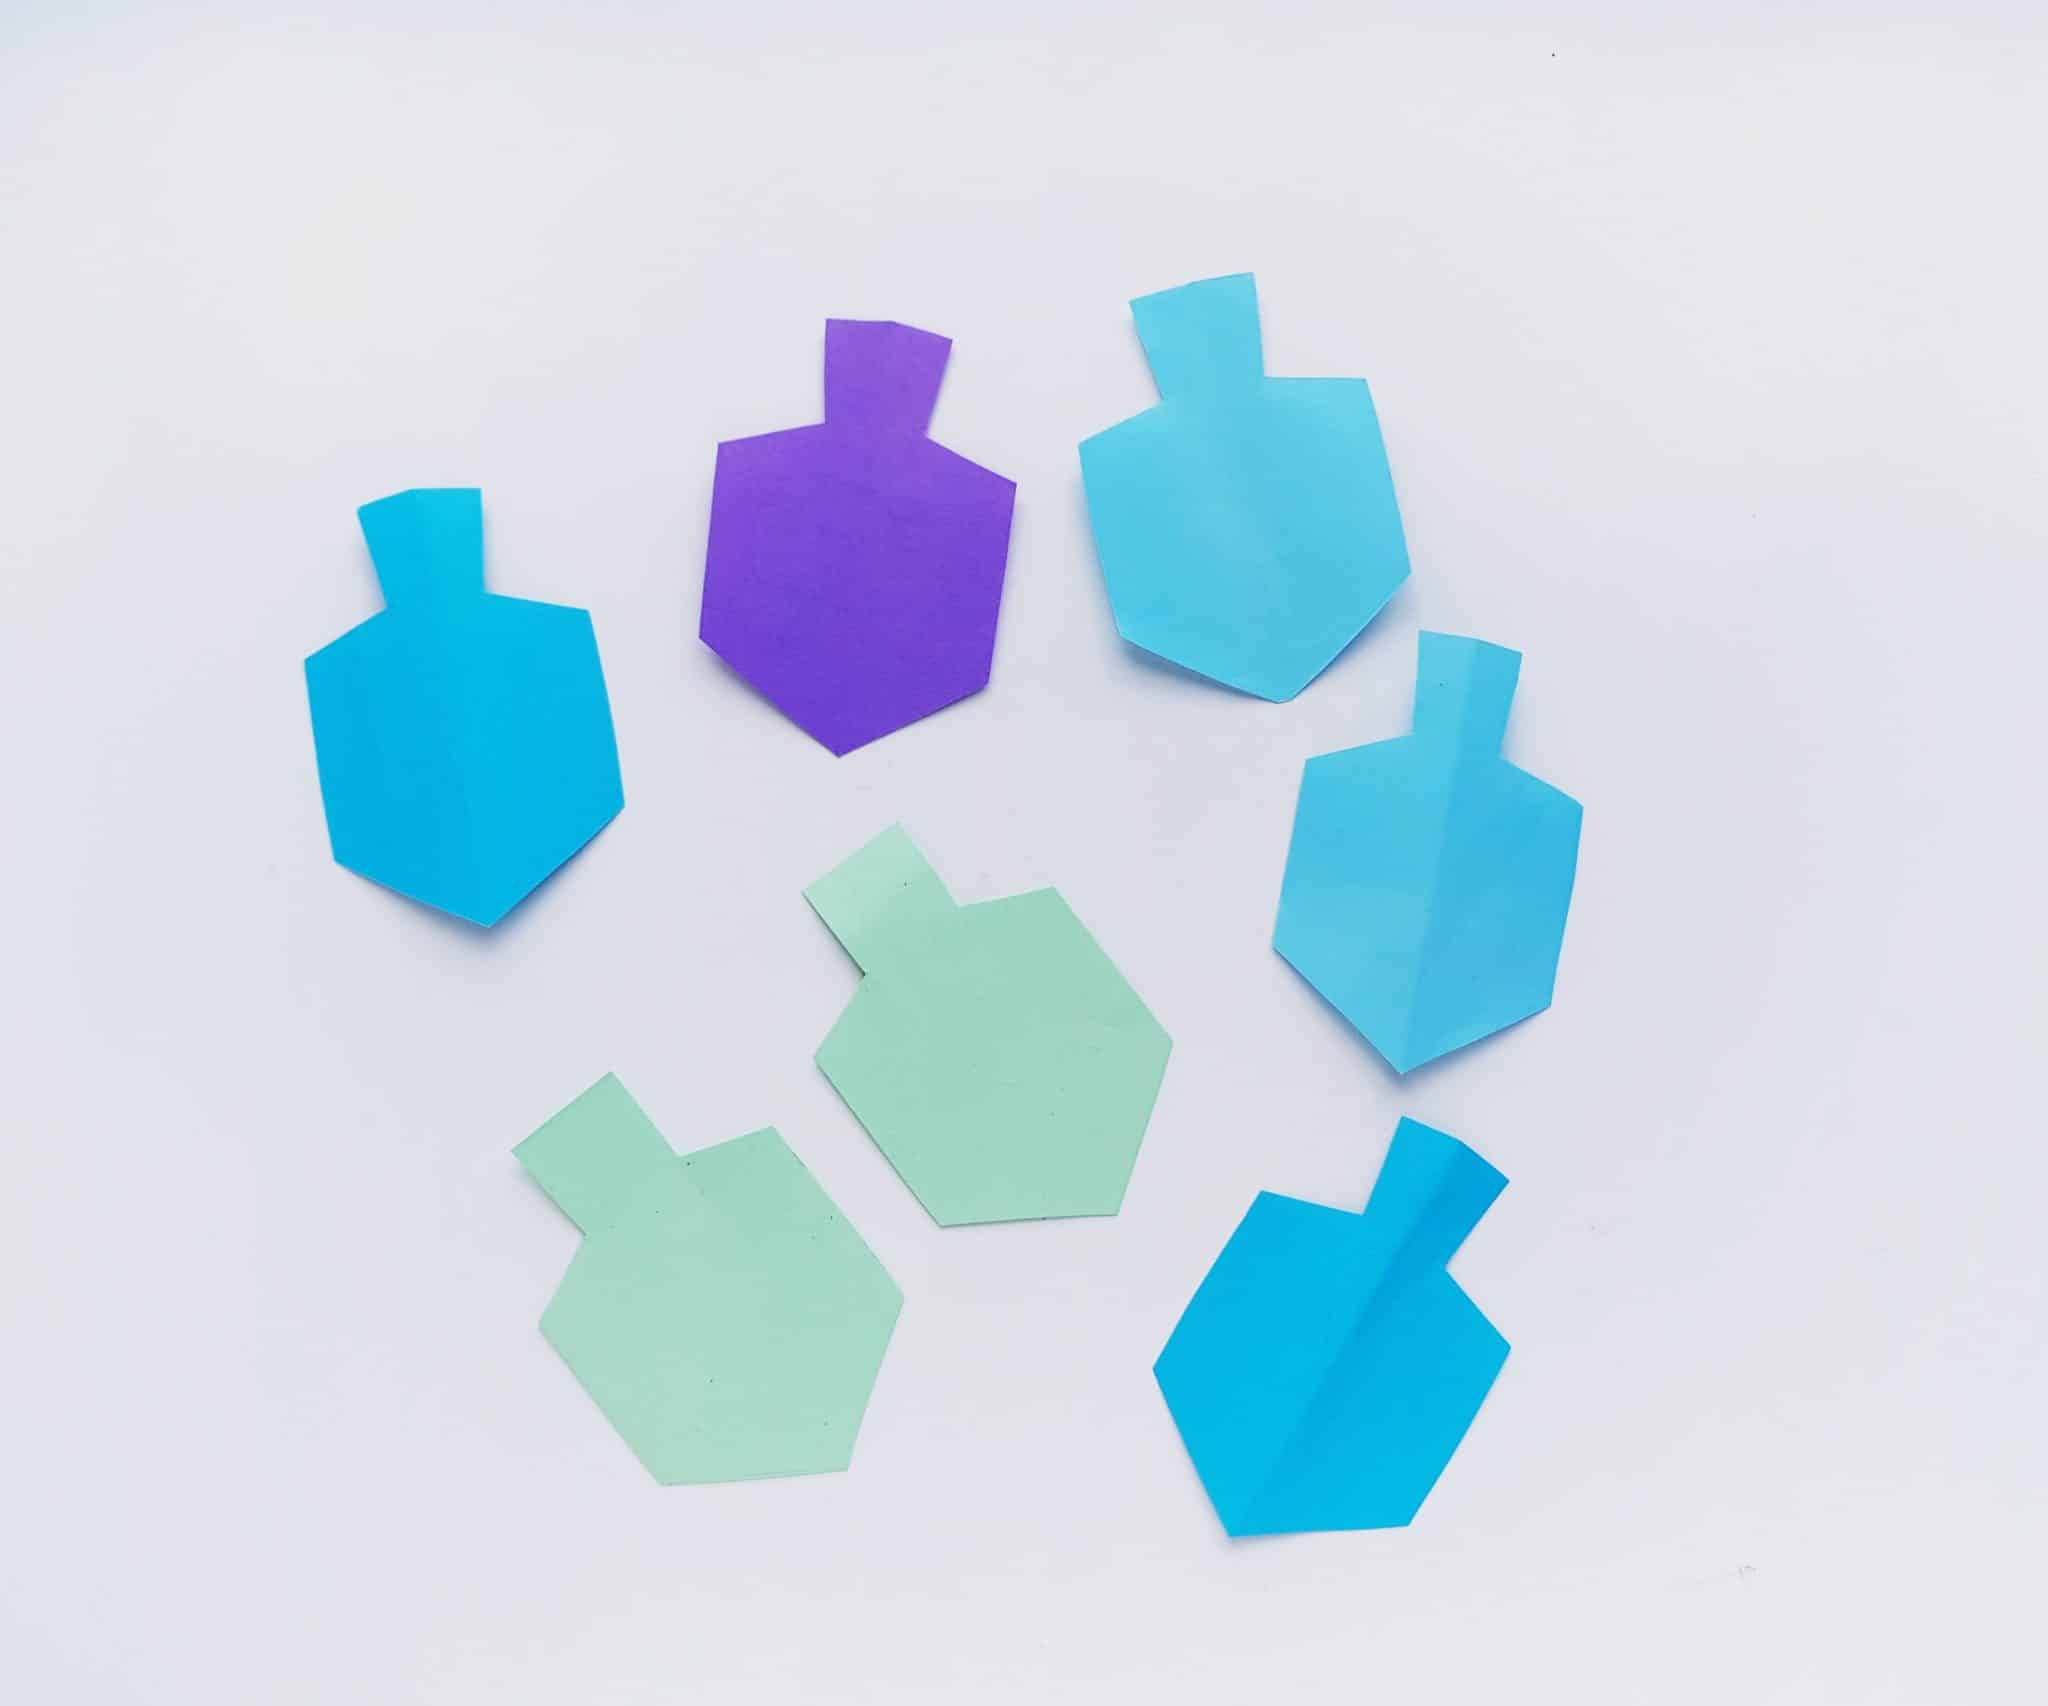
The dreidels that you’ve cut out are symmetrical shapes. For the next step, you’ll fold each dreidel pattern in half, vertically (as shown).
Then, take any 2 of the folded dreidel patterns, and connect them so that the front folds of each shape line up. They should match up perfectly in a symmetrical shape. If everything looks good, glue them together. (Look at the picture below for reference.) You can see how gluing the two shapes together, with the front folded part of both shapes glued together in the middle, gives the dreidel a 3D shape.
 Note: While you can stop at this point, you can use this same method to keep adding folded dreidel shapes. This will make the dreidel design fan out into an even more dramatic, 3D design.
For the Star:
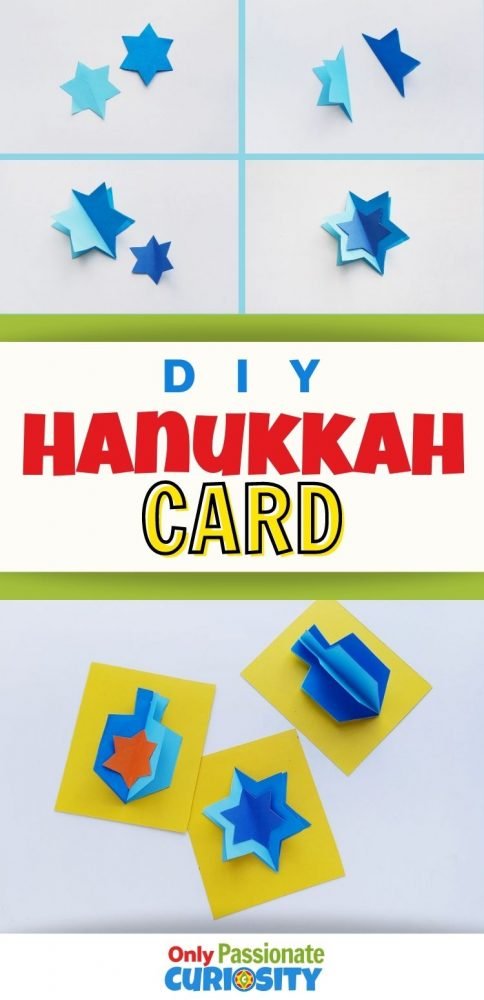
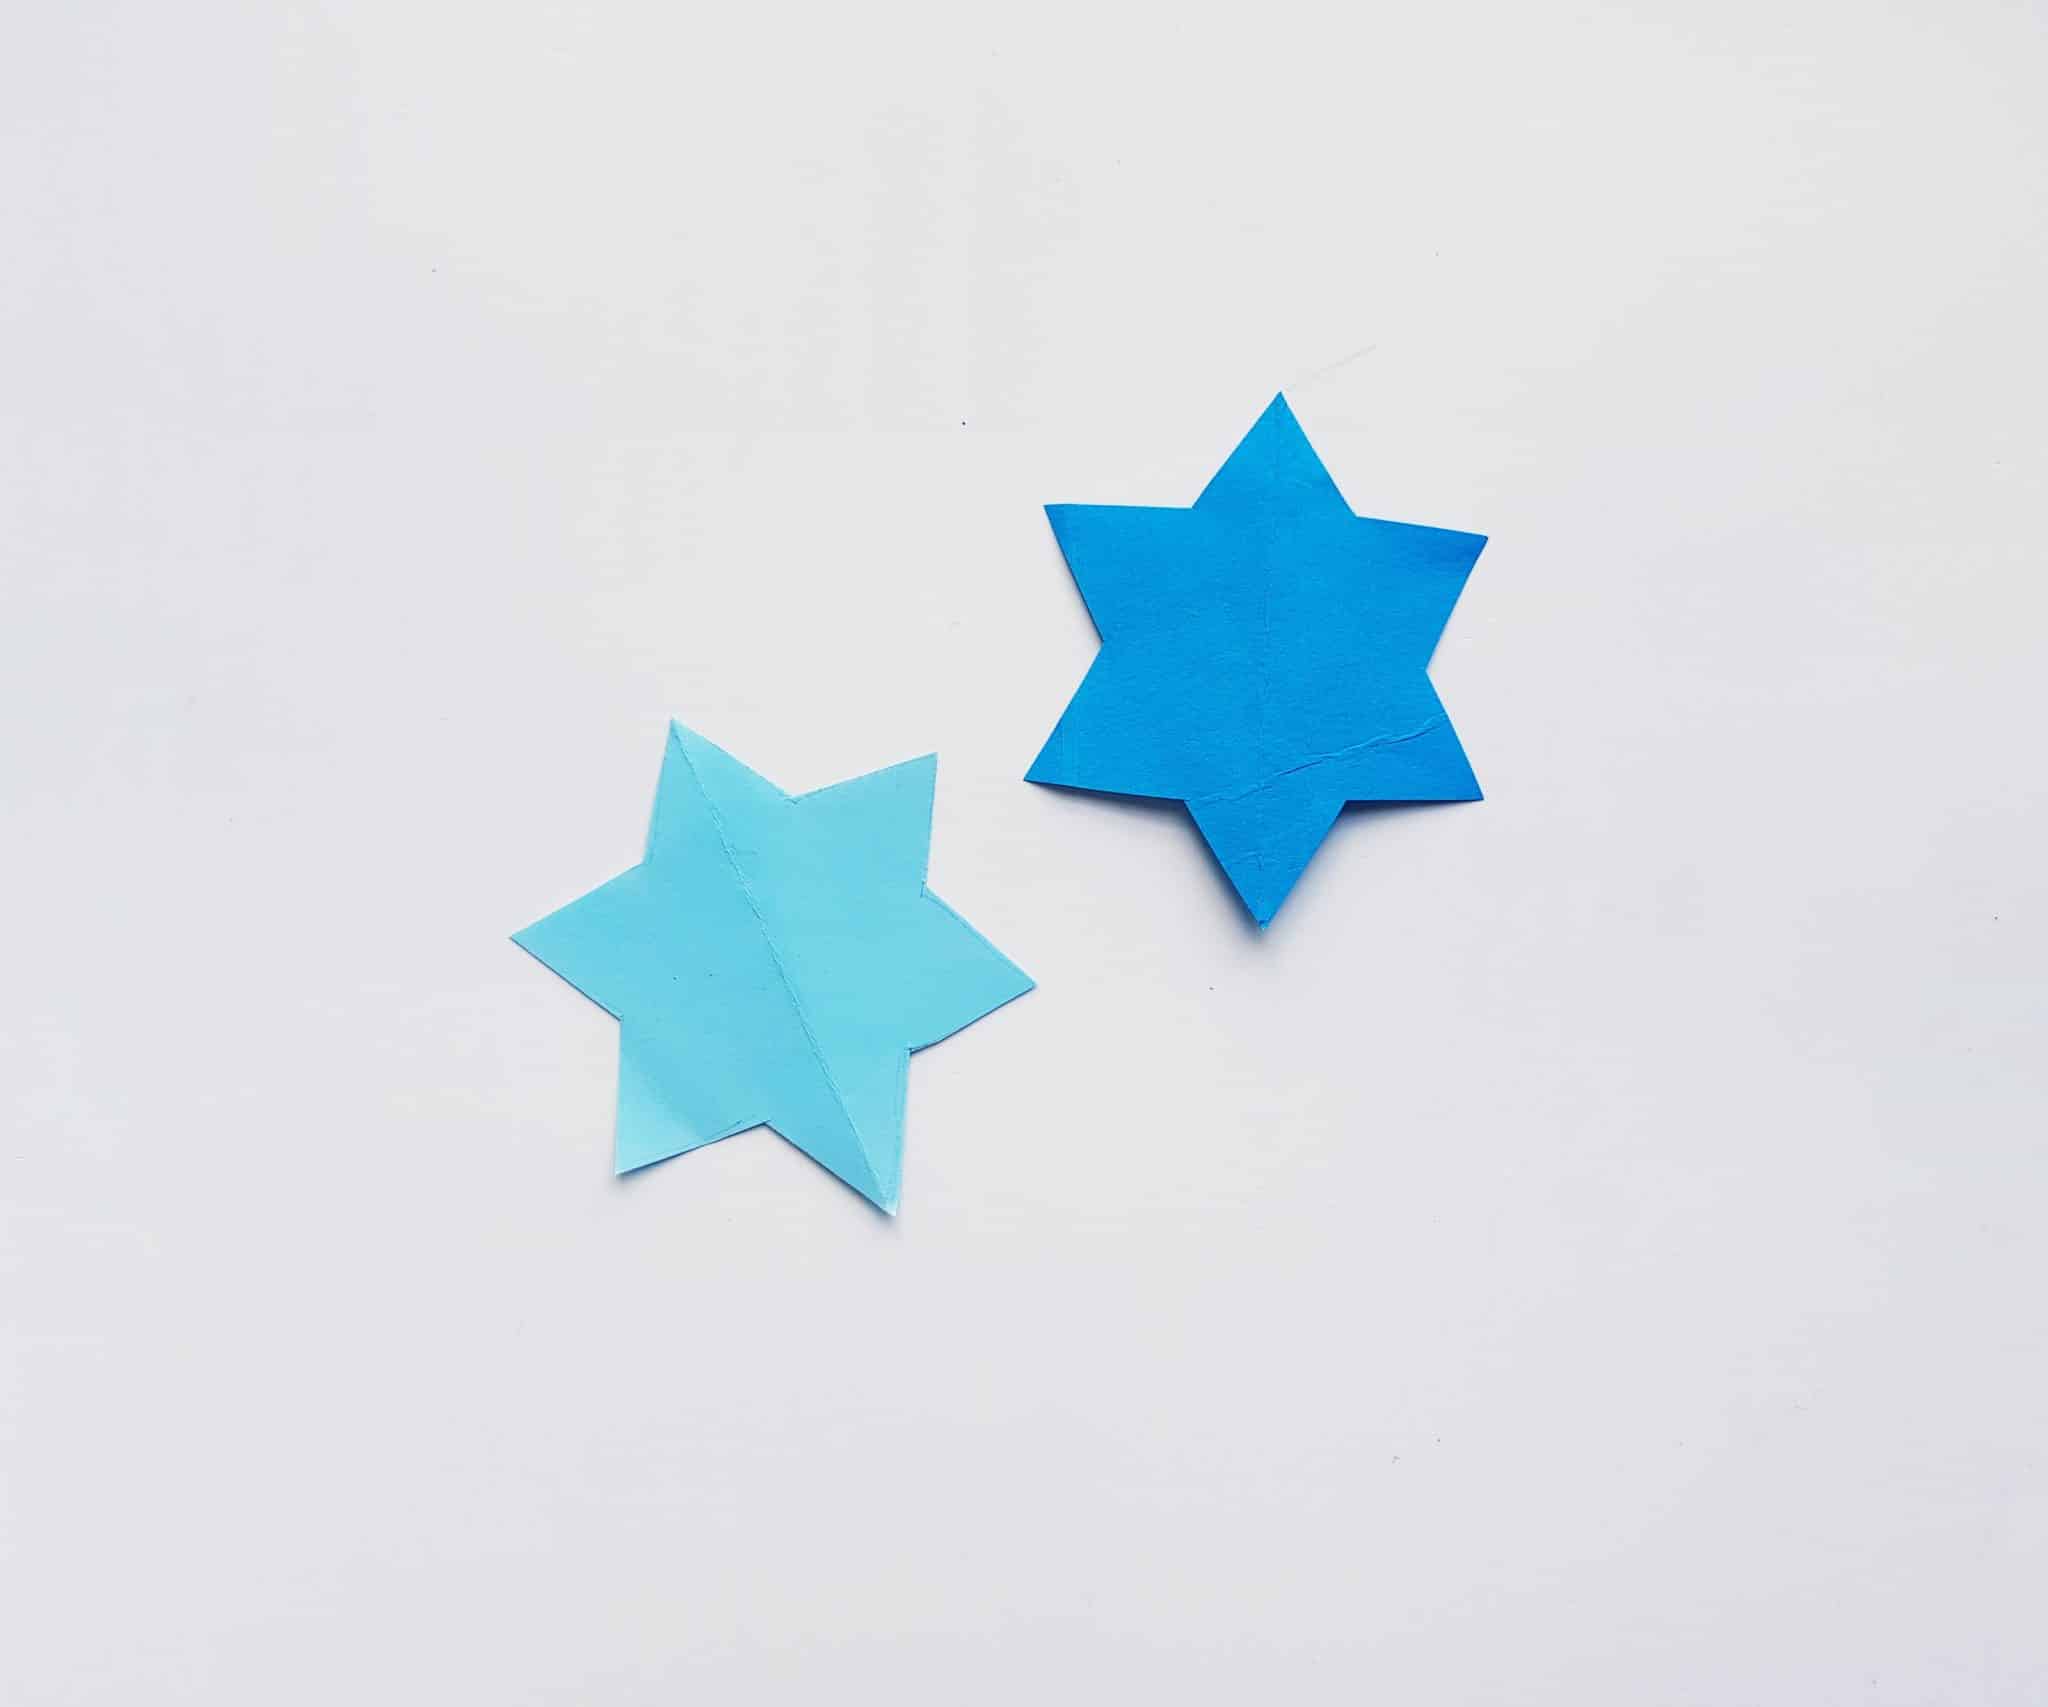
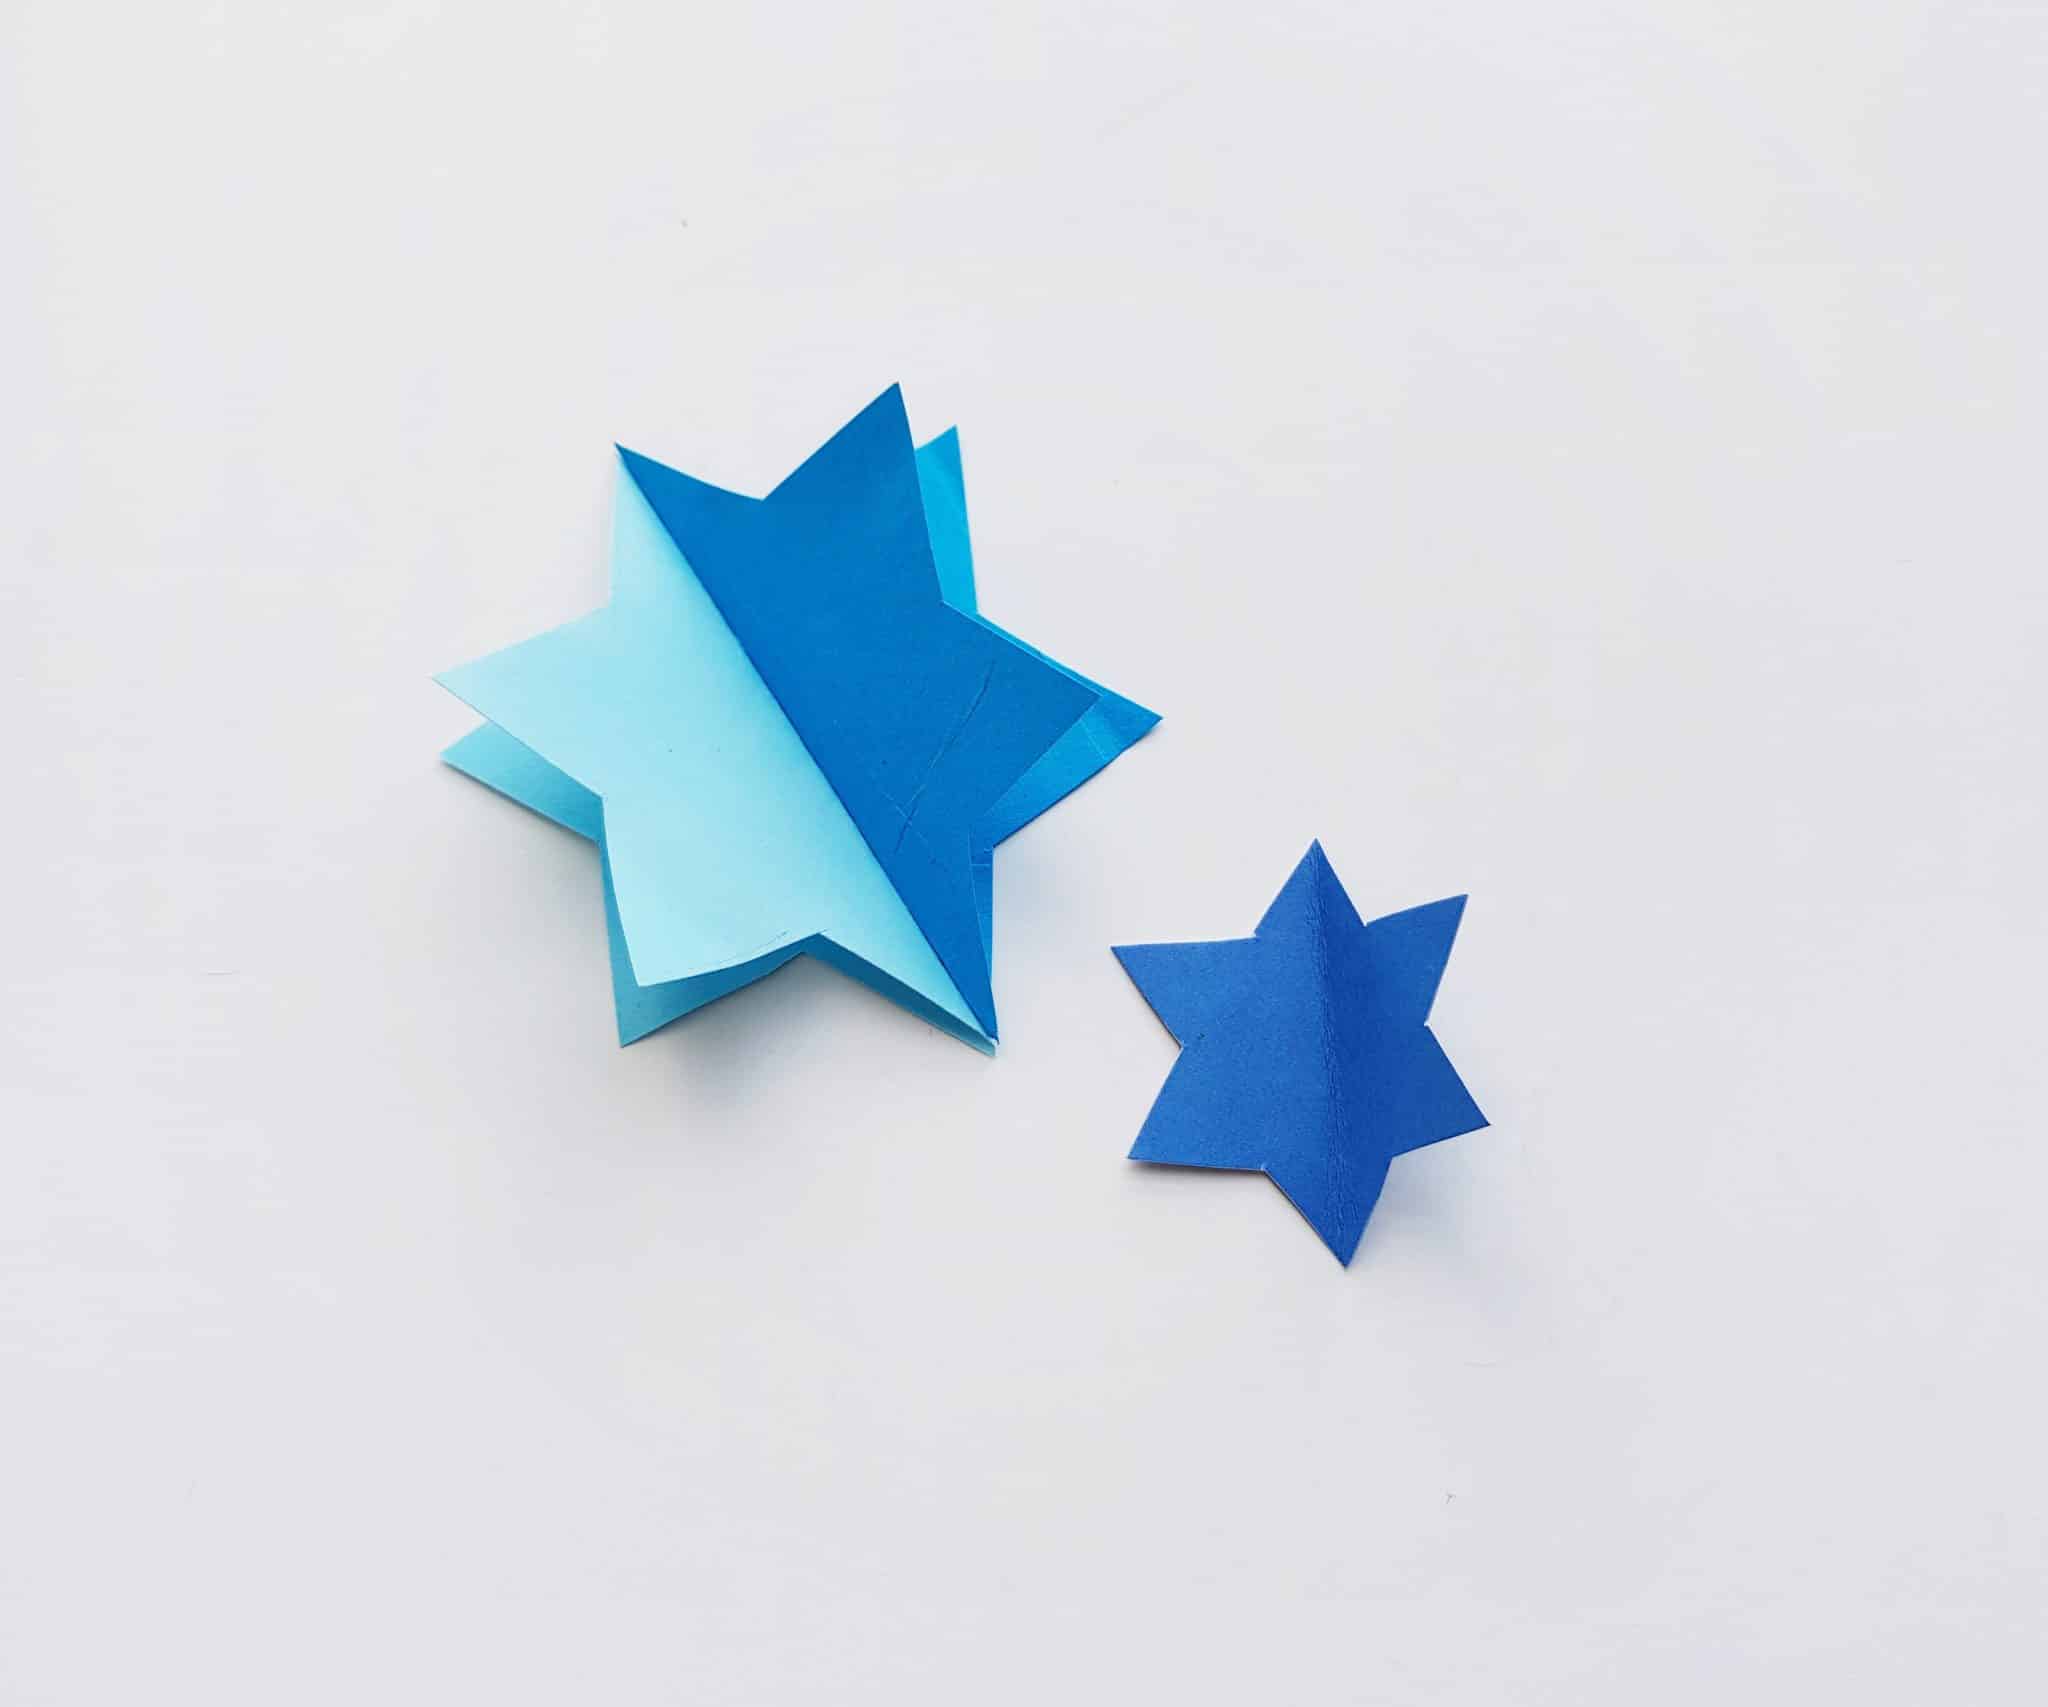
You will repeat the same method to create a 3D star. First, use the template to trace and cut out two stars of identical shapes and size, but two different colors.
 Next, fold your stars evenly in half. This six-pointed pattern for the Star of David is symmetrical when folded in half vertically OR horizontally, so you can do it either way. Whichever way you decide, just make sure that you fold both the stars the same direction! We chose to fold our stars vertically.
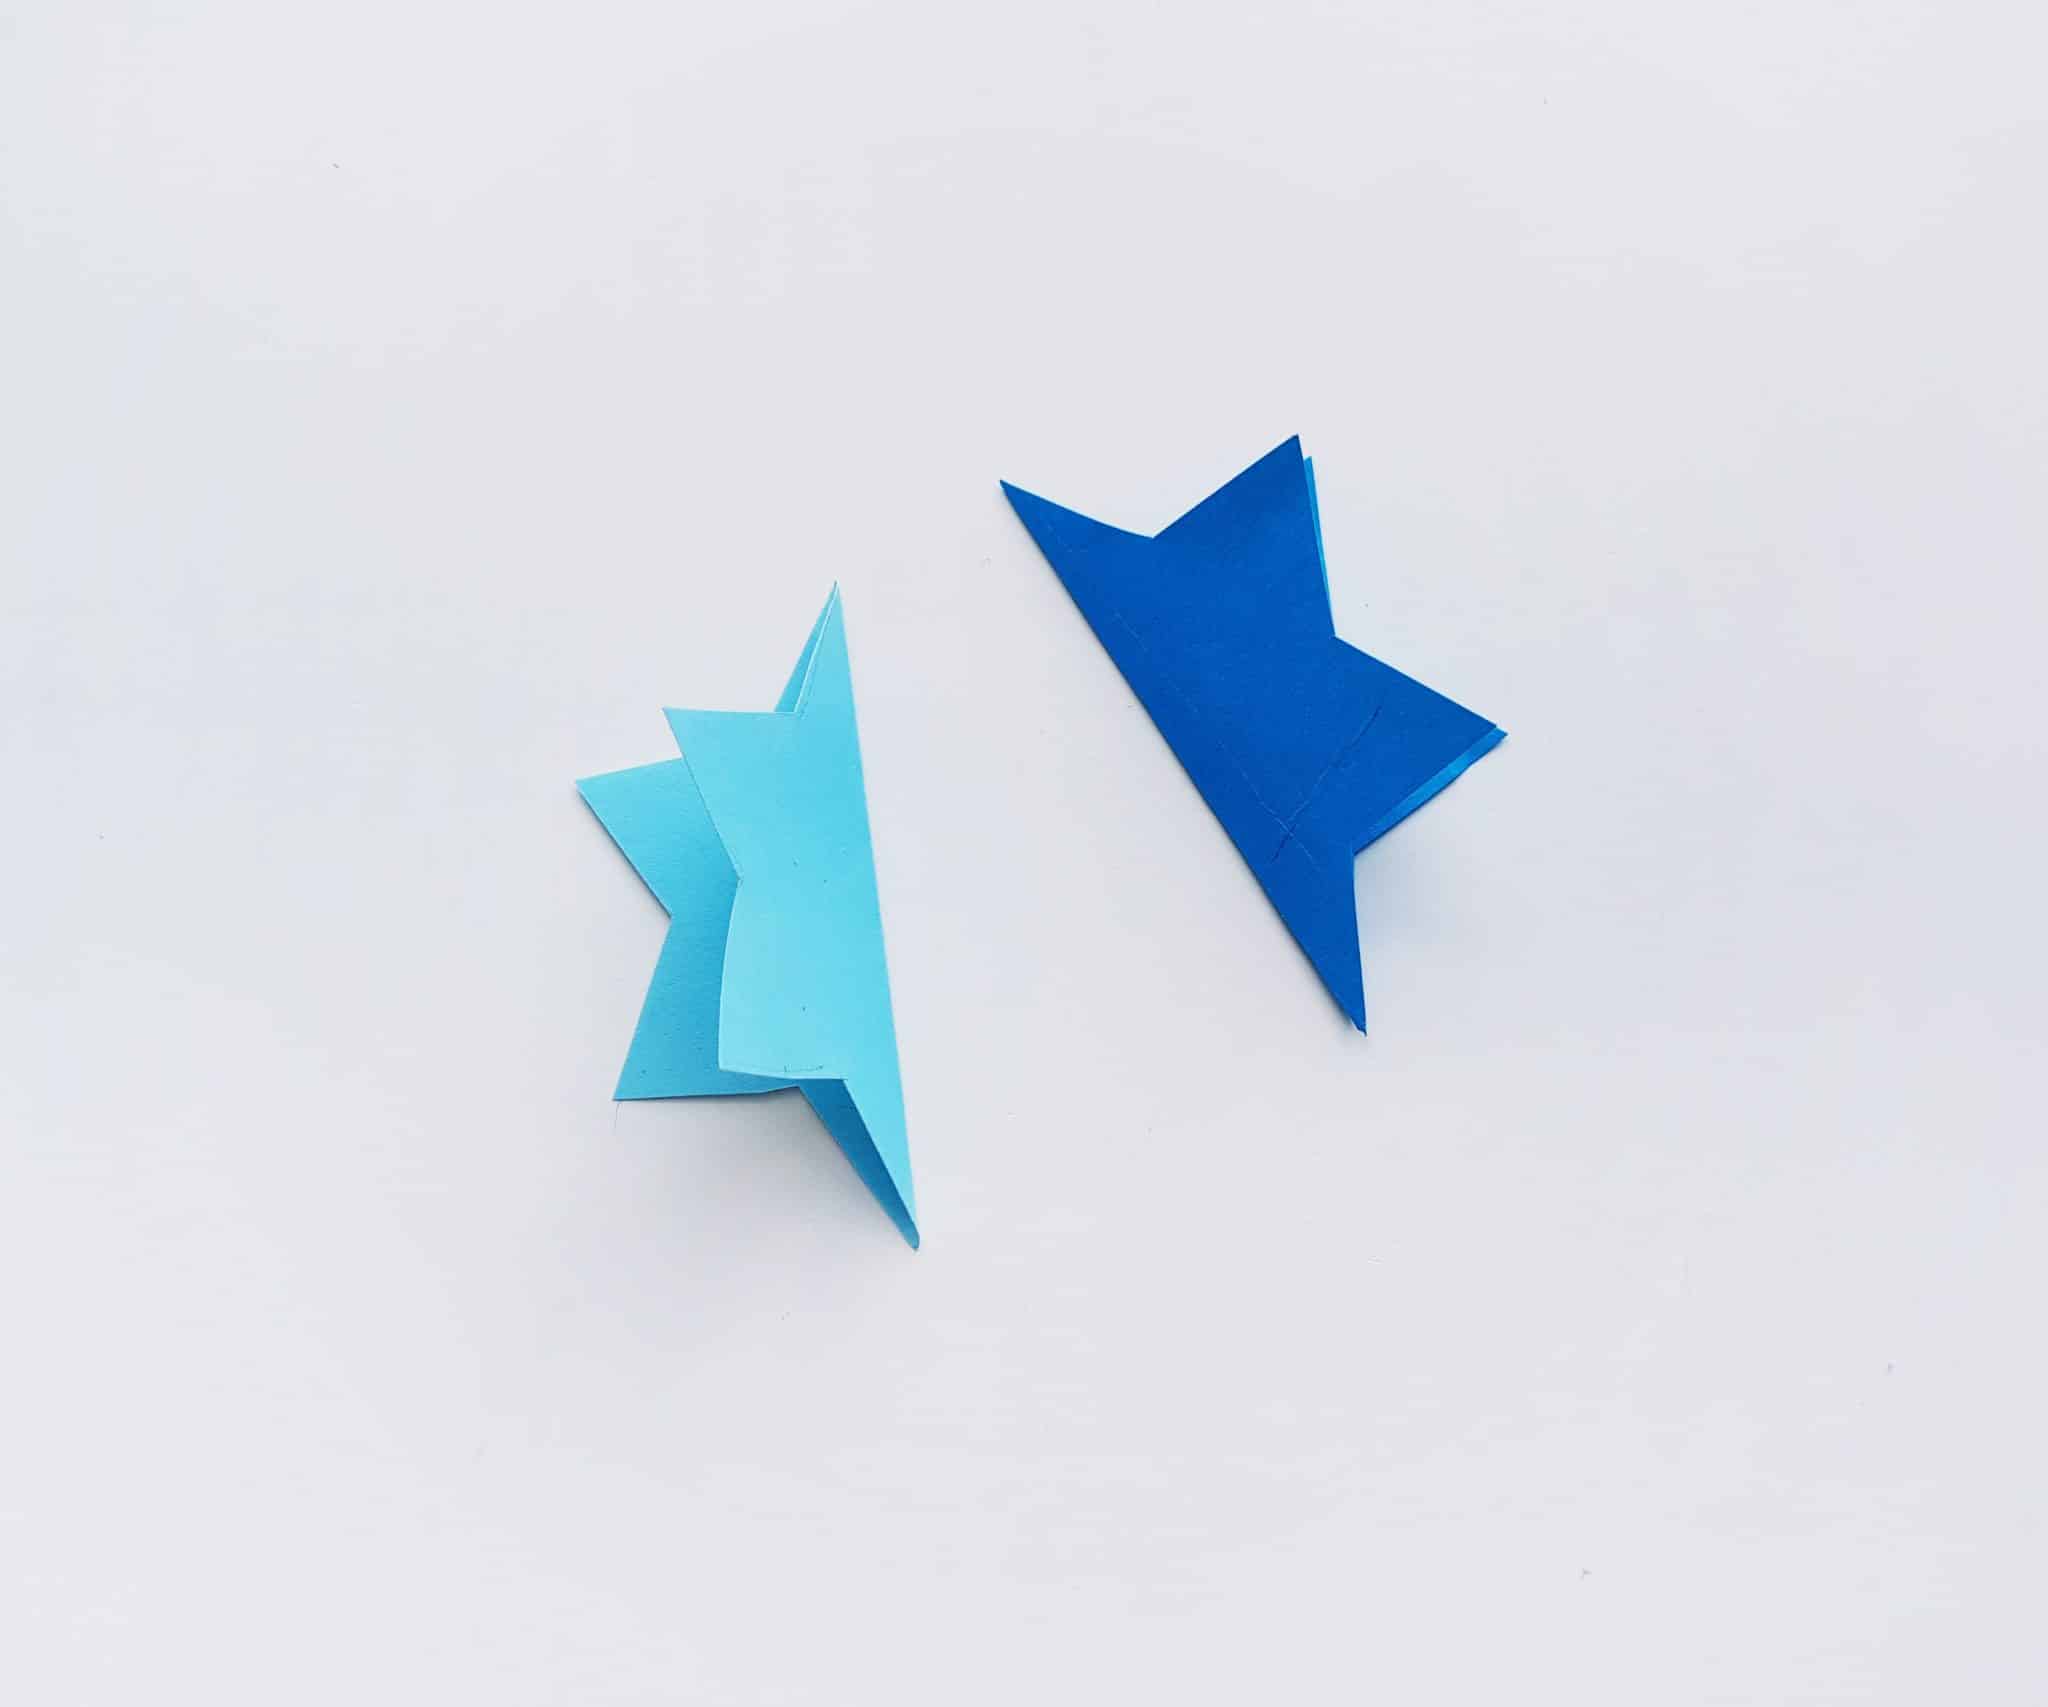
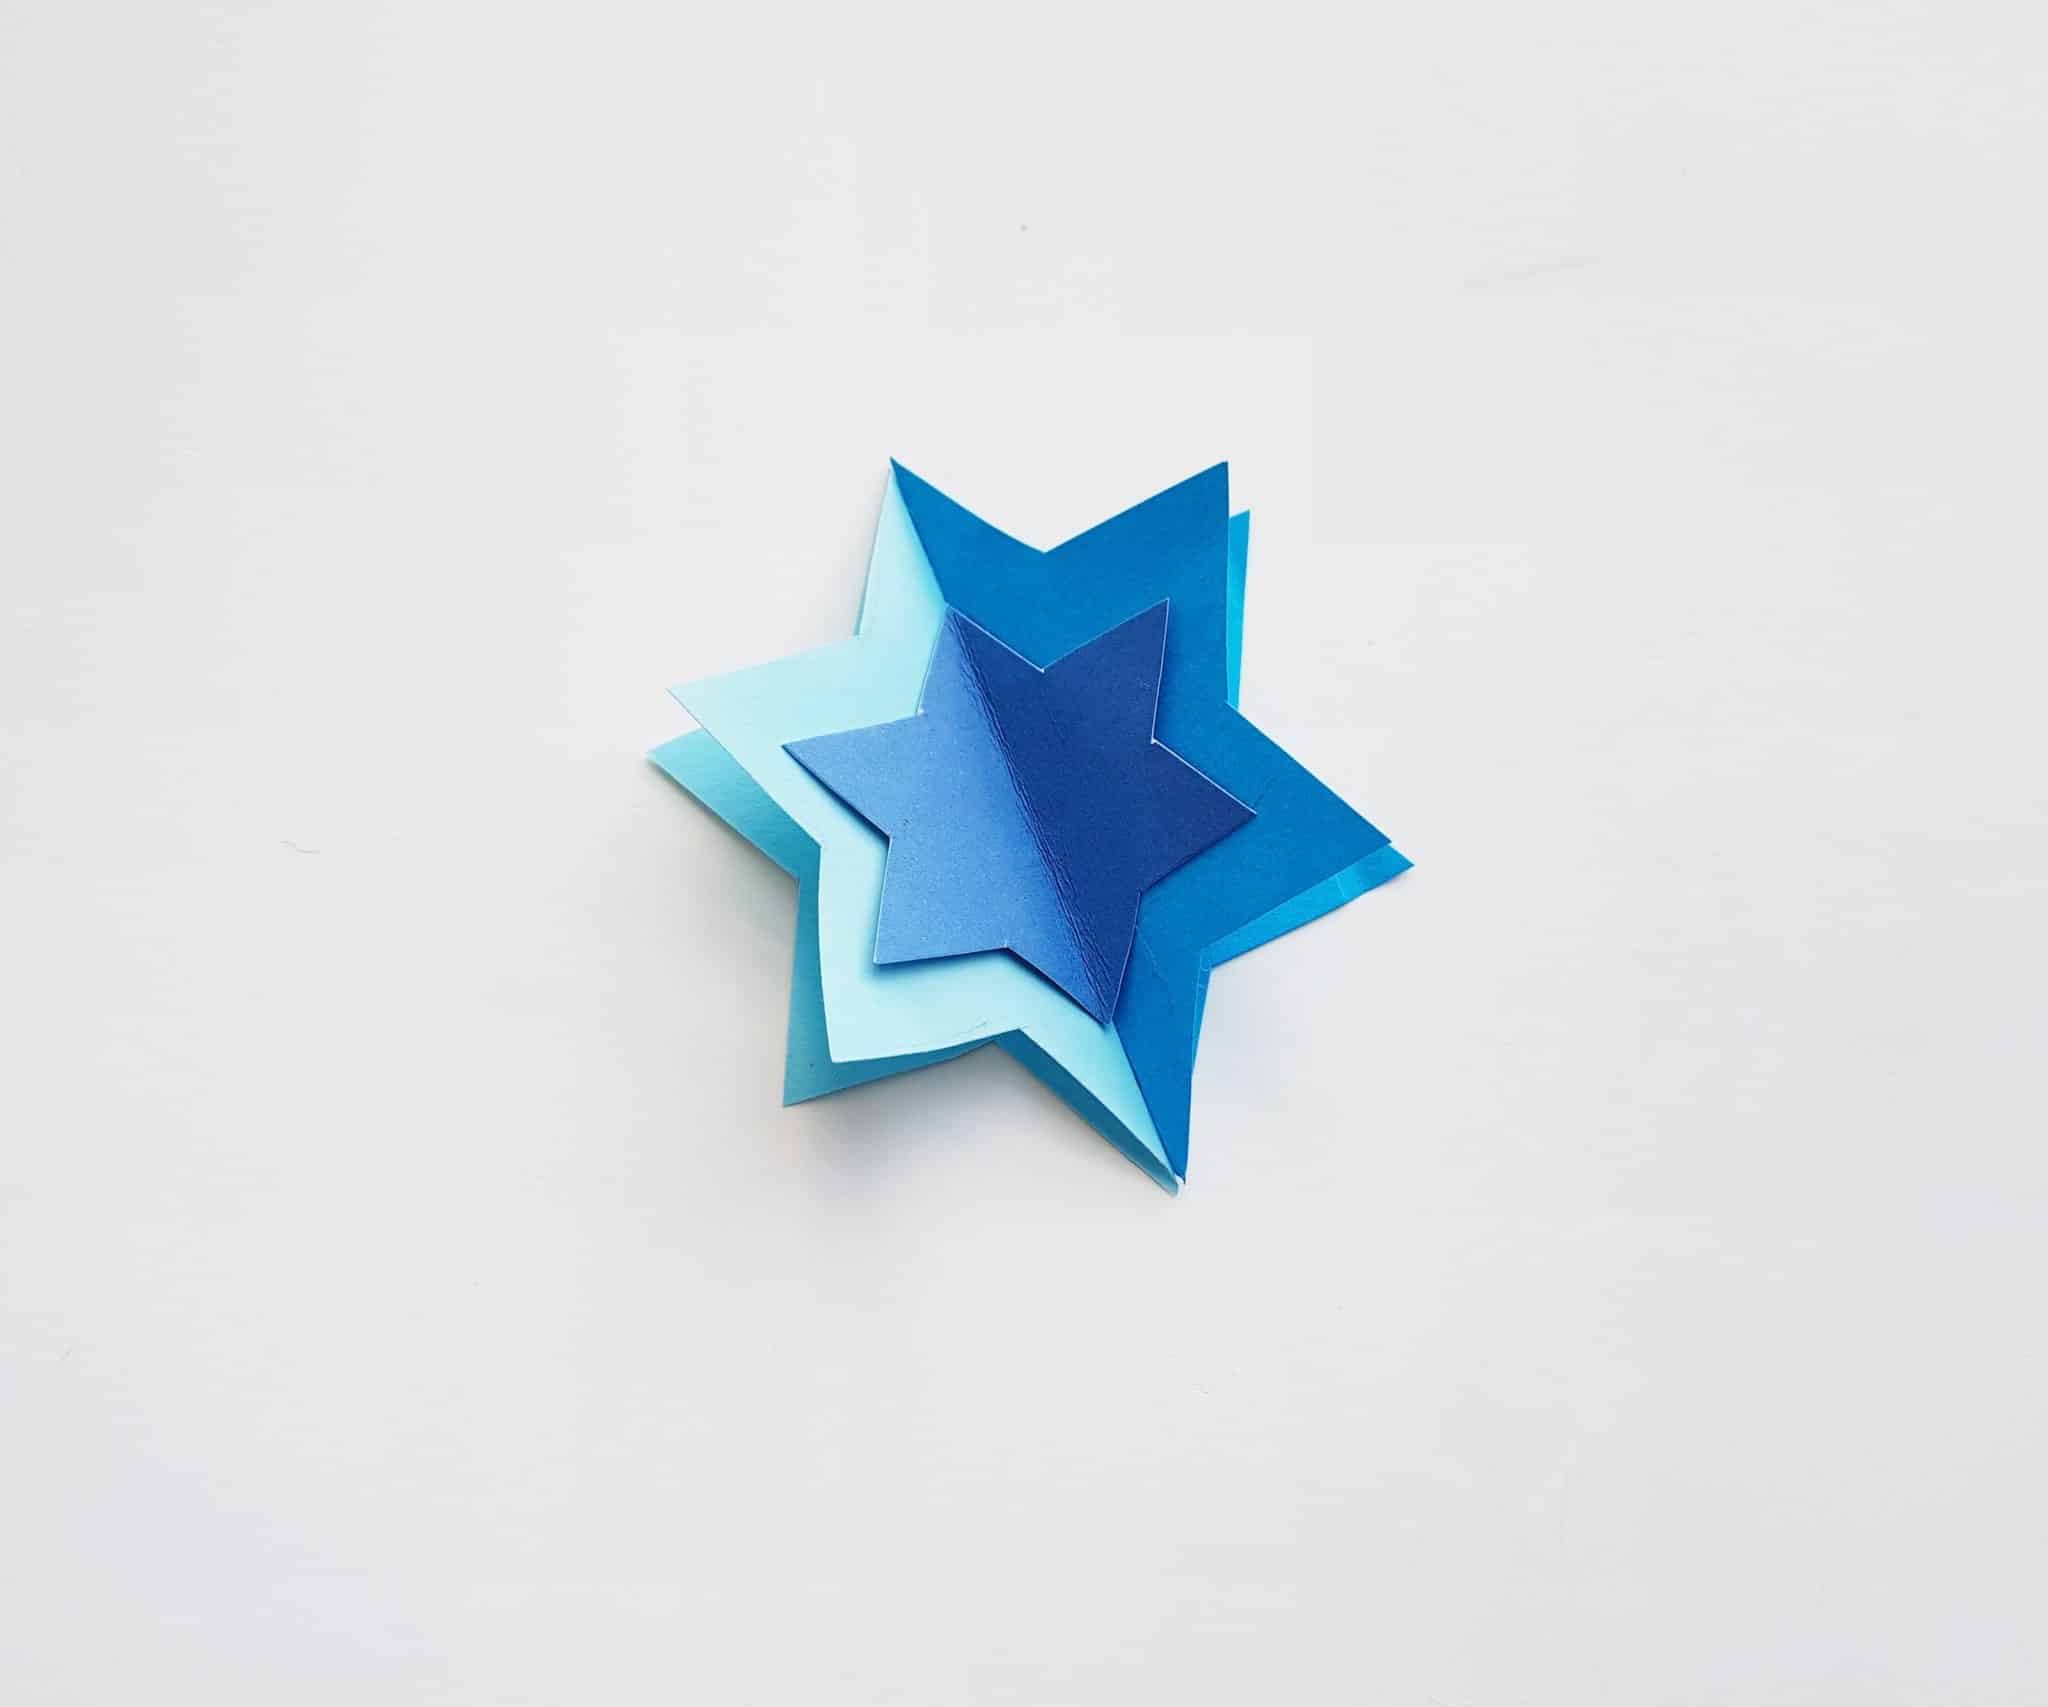
Just like you did with the dreidel patterns, line up both patterns along the folded sides.
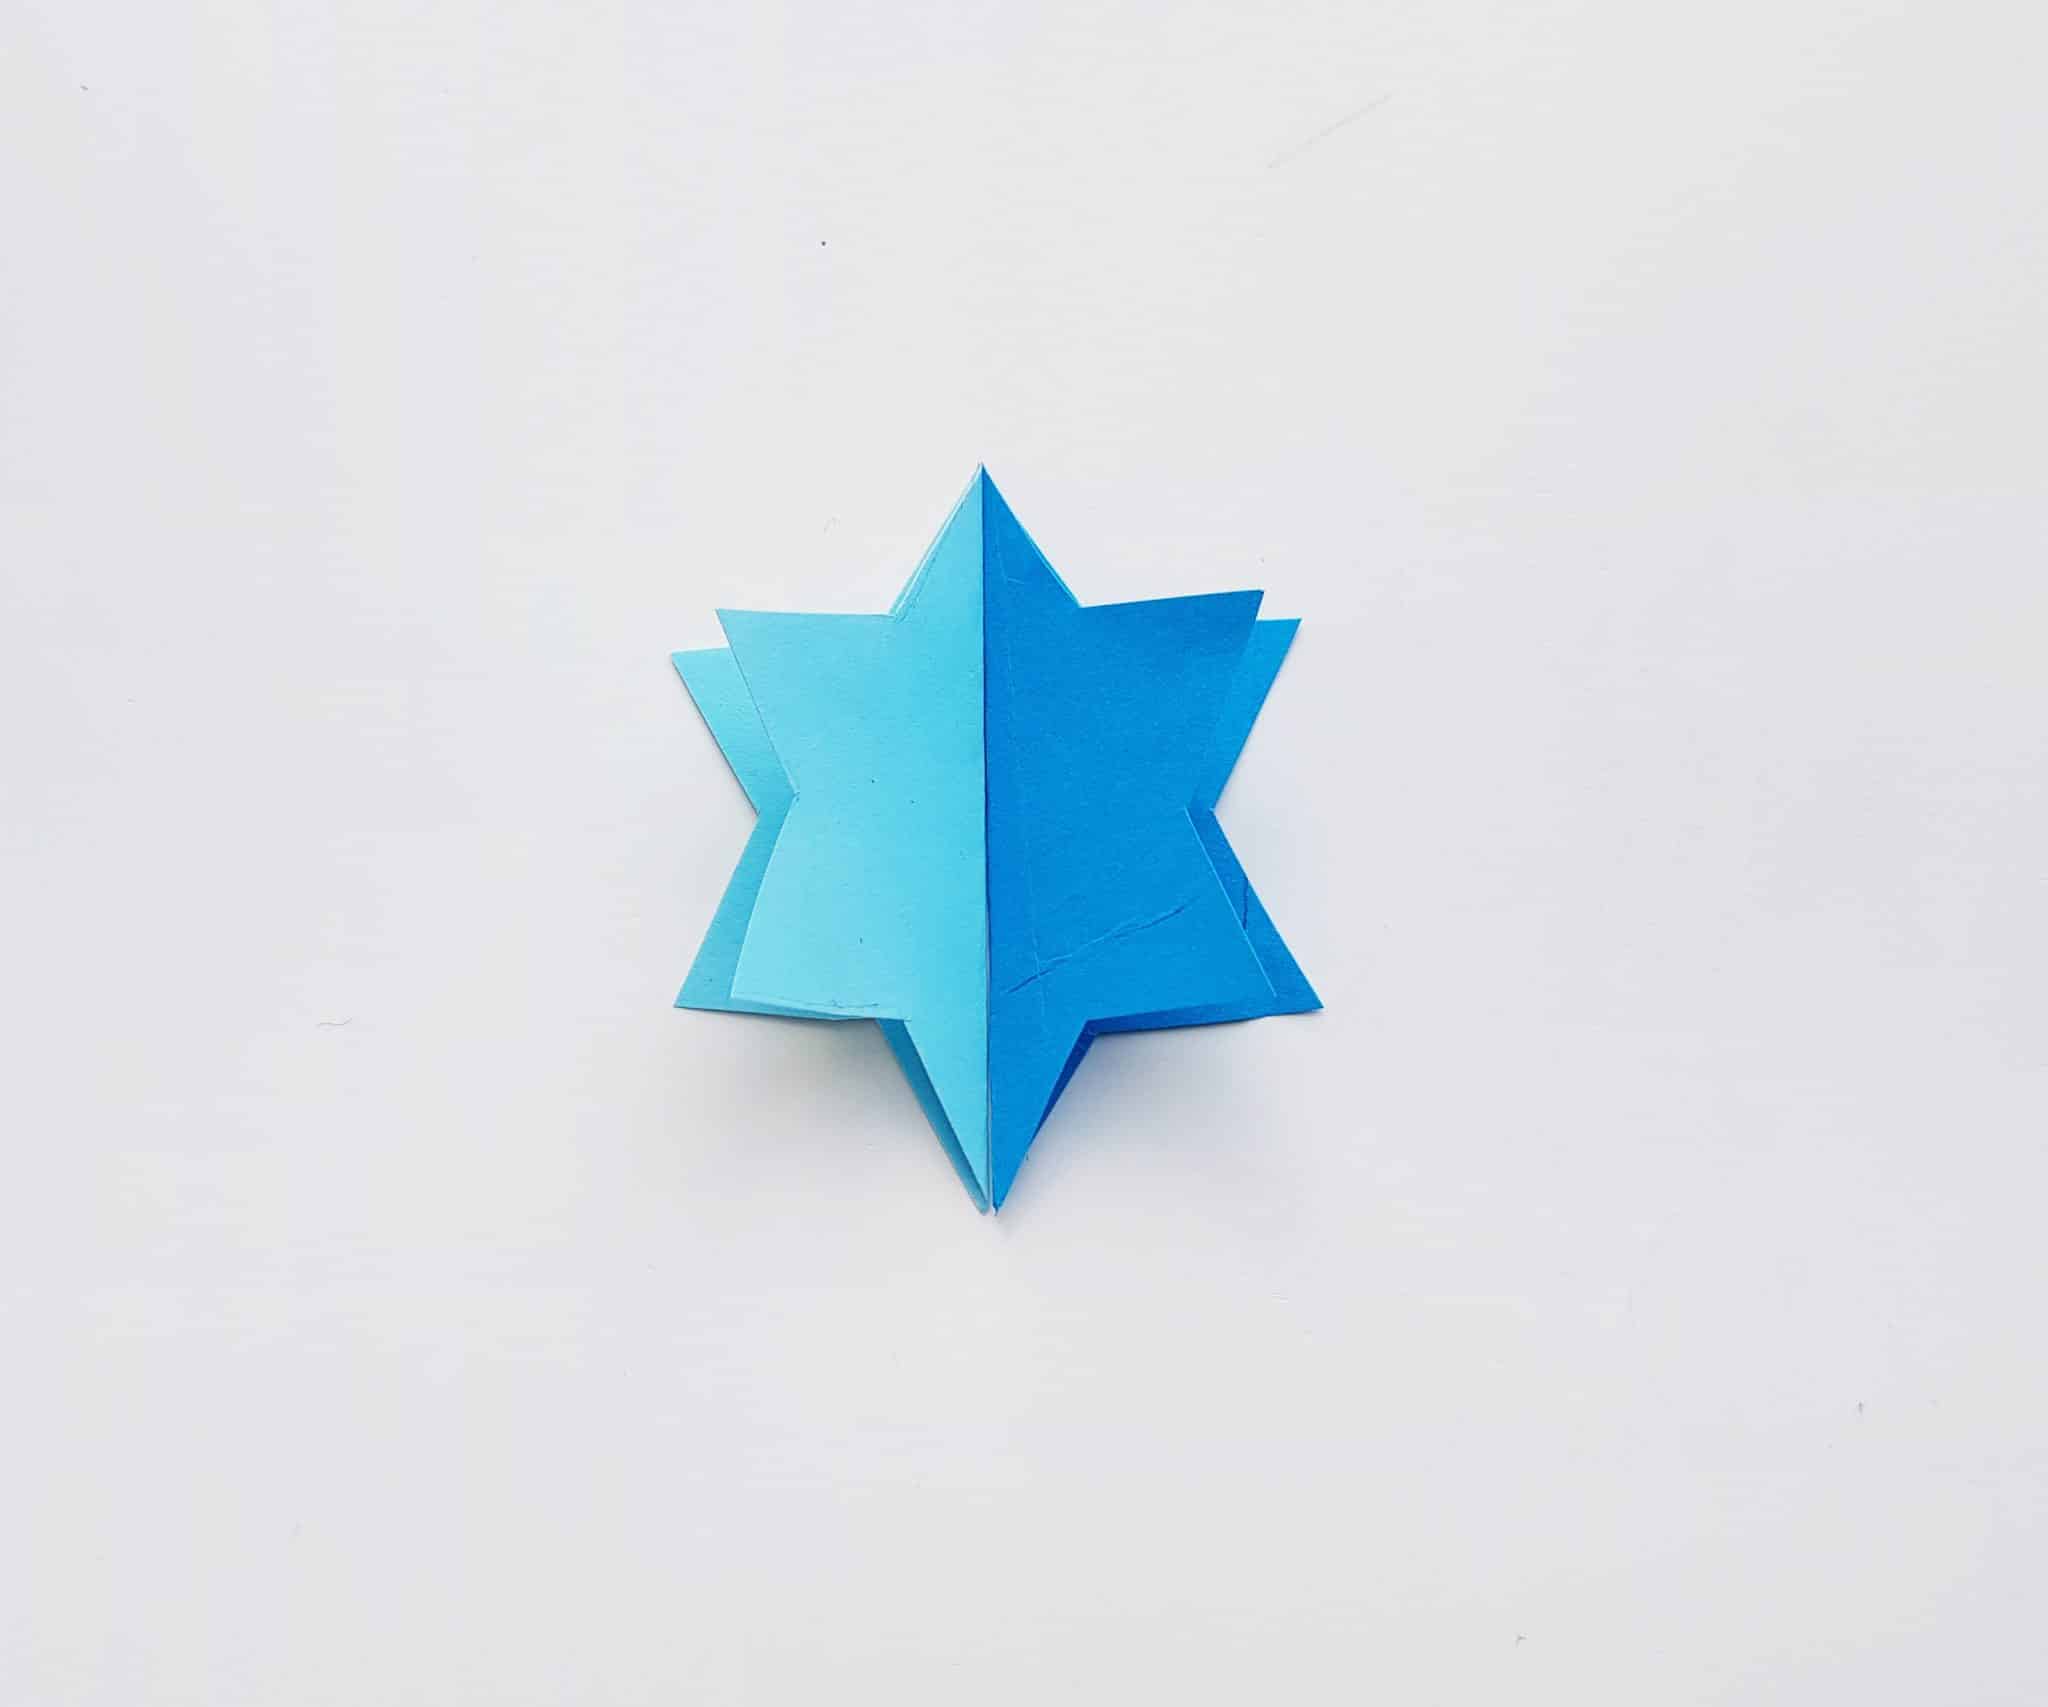
Use some glue along the line where the folded shapes line up to glue them together. Then, trace and cut out the smaller-sized star pattern.
Use a bit of glue to attach the smaller star in the middle of the big, 3d star pattern. This will also help the connect the two sides of the shape better. Let this dry for a few minutes.
As with the 3D dreidel, you have the option keep adding folded folded star-patterns to this design to make it look even more 3D, or leave it as is!
Putting it Together
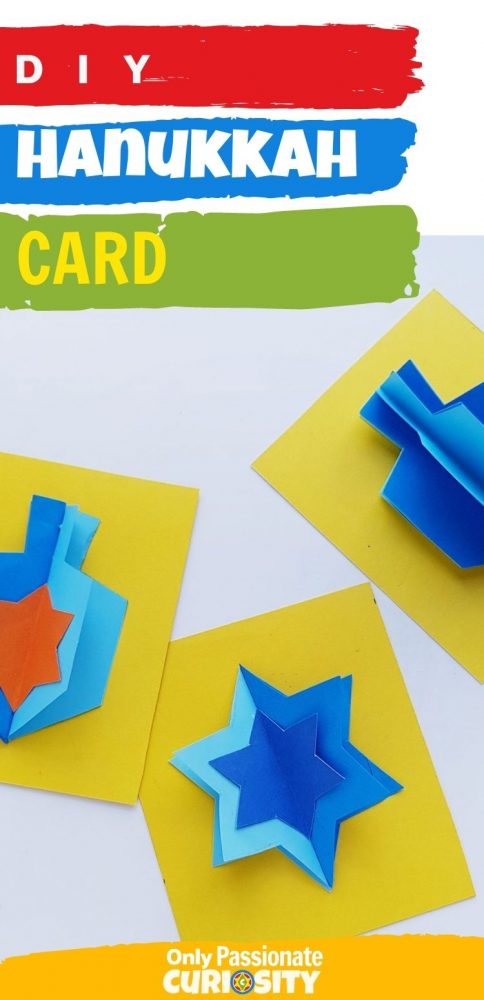
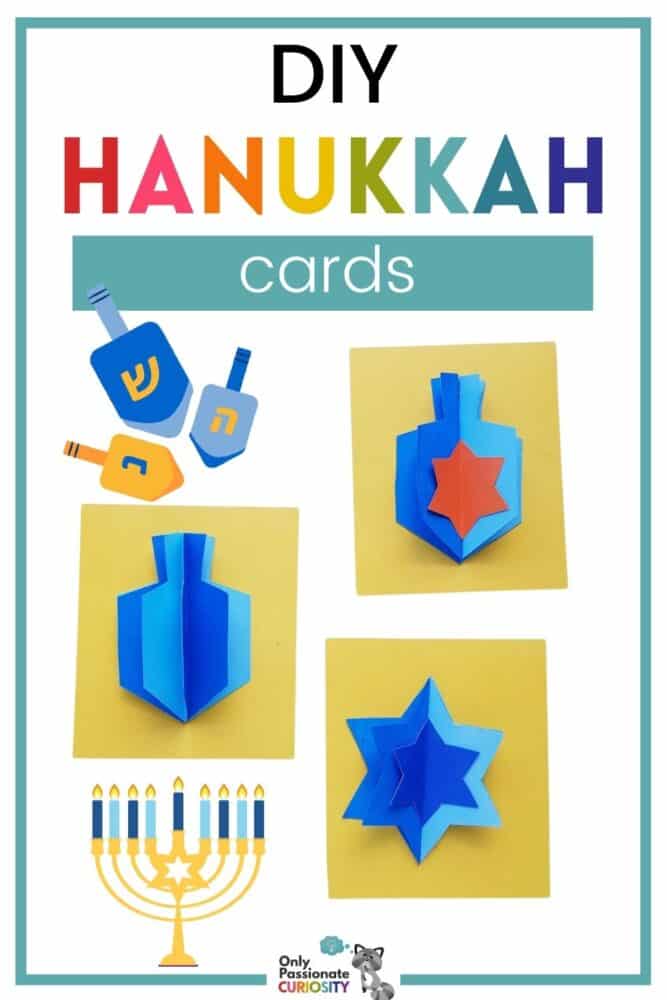
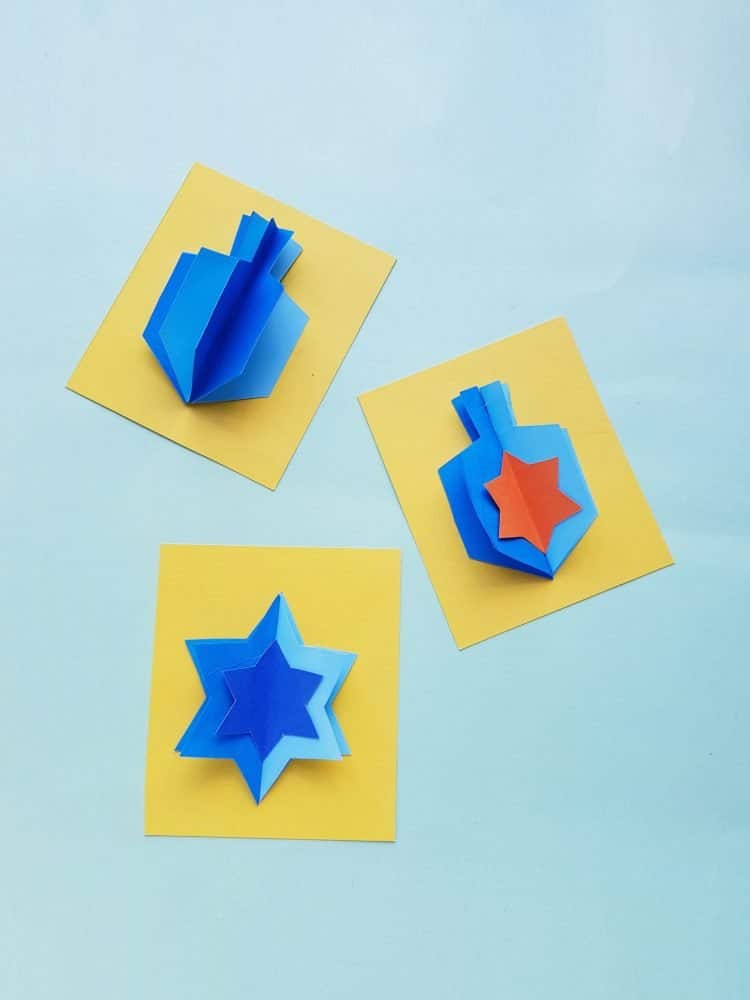
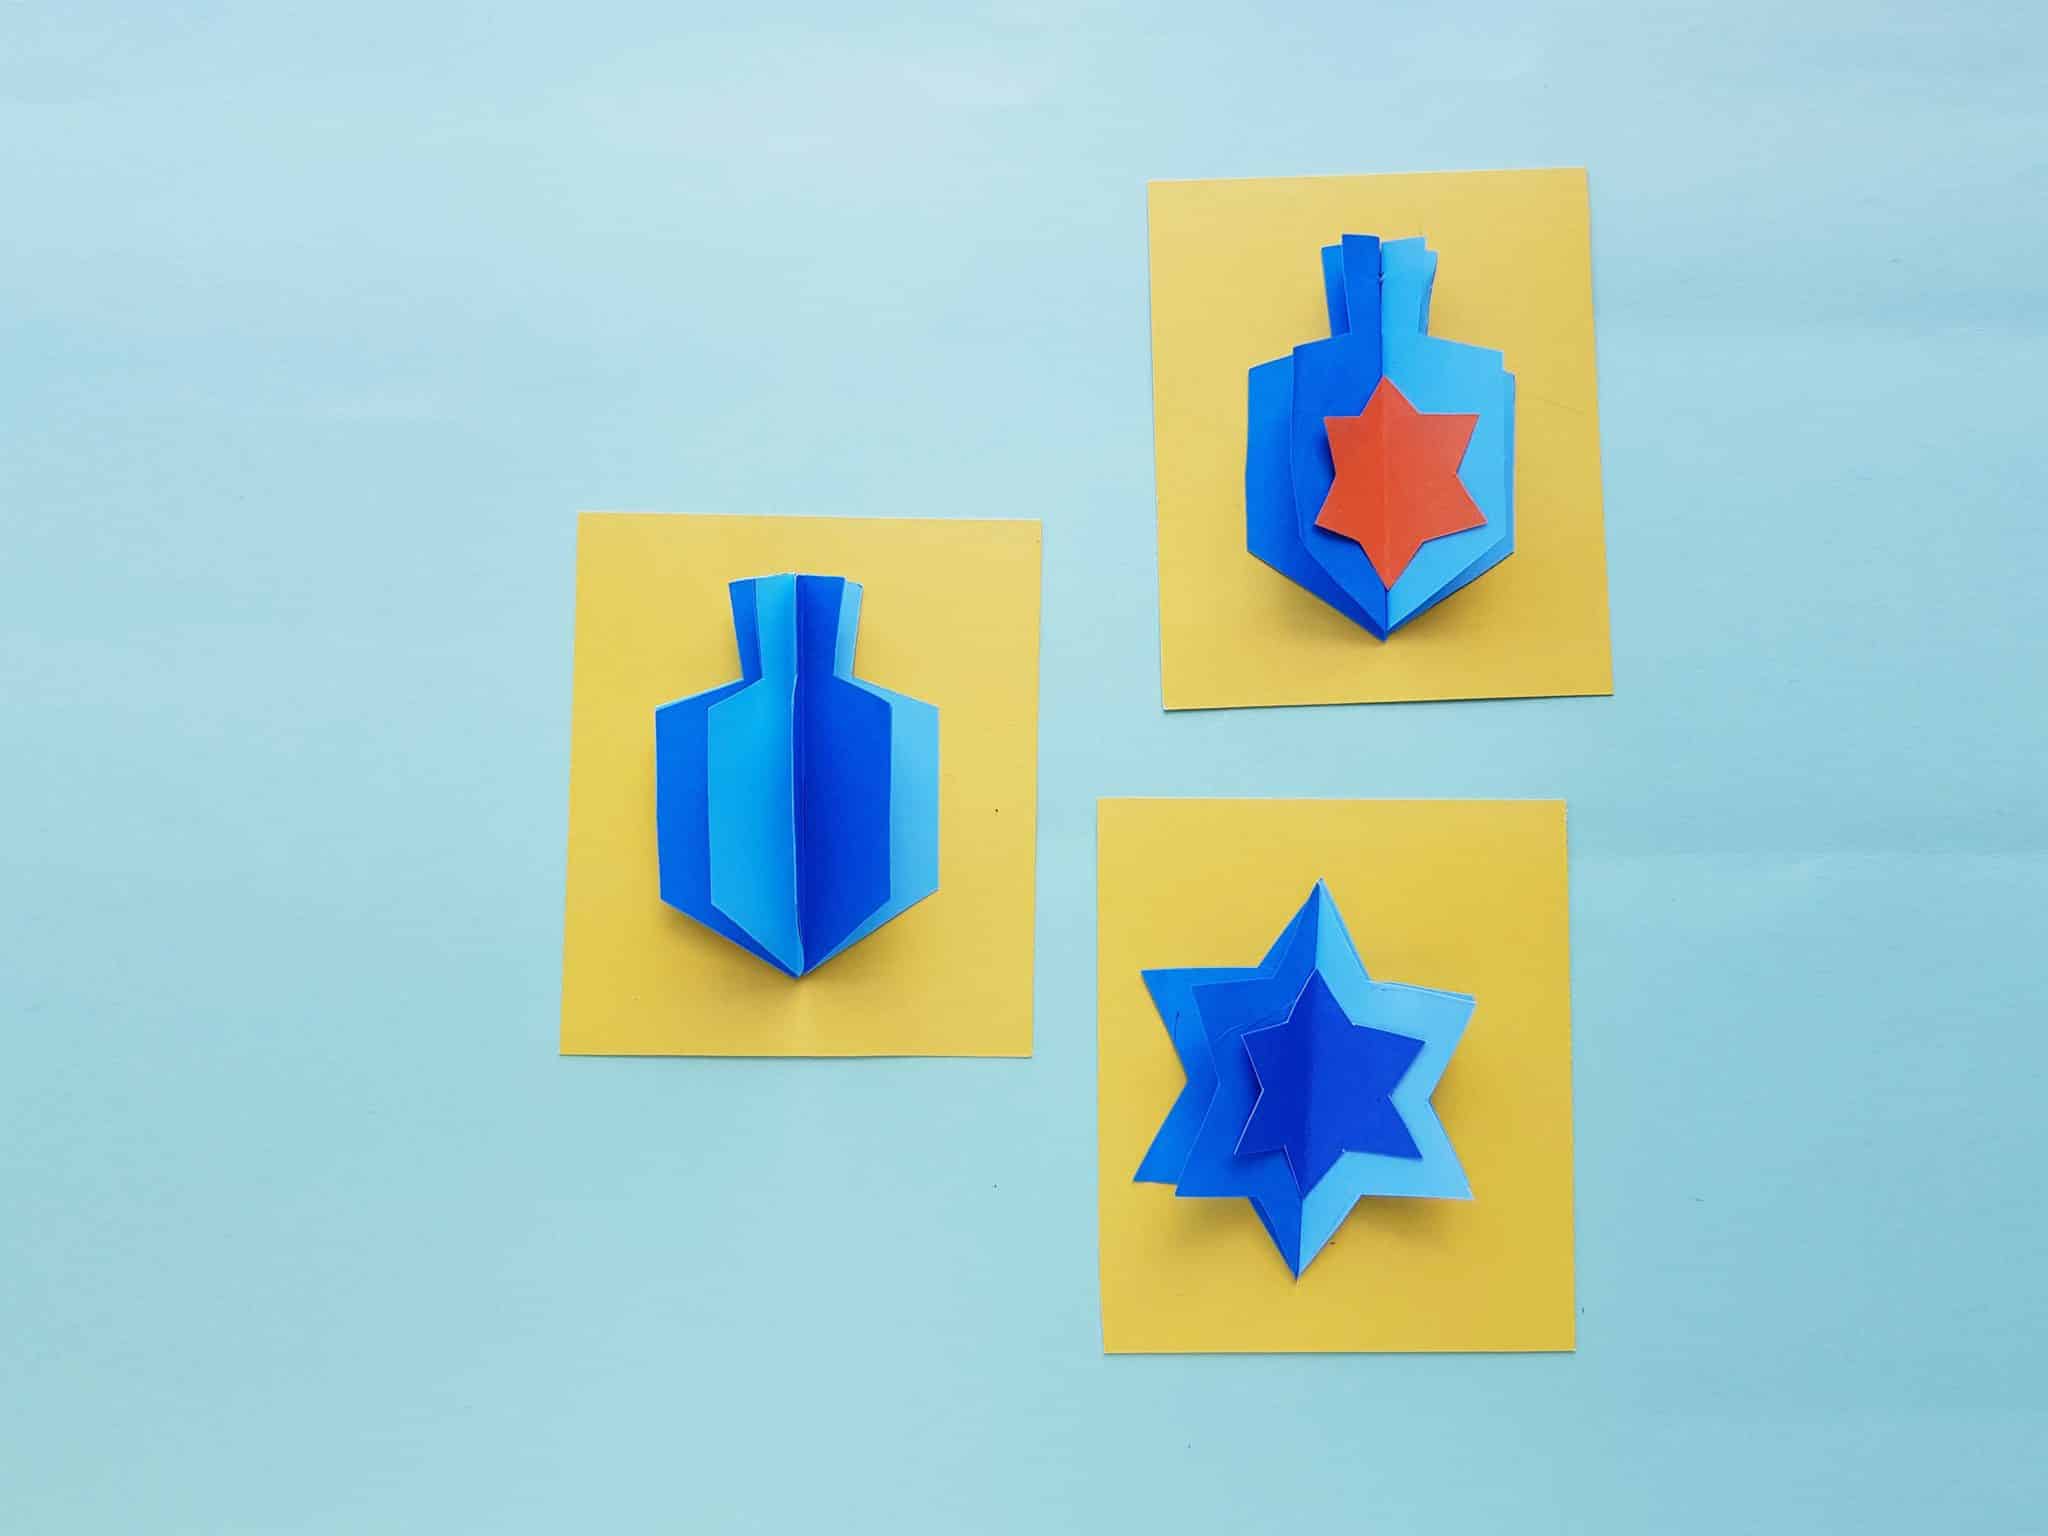
Once you have these basic 3D shapes down, you can also combine them in original ways. For example, we put a Star of David in the middle of the dreidel in the picture below. There are a lot of ways you can combine these basic ideas to create color and variety in your cards! Just be creative and have fun choosing the patterns and colors!
Tip: I think using very different, bright colors for the cards really makes the 3D element pop!

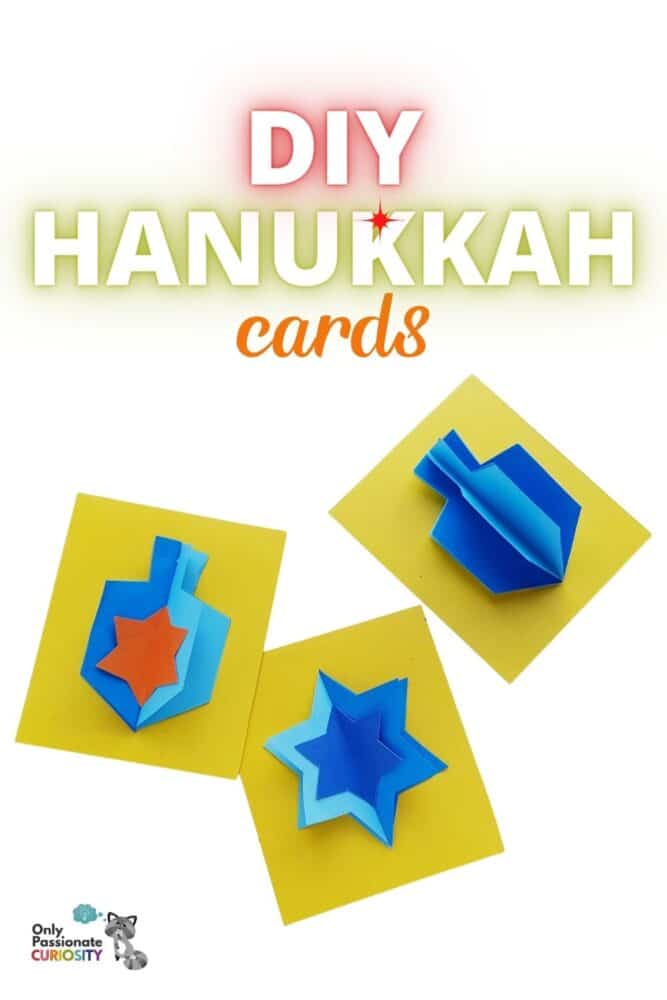
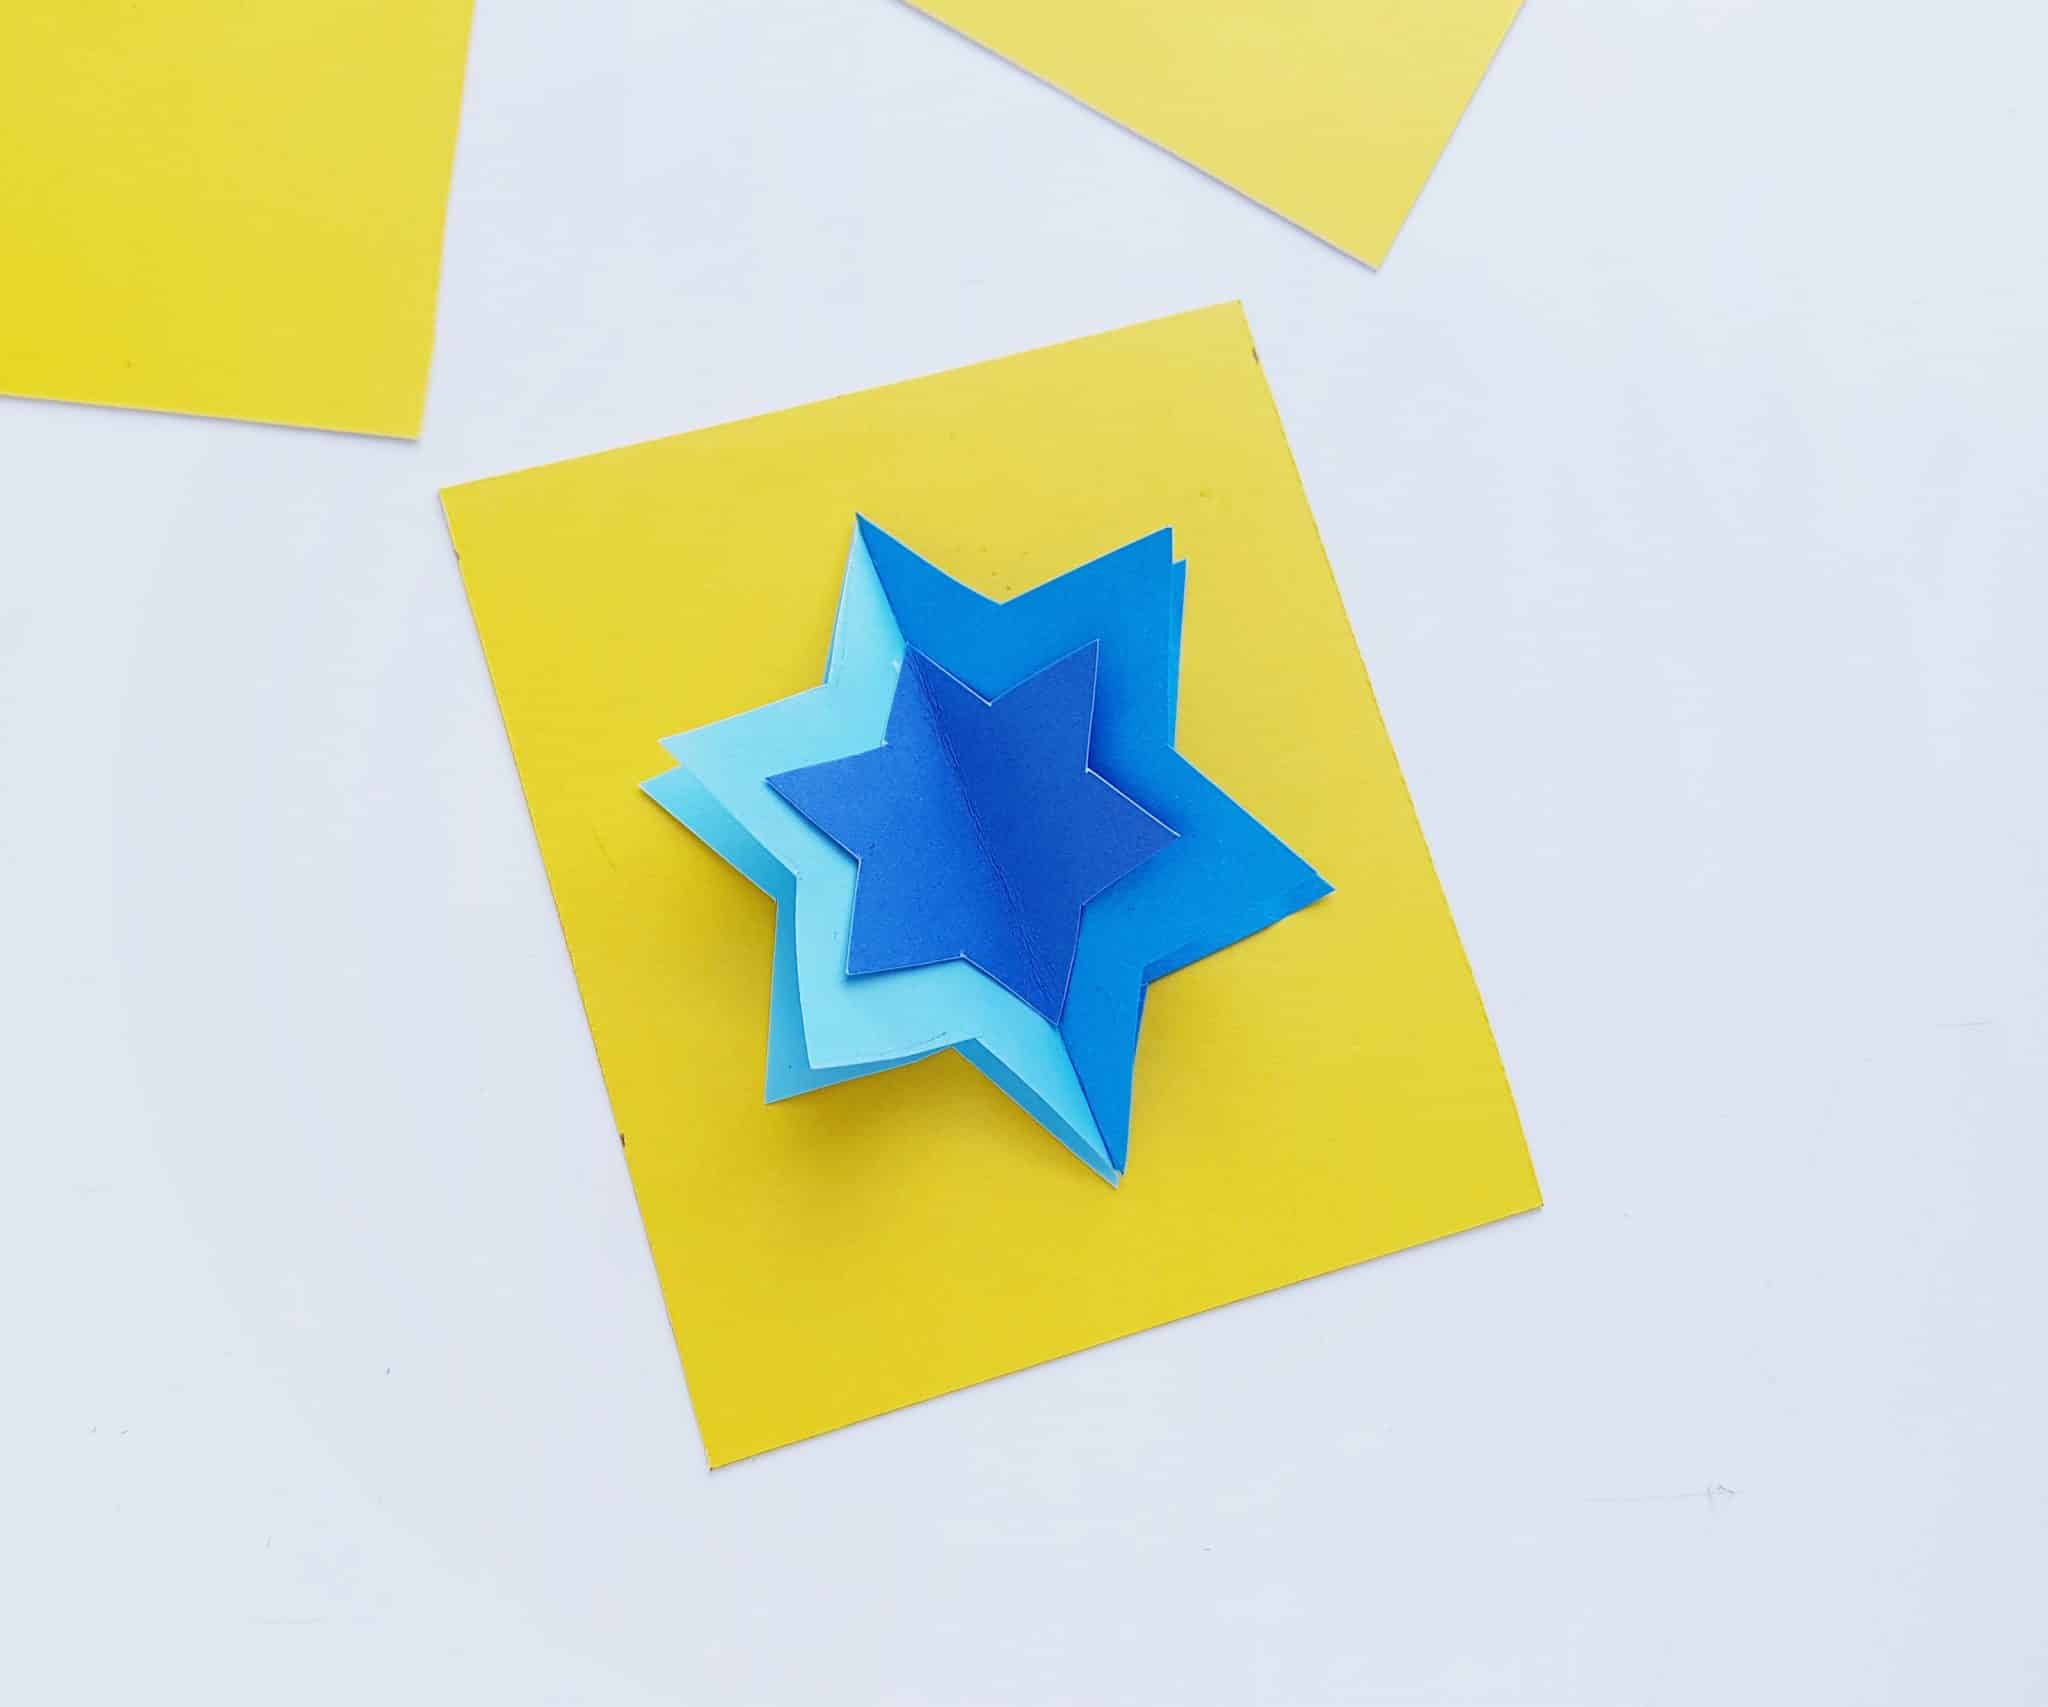
When you’ve made several designs and are ready to assemble the cards themselves, simply pick a piece of cardstock in your choice of color, fold it in half, and glue the designs to the front so that they are fully open, with the design fanning outward. Let them dry and then write your special message inside!
Don’t be afraid to mix and match your designs!
We hope you enjoy making these cards and sharing them with friends and family when they are done! Do you celebrate Hannukah? What are some of your favorite traditions to share with your children in honor of this holiday?
Don’t forget to grab your free, printable template for the DIY Hanukkah cards here!
You Might Also Like:
- Try making this recipe for homemade Chocolate Rugelach, found on our sister site, Love These Recipes. Rugelach is a delicious pastry typically enjoyed during Hannukah. Once you read about it, you’ll want to try it, too!
- This Beautiful Quilled Menorah Paper Craft would be a fun Hanukkah crack and make a beautiful decoration, too!