Eggnog Glazed Sugar Cookies


Why eggnog glazed sugar cookies?
Here’s why …
You know the time of year … when you’re minding your own business as you hustle down the shopping aisles trying to get everything on your list. Then, without warning, there it is. Eggnog. It wasn’t there last week, and you have no guarantees for next week. But it’s there today.
You have little choice but to grab a carton (or two). Not only can you enjoy that highly favored holiday drink, but you can try your hand at these tasty eggnog glazed sugar cookies as well.
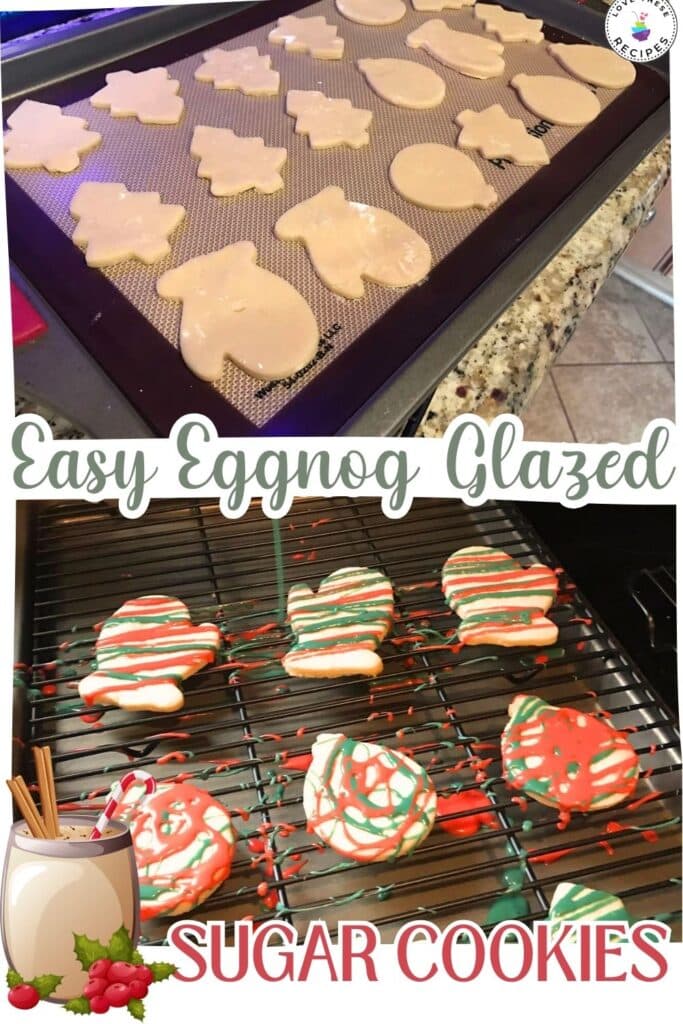
If you’ve made sugar cookies at any time in your life (and who hasn’t, right?) you know that the two main things you need to give yourself enough time for are letting the cookie dough chill, and rolling out + cutting out the shapes. Kids usually love to help with this part, though.
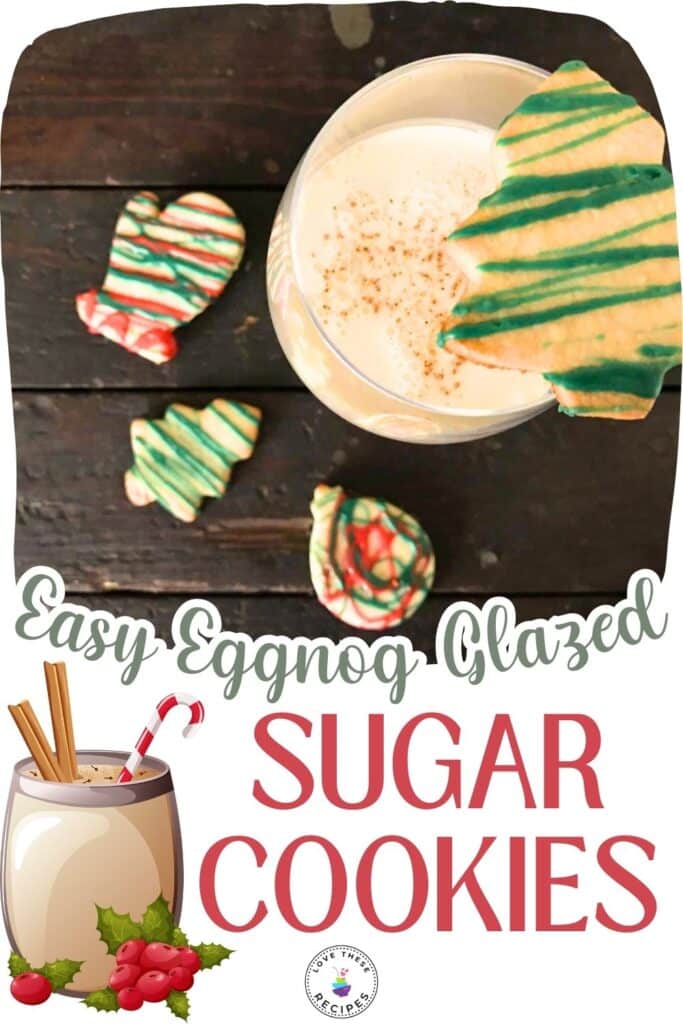
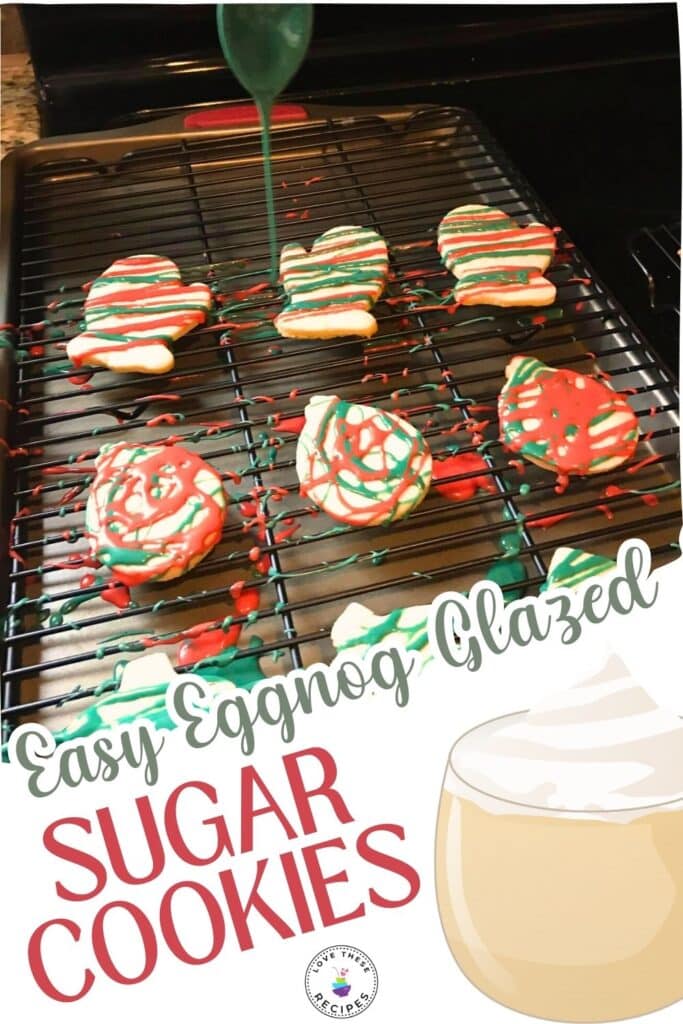
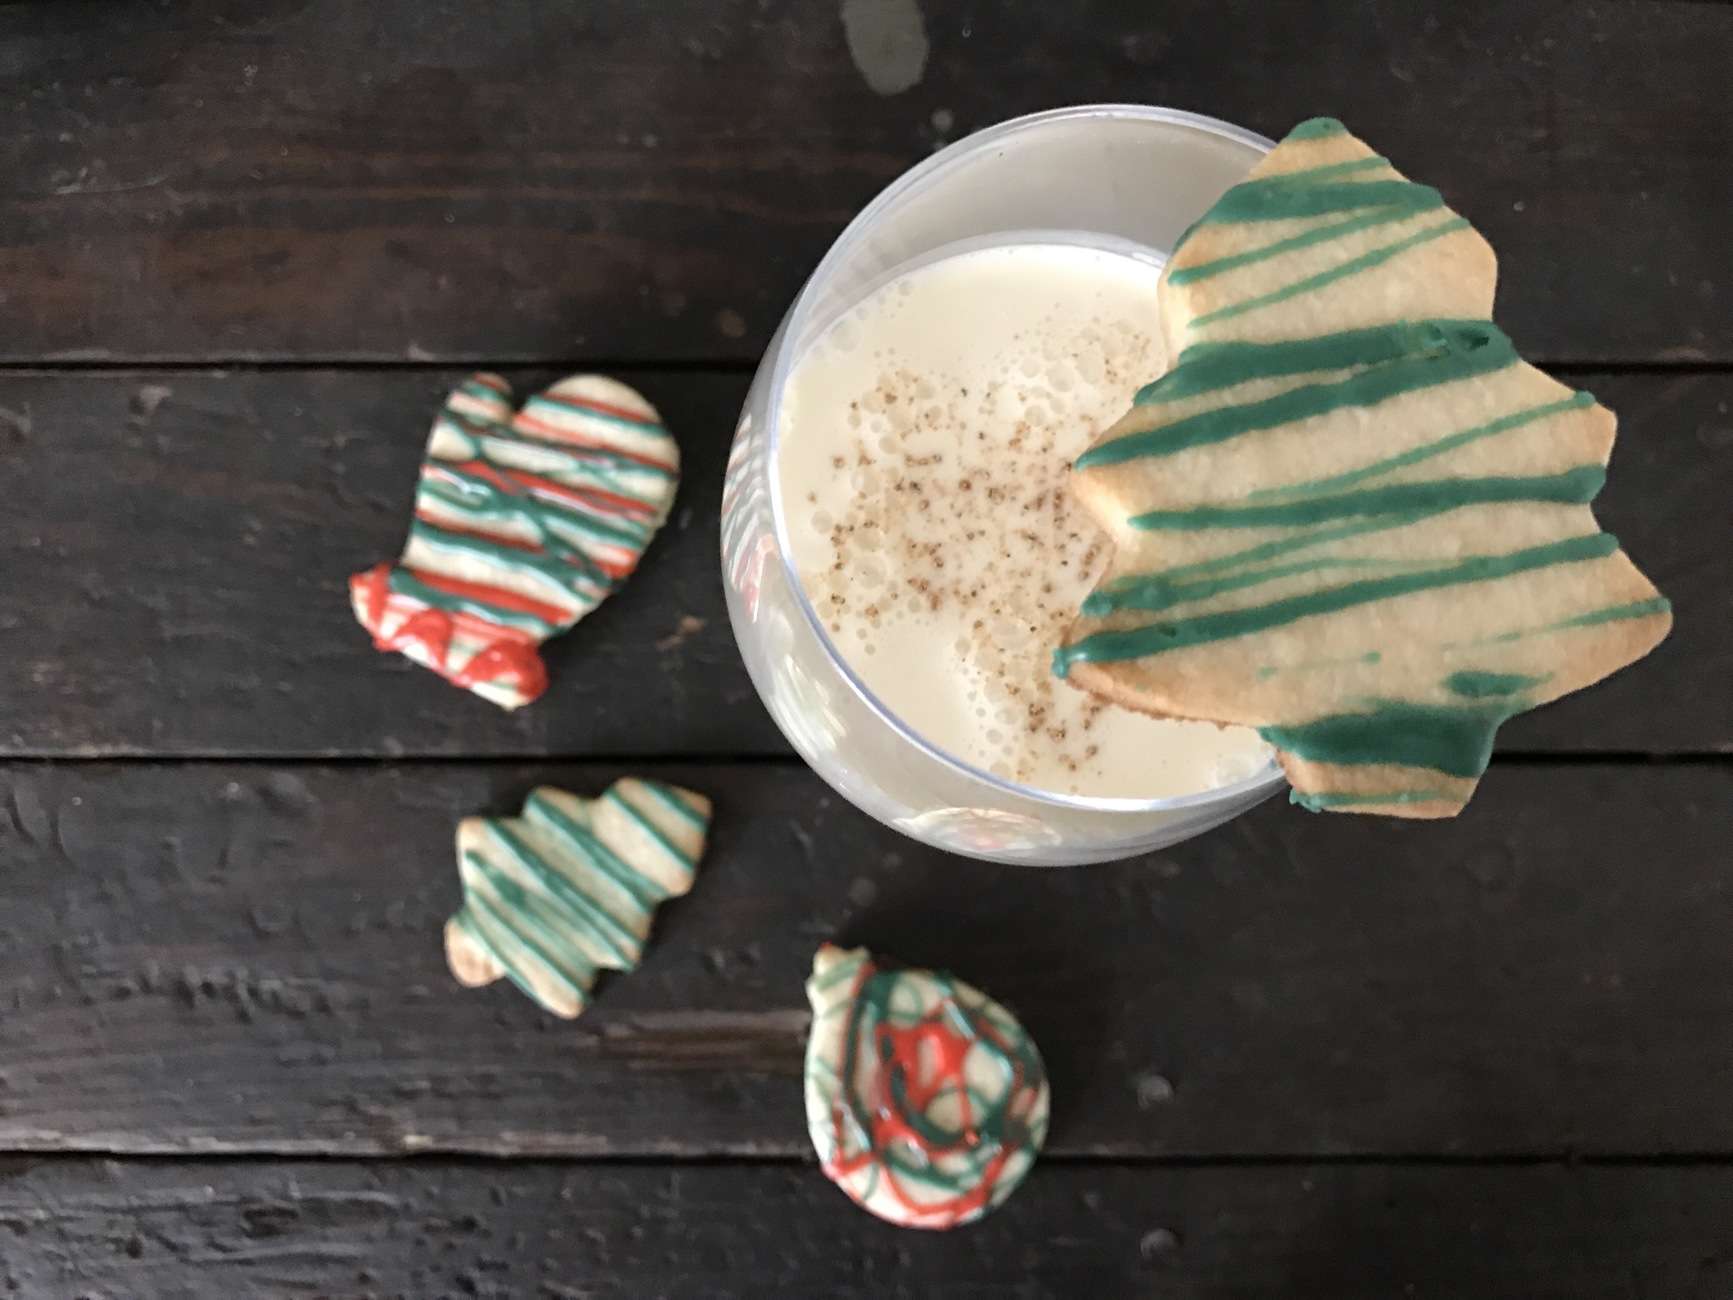
And they’ll definitely love helping with the best part of all–drizzling the colorful glaze on these eggnog glazed sugar cookies!
Make sure you let the cookies cool completely on a cookie rack before drizzling the eggnog glaze on top.

How to Make the Eggnog Glazed Sugar Cookies
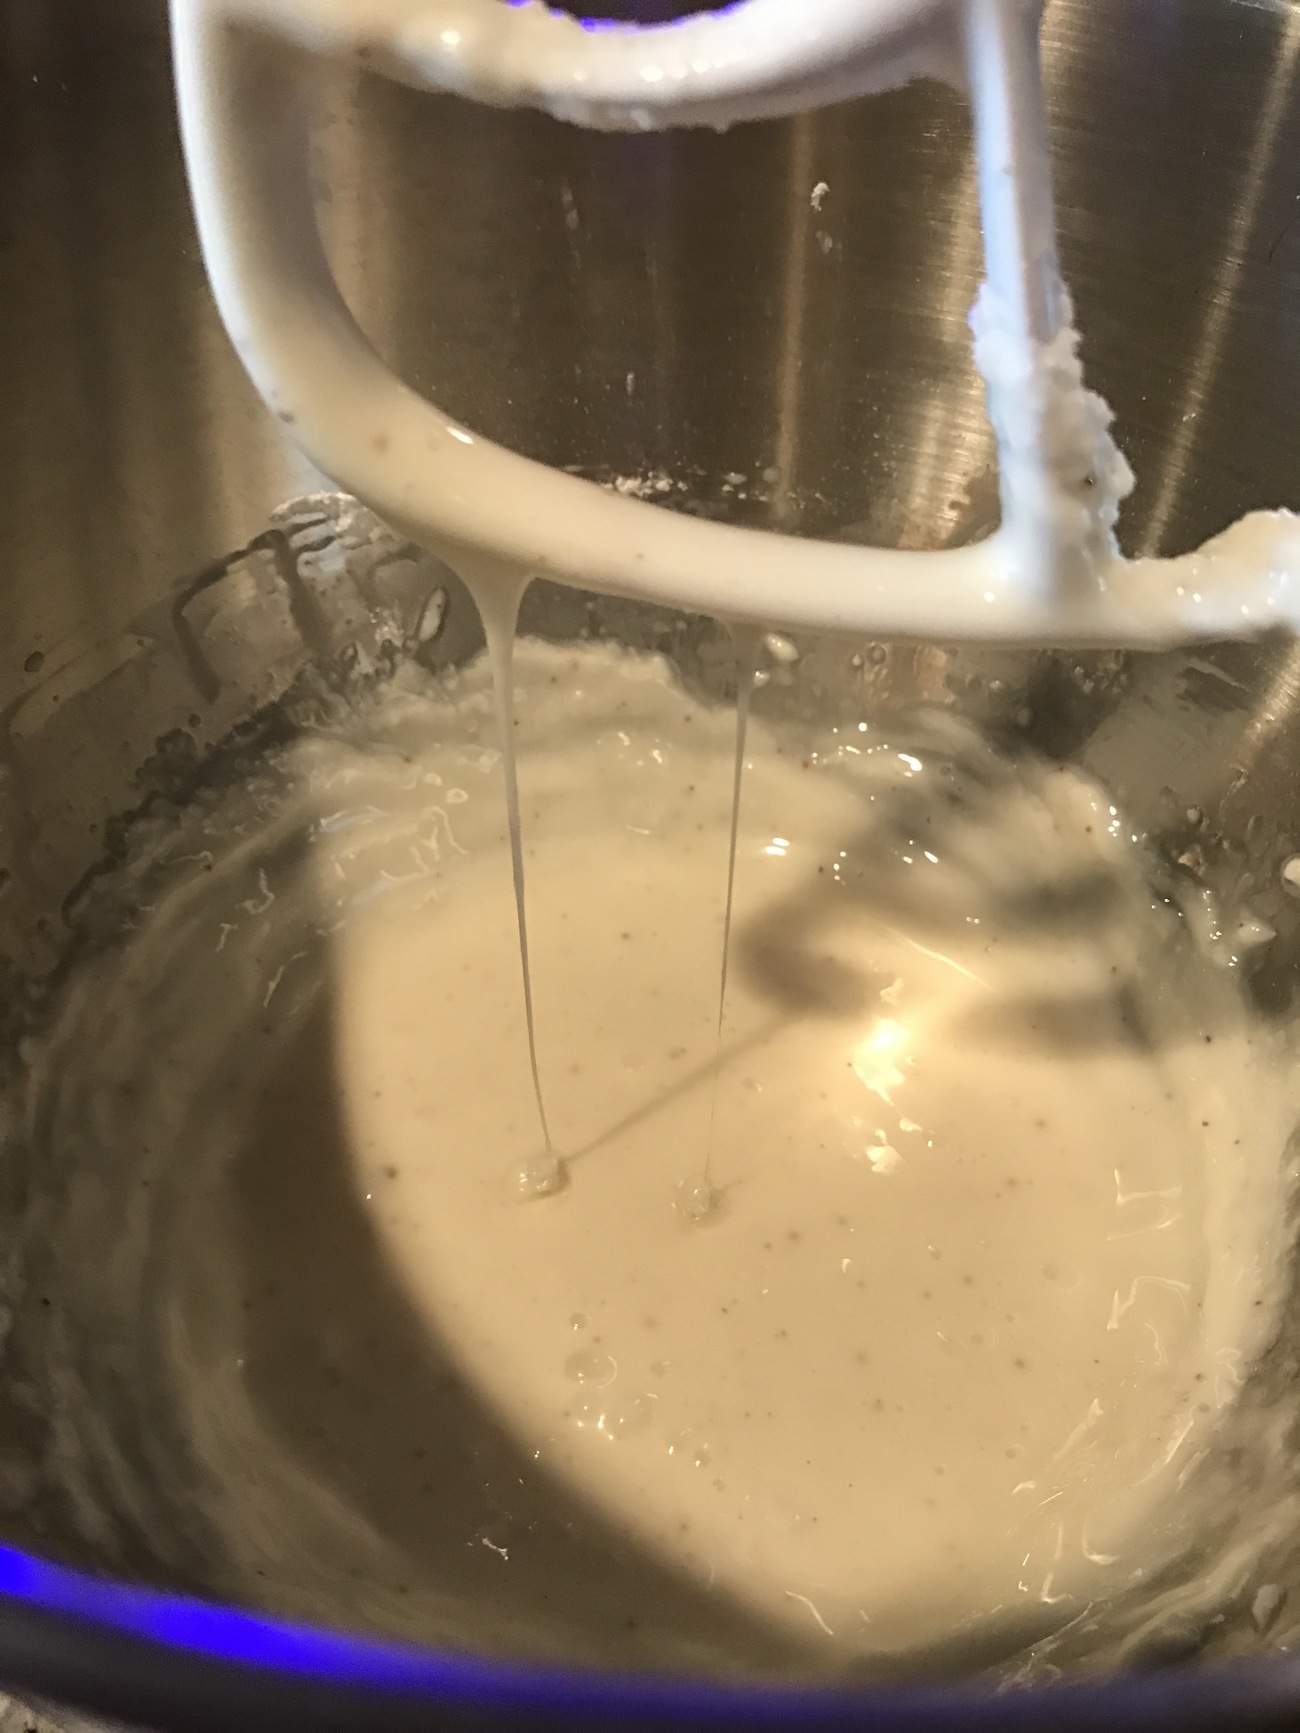
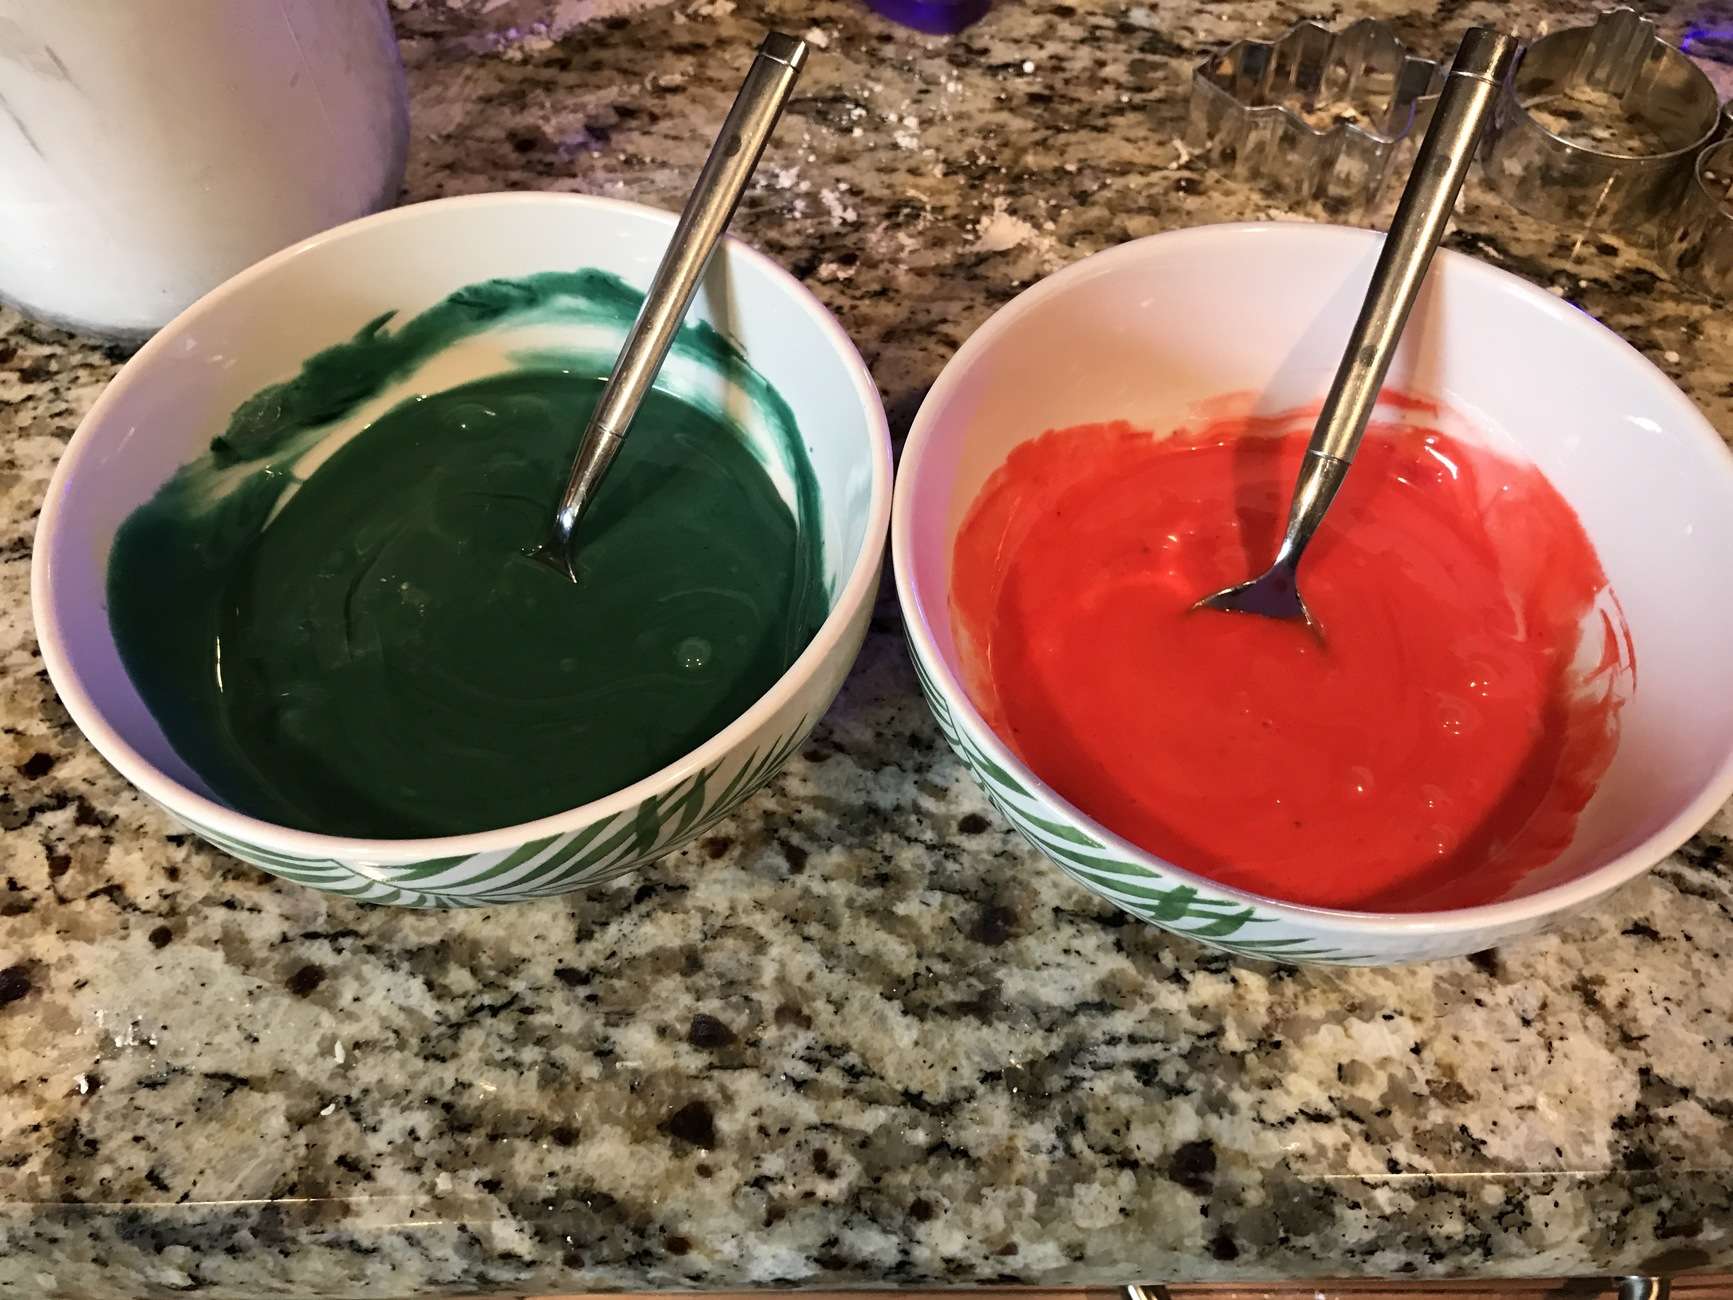
Making the eggnog glaze is easy!
You can use a stand mixer or a hand beater if you prefer. Mix 2 cups of powdered sugar with 1/4 to 1/2 teaspoon of nutmeg, and 3 tablespoons of eggnog on low until the glaze is thin and runny.
You can leave it a natural color if you would like, or if you want to add some color, simply divide the glaze into as many bowls as colors you want to use. Then use liquid food coloring (or gel-based food coloring if you prefer) and color according to your imagination!
Now comes the fun part!
Glazing the cookies.
These may not be the fanciest cookies you’ll ever make, especially if your kids are young, but they will have a blast and that’s what life and learning are all about!
You might want your little ones to wear a small apron, smock, or old T-shirt. These eggnog glazed sugar cookies can get messy and the glaze can leave a stain.
You’ll want to put a clean cookie rack over a cookie sheet (or a cutting board) covered in wax paper. Then set the cookies far enough apart to leave room for fun and creativity.
Dip the spoon into the different glazes and drizzle the glaze across the cookies, in any pattern you want. No pattern at all is also fine. Just have fun and they will turn out great!

Make sure you give the cookies enough time for the glaze to harden before you handle them or stack them in an airtight container for storage. You’ll want to let the glaze dry completely.

Eggnog Glazed Sugar Cookies
Ingredients
FOR THE COOKIES:
3 cups all-purpose flour
3/4 teaspoon baking powder
1/4 teaspoon salt
1 cup unsalted butter, softened
1 cup sugar
1 egg, beaten
1 tablespoon milk
Powdered sugar, for rolling out the dough
FOR THE GLAZE:
2 cups powdered sugar
3 tablespoons eggnog
1/4–1/2 teaspoon ground nutmeg (optional)
Instructions
FOR THE COOKIES:
- Sift together flour, baking powder, and salt. Set aside.
- Place butter and sugar in the large bowl of an electric stand mixer and beat until light in color.
- Add egg and milk and beat to combine.
- Put mixer on low speed, and gradually add flour. Beat until mixture pulls away from the side of the bowl.
- Divide the dough in half, wrap in waxed paper, and refrigerate for 2 hours.
- Preheat oven to 375 degrees F.
- Sprinkle the surface where you will roll out the dough with powdered sugar.
- Remove 1 wrapped pack of dough from the refrigerator at a time. Sprinkle the rolling pin with powdered sugar, and roll out the dough to 1/4-inch thick. (Move the dough around and check underneath frequently to make sure it is not sticking.)
- If the dough has warmed during rolling, place a cold cookie sheet on top for 10 minutes to chill.
- Cut into the desired shapes, place your cookies at least 1 inch apart on a greased baking sheet, parchment, or silicone baking mat.
- Bake for 7 to 9 minutes or until cookies are just beginning to turn brown around the edges, rotating the cookie sheet halfway through baking time.
- Let sit on baking sheet for 2 minutes after removal from oven and then move to complete cooling on wire rack.
- Glaze as desired. Store in an airtight container for up to 1 week.
FOR THE GLAZE:
- Mix all ingredients together until nice and smooth.
- Do not allow too long between making of the glaze and glazing the cookies; once it forms a hard layer on top, it can be challenging to work with.