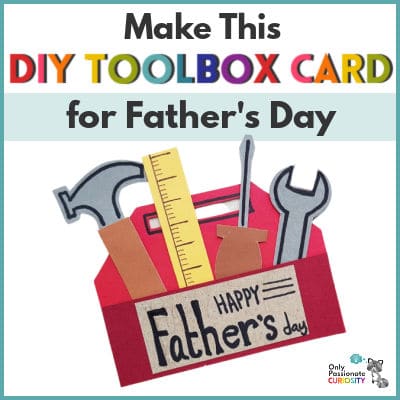
DIY Toolbox Card for Father’s Day!
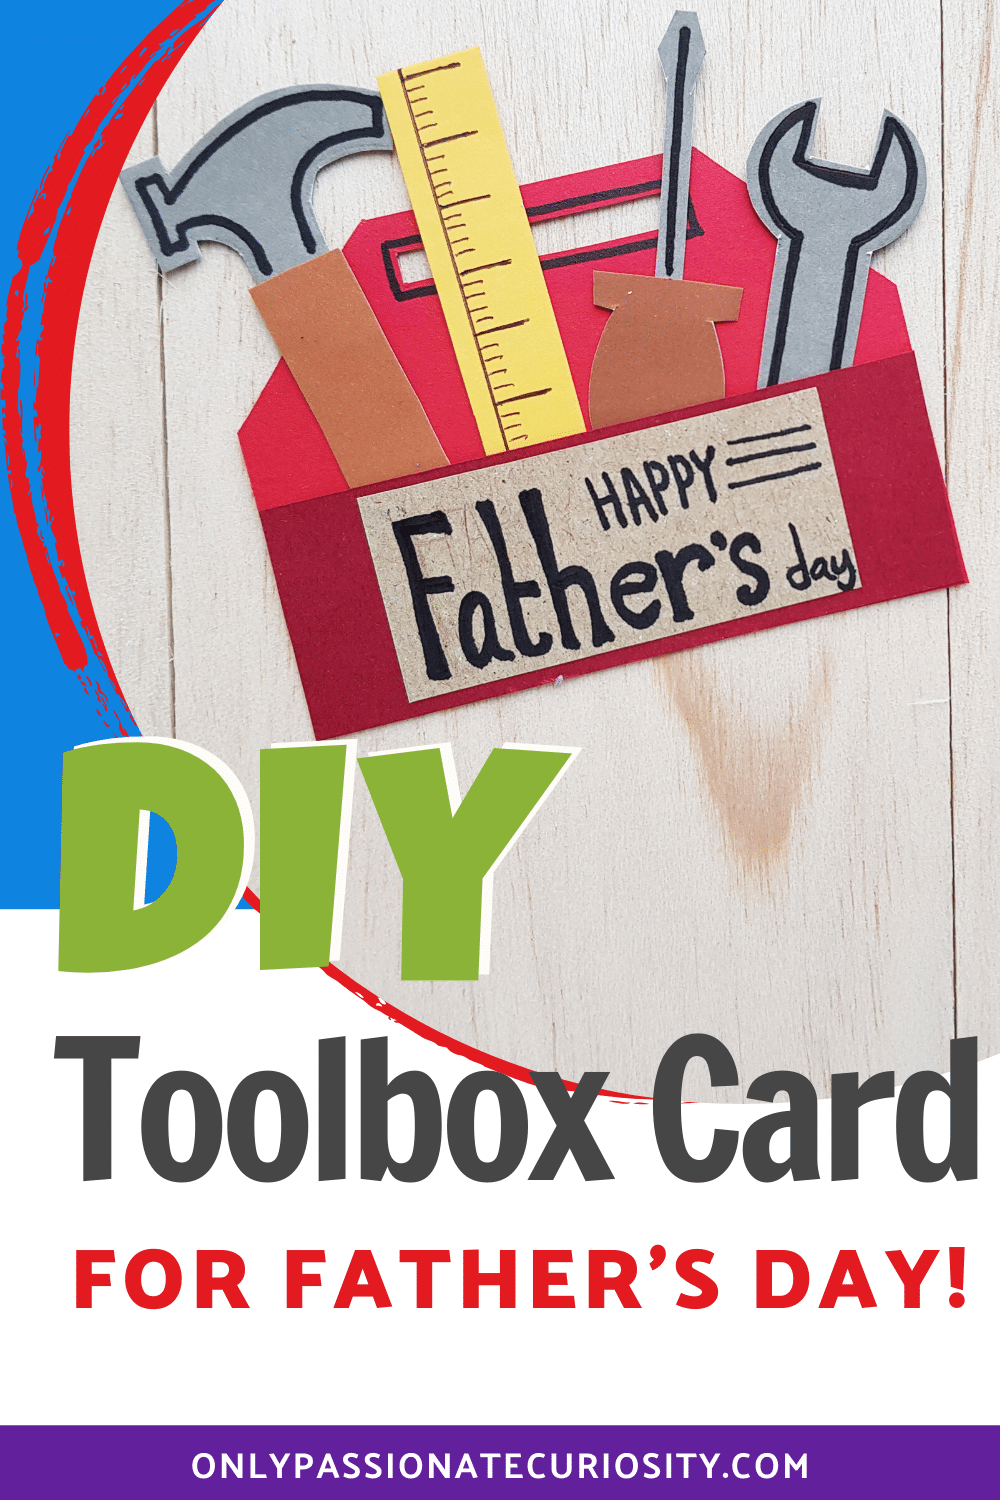

Make a Toolbox Card for Father’s Day!
Father’s Day is coming up! Today, we’re bringing you a simple craft tutorial that your kids (or you) can use to make Dad a unique and special gift: a handcrafted toolbox card for Father’s Day.
Whether the fathers in your life are traditionally handy with tools or not, this card will show them that you admire the way they “fix” so many things in day-to-day life. We hope you and/or your kids enjoy making this card and gifting it to all the dads you love this Father’s Day!
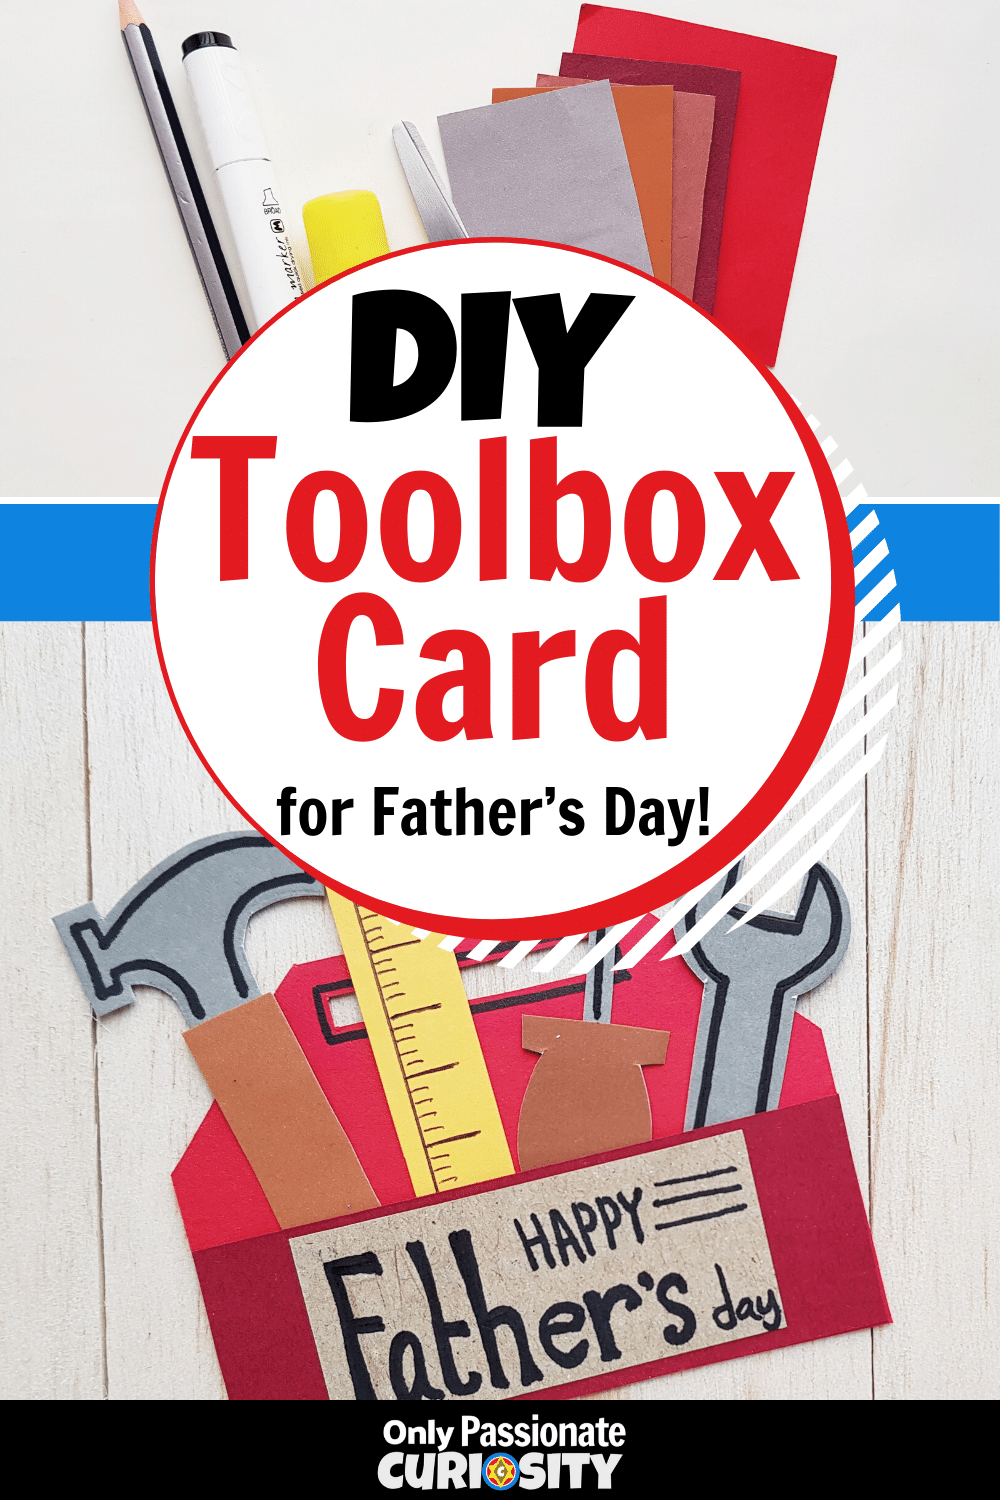
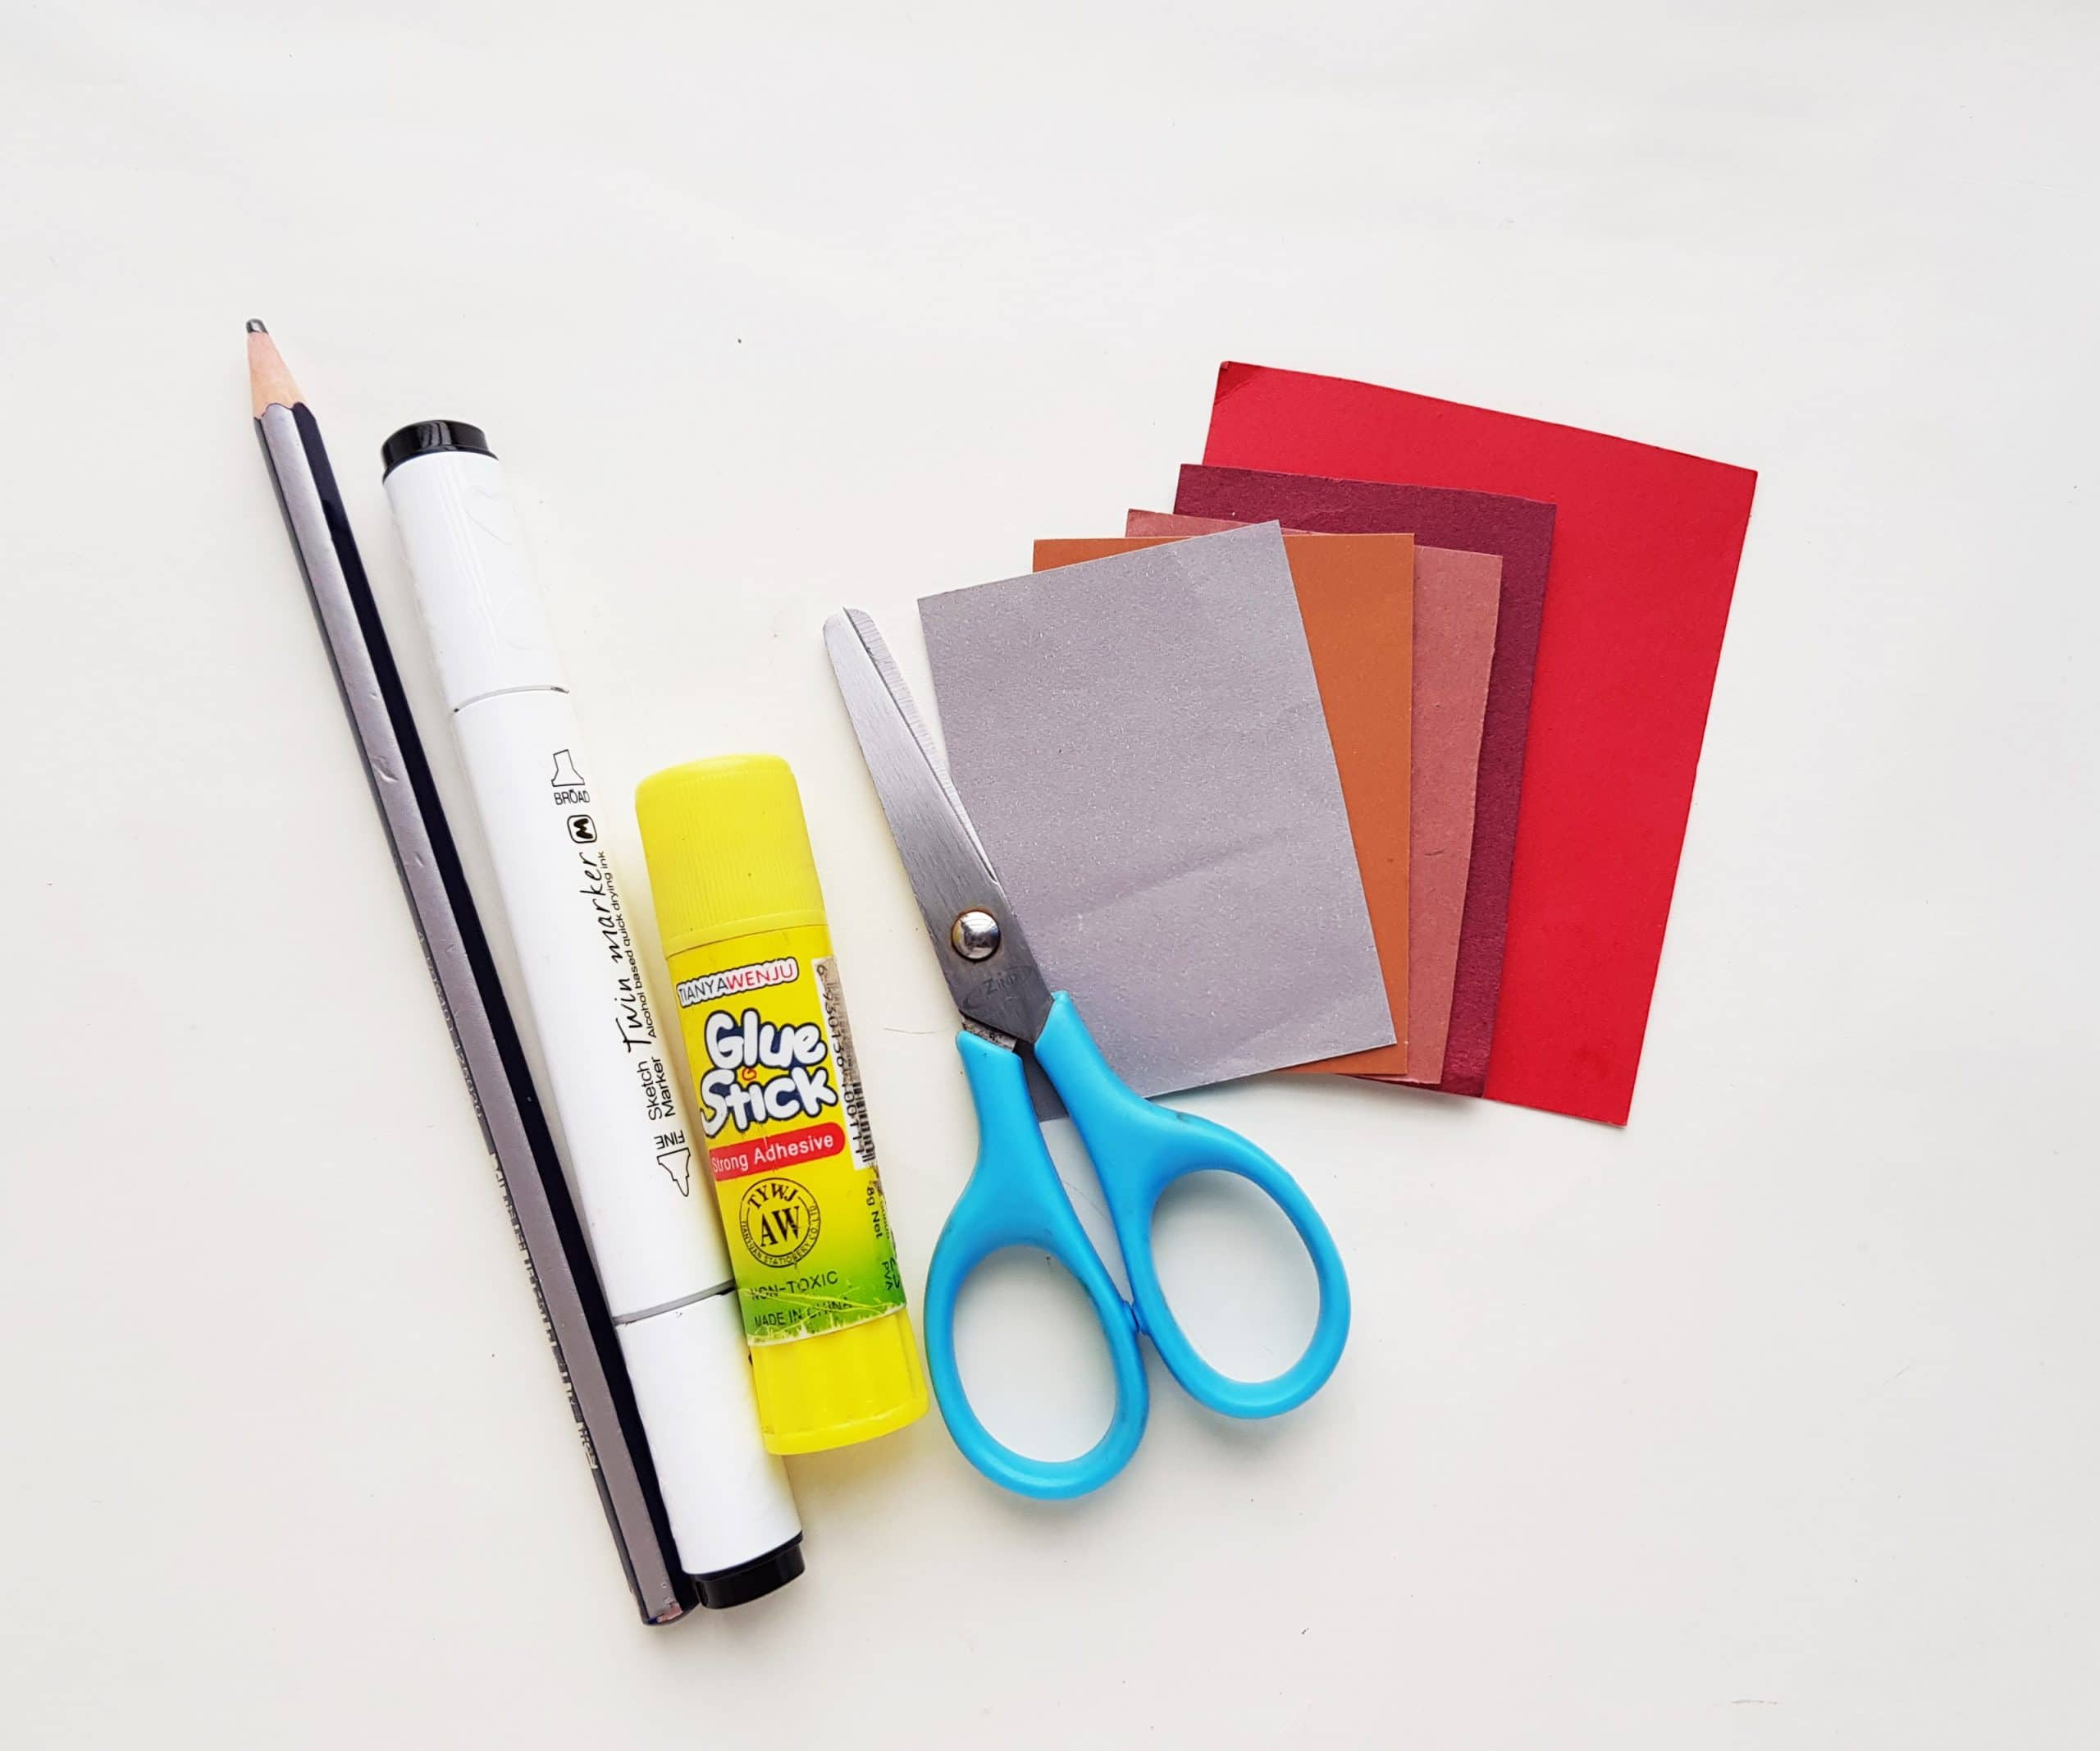
Here’s What You’ll Need to Make This Craft:
- colored craft paper/cardstock (a variety of colors)
- craft glue or rubber cement
- marker pen
- pencil
- scissors
- printable templates for the tools and toolbox (Note: To get the templates for free, put in 0.00 when you see the pay-what-you-can option.)
How to Make It:
Before you get started with this craft, select the colored craft papers that you want to use. I went with realistic colors for my toolbox and tools: brown, grey, and red. However, you could choose the recipient’s favorite colors, the colors of his favorite sports team, or even colors that represent his favorite superhero!
While you can certainly use construction paper for this craft if you need to, I prefer to use card stock for crafts like this. This is simply because it’s heftier and seems to hold up better over time (so if you have a sentimental dad on your hands, card stock is your best bet for a handcrafted Father’s Day card).
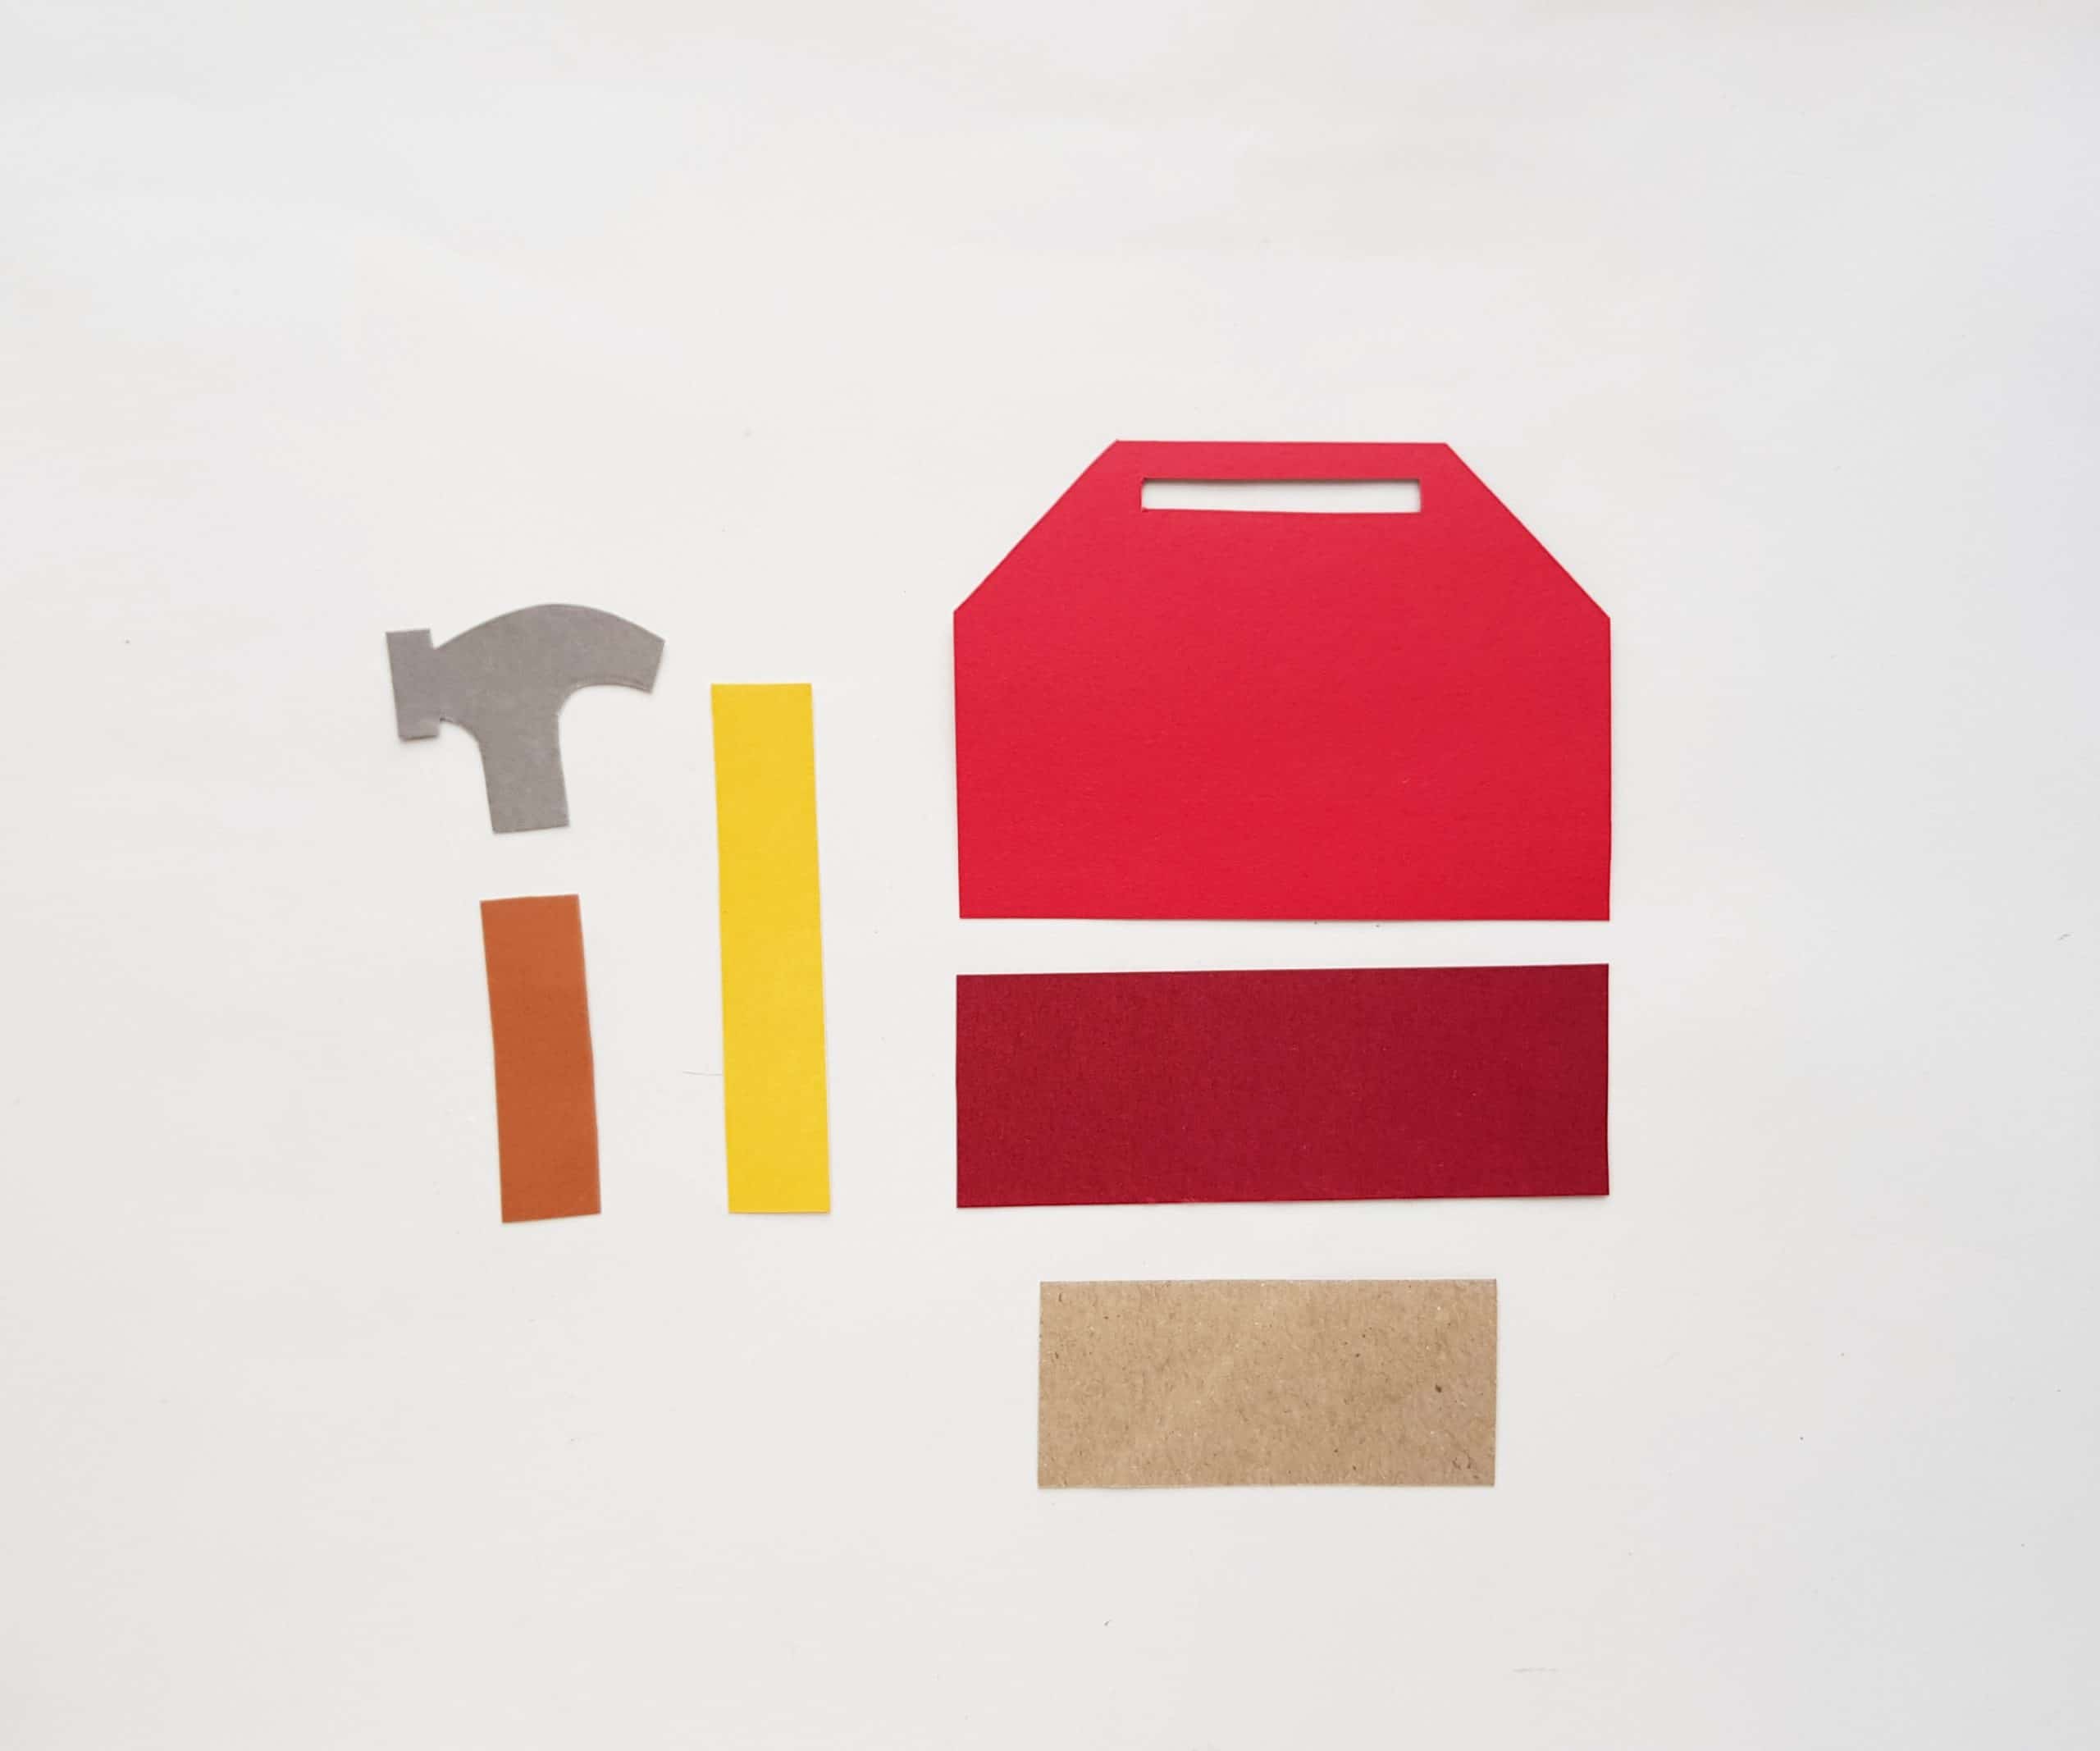
Cut out the templates (found by clicking this link or the one at the bottom of the tutorial) and trace them onto the card stock paper. Then cut the shapes out of the card stock in the colors of your choice.
I think this is a good time to say that it’s ok to let your little ones cut out the toolbox and tools as long as they’re old enough to safely use scissors. If the card doesn’t turn out perfectly, who cares?!
Some of my favorite cards and crafts made by my kids when they were little are the ones with imperfections. Why? Because that means they made them with their own little hands! If you’re worried about safety, use these blunt safety scissors for kids.
Or if you have a child with fine motor challenges (like my autistic child has always had), try these spring-loaded training scissors. They spring back open to help make cutting with scissors much easier!
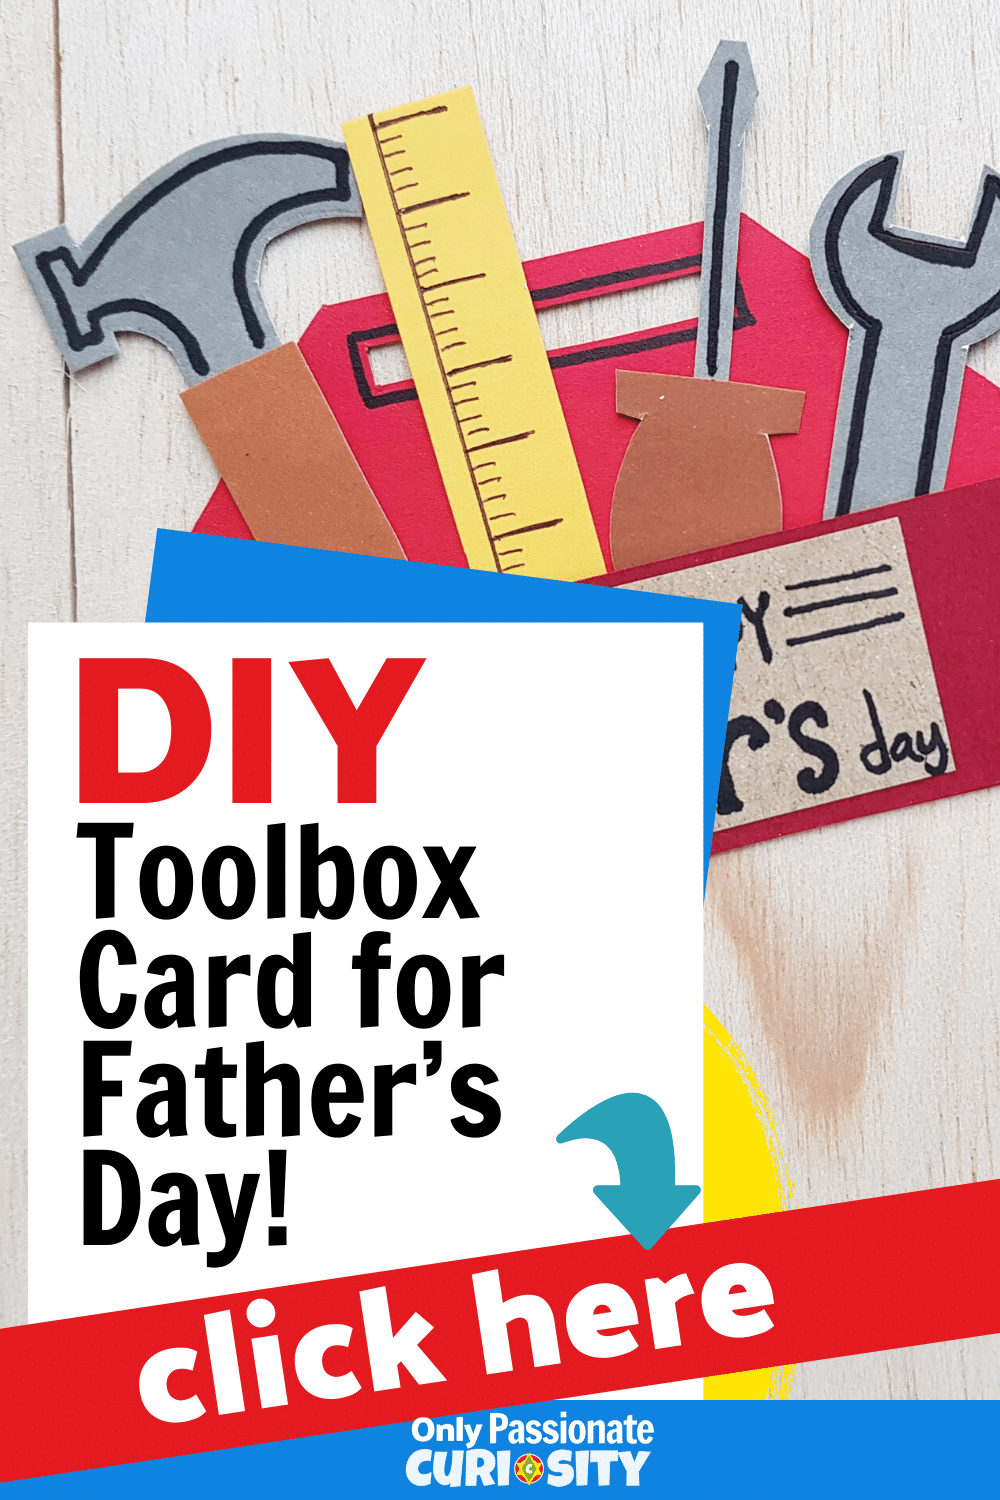
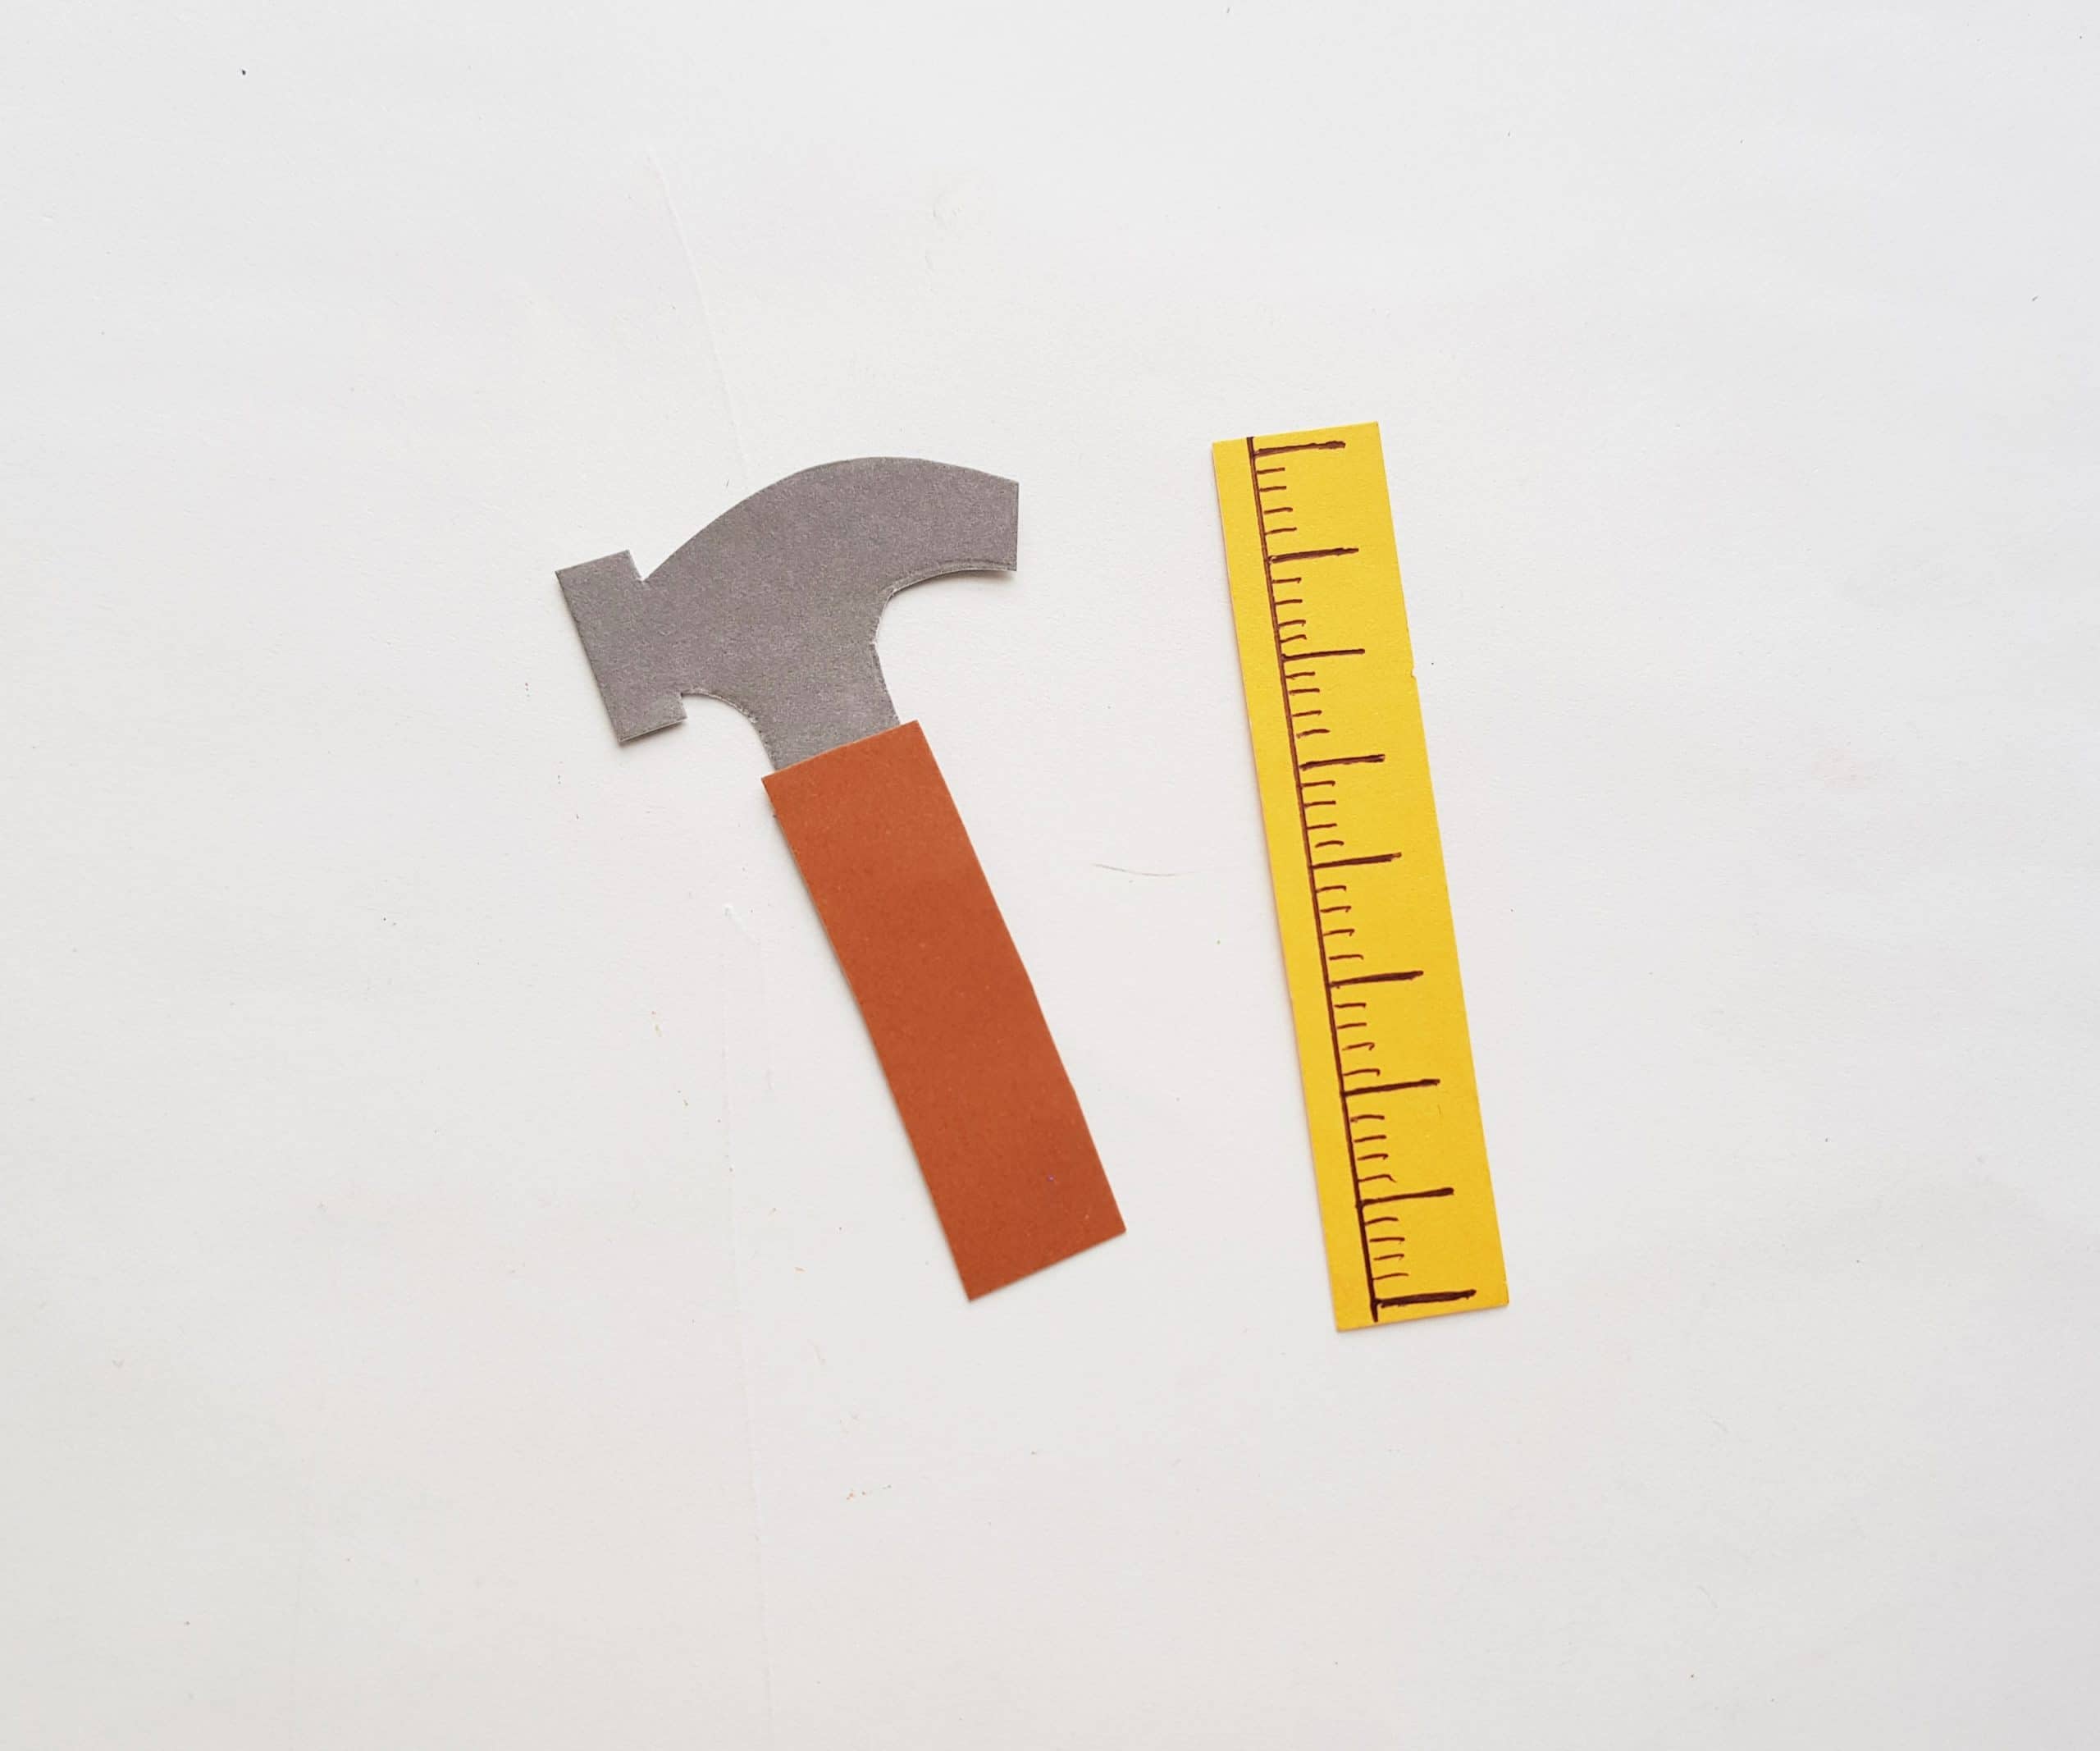
Next, you’ll add some fun details to make your tools look more realistic. Just use a black marker (I love Sharpie pens for crafting) to draw lines along either side of the simple strip you cut out to make it look like a ruler (as seen below).
At this point, I also glued together the two parts of the hammer and did a simple outline around the outside edge of the other tools to give them some dimension!
Now it’s time to put together your paper toolbox. It’s much easier than assembling a real one! First, attach the smaller rectangle in the middle of the bigger rectangle with the craft glue.

Once that dries, align the big rectangle along the straight side of the toolbox pattern. Draw a line of craft glue along the bottom and sides of the rectangle and press it onto the toolbox shape. Be sure not to seal up the top! The point of this is to essentially create a pocket where you will place the paper tools. Because you want it to be sturdy, craft glue really does work best.
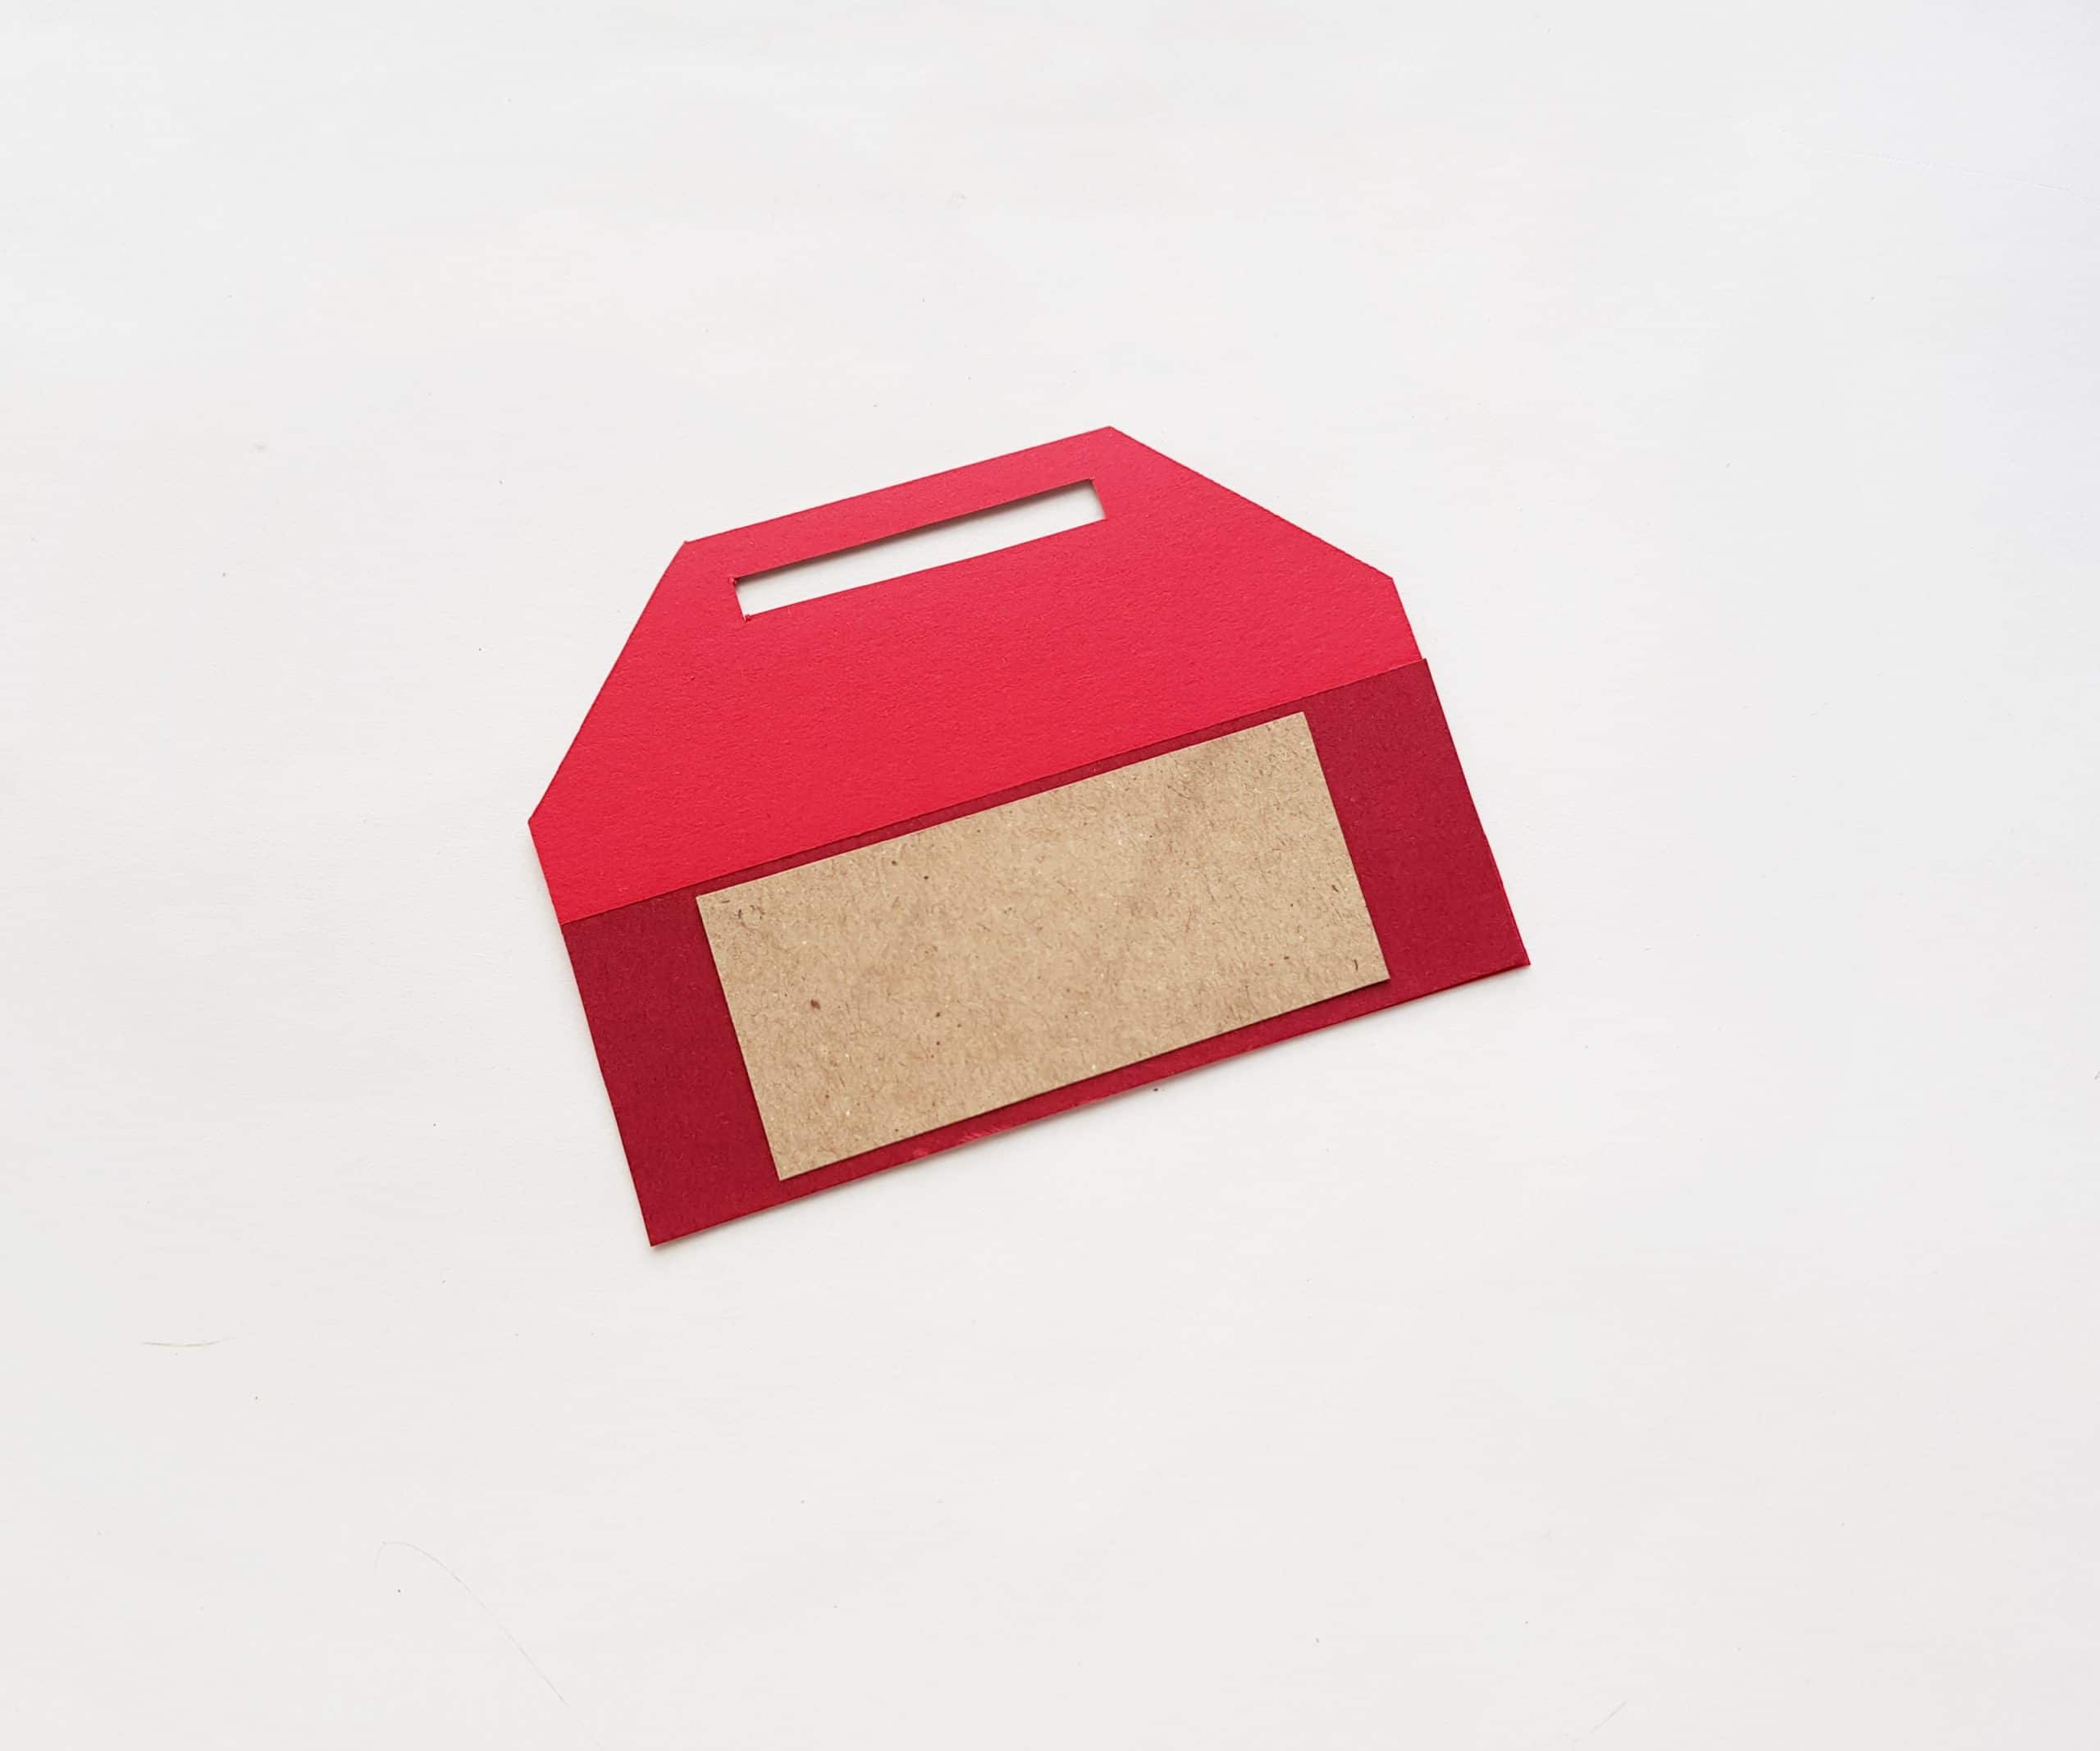
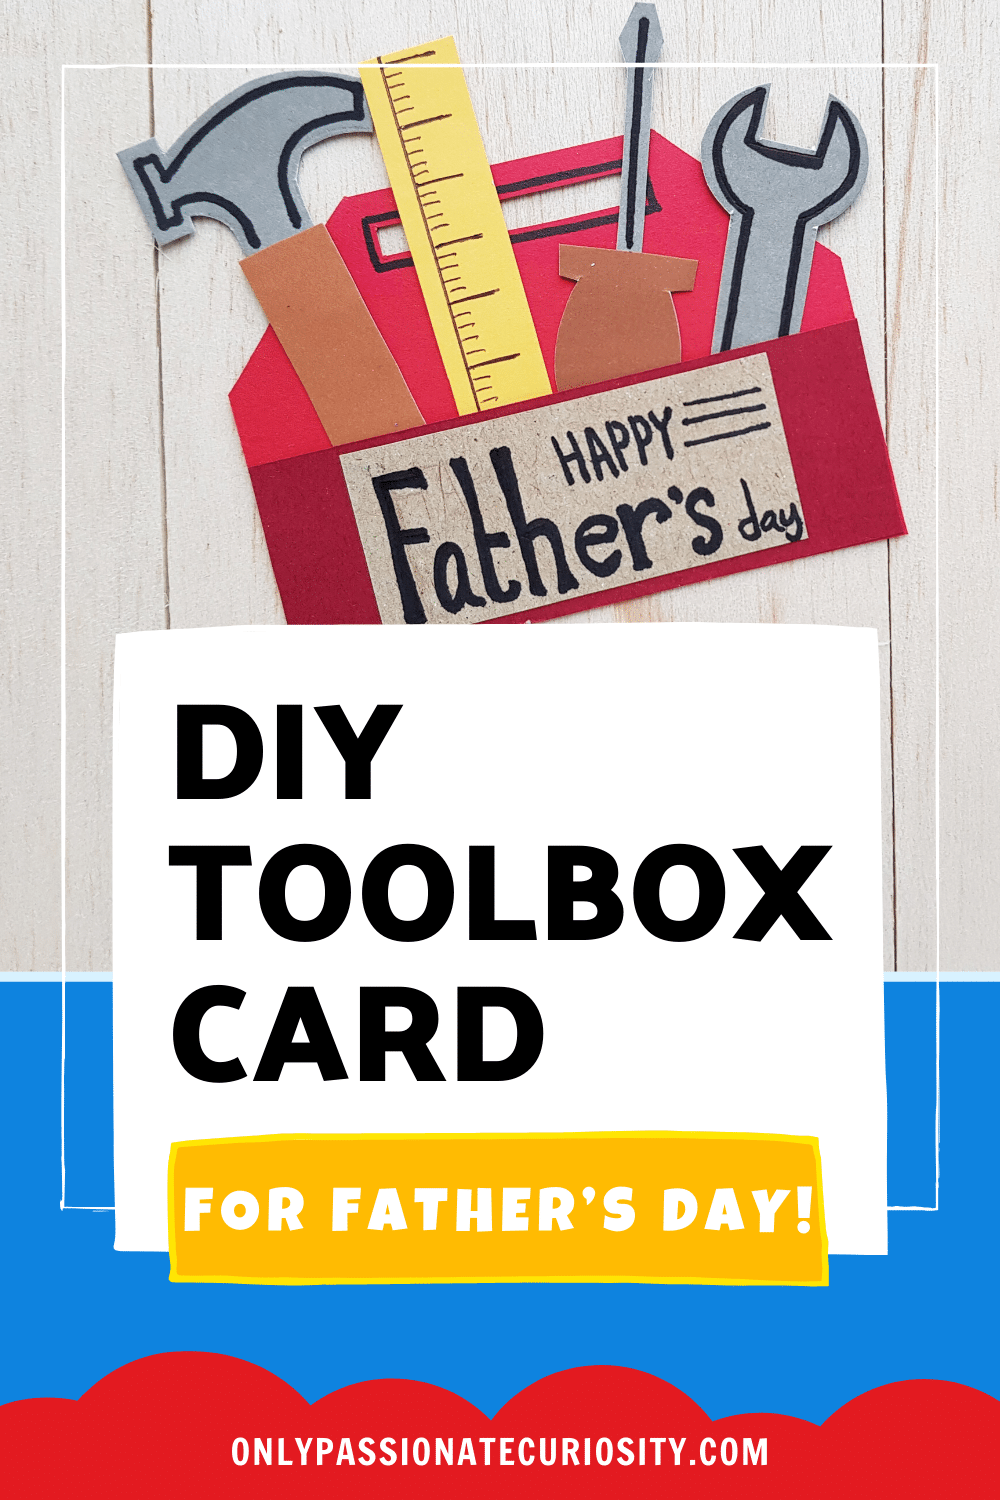
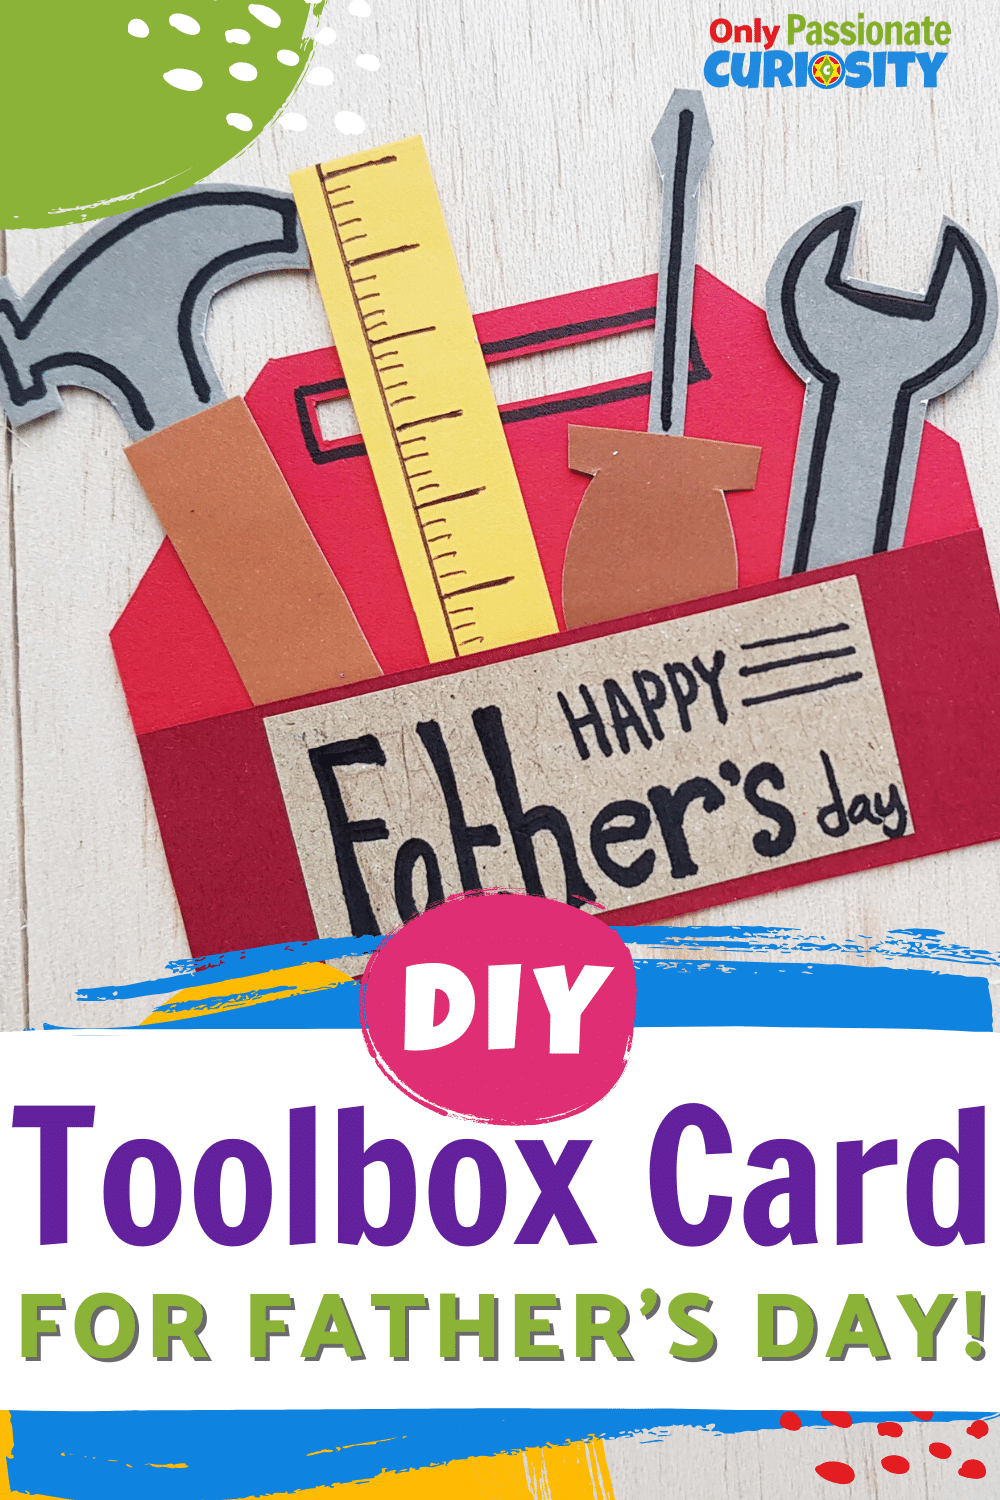
Now your toolbox is assembled! Use a black marker to write your Father’s Day message on the small, light-colored rectangle on the front. Ours simply says, “Happy Father’s Day,” but of course, you can customize yours however you want.
You could even get “punny” while letting Dad know you appreciate him and say something on-theme like: “Thanks for keeping our home in good working order!” or “You’re a handy man to have around!” You know: dad jokes. What better time to use them than Father’s Day?
After you’ve written your main message on the front of your paper toolbox, you get to put all the little paper tools you’ve created into the pocket of the toolbox! I can guarantee you that kids will love this part of the job. We let the paper tools just sit loosely in the pocket without gluing them in, but you can certainly glue them down if you like.
One benefit of leaving the tools loose is that you can write a short message on the back of each one, which will add extra fun when Dad receives it. For instance, you could write some things that you love about him on the back of each tool. Or, if you have multiple children in your family, each child could sign his/her name on the back of an item in the toolbox. Don’t be afraid to get creative with ways that you can make it extra special and personalized.
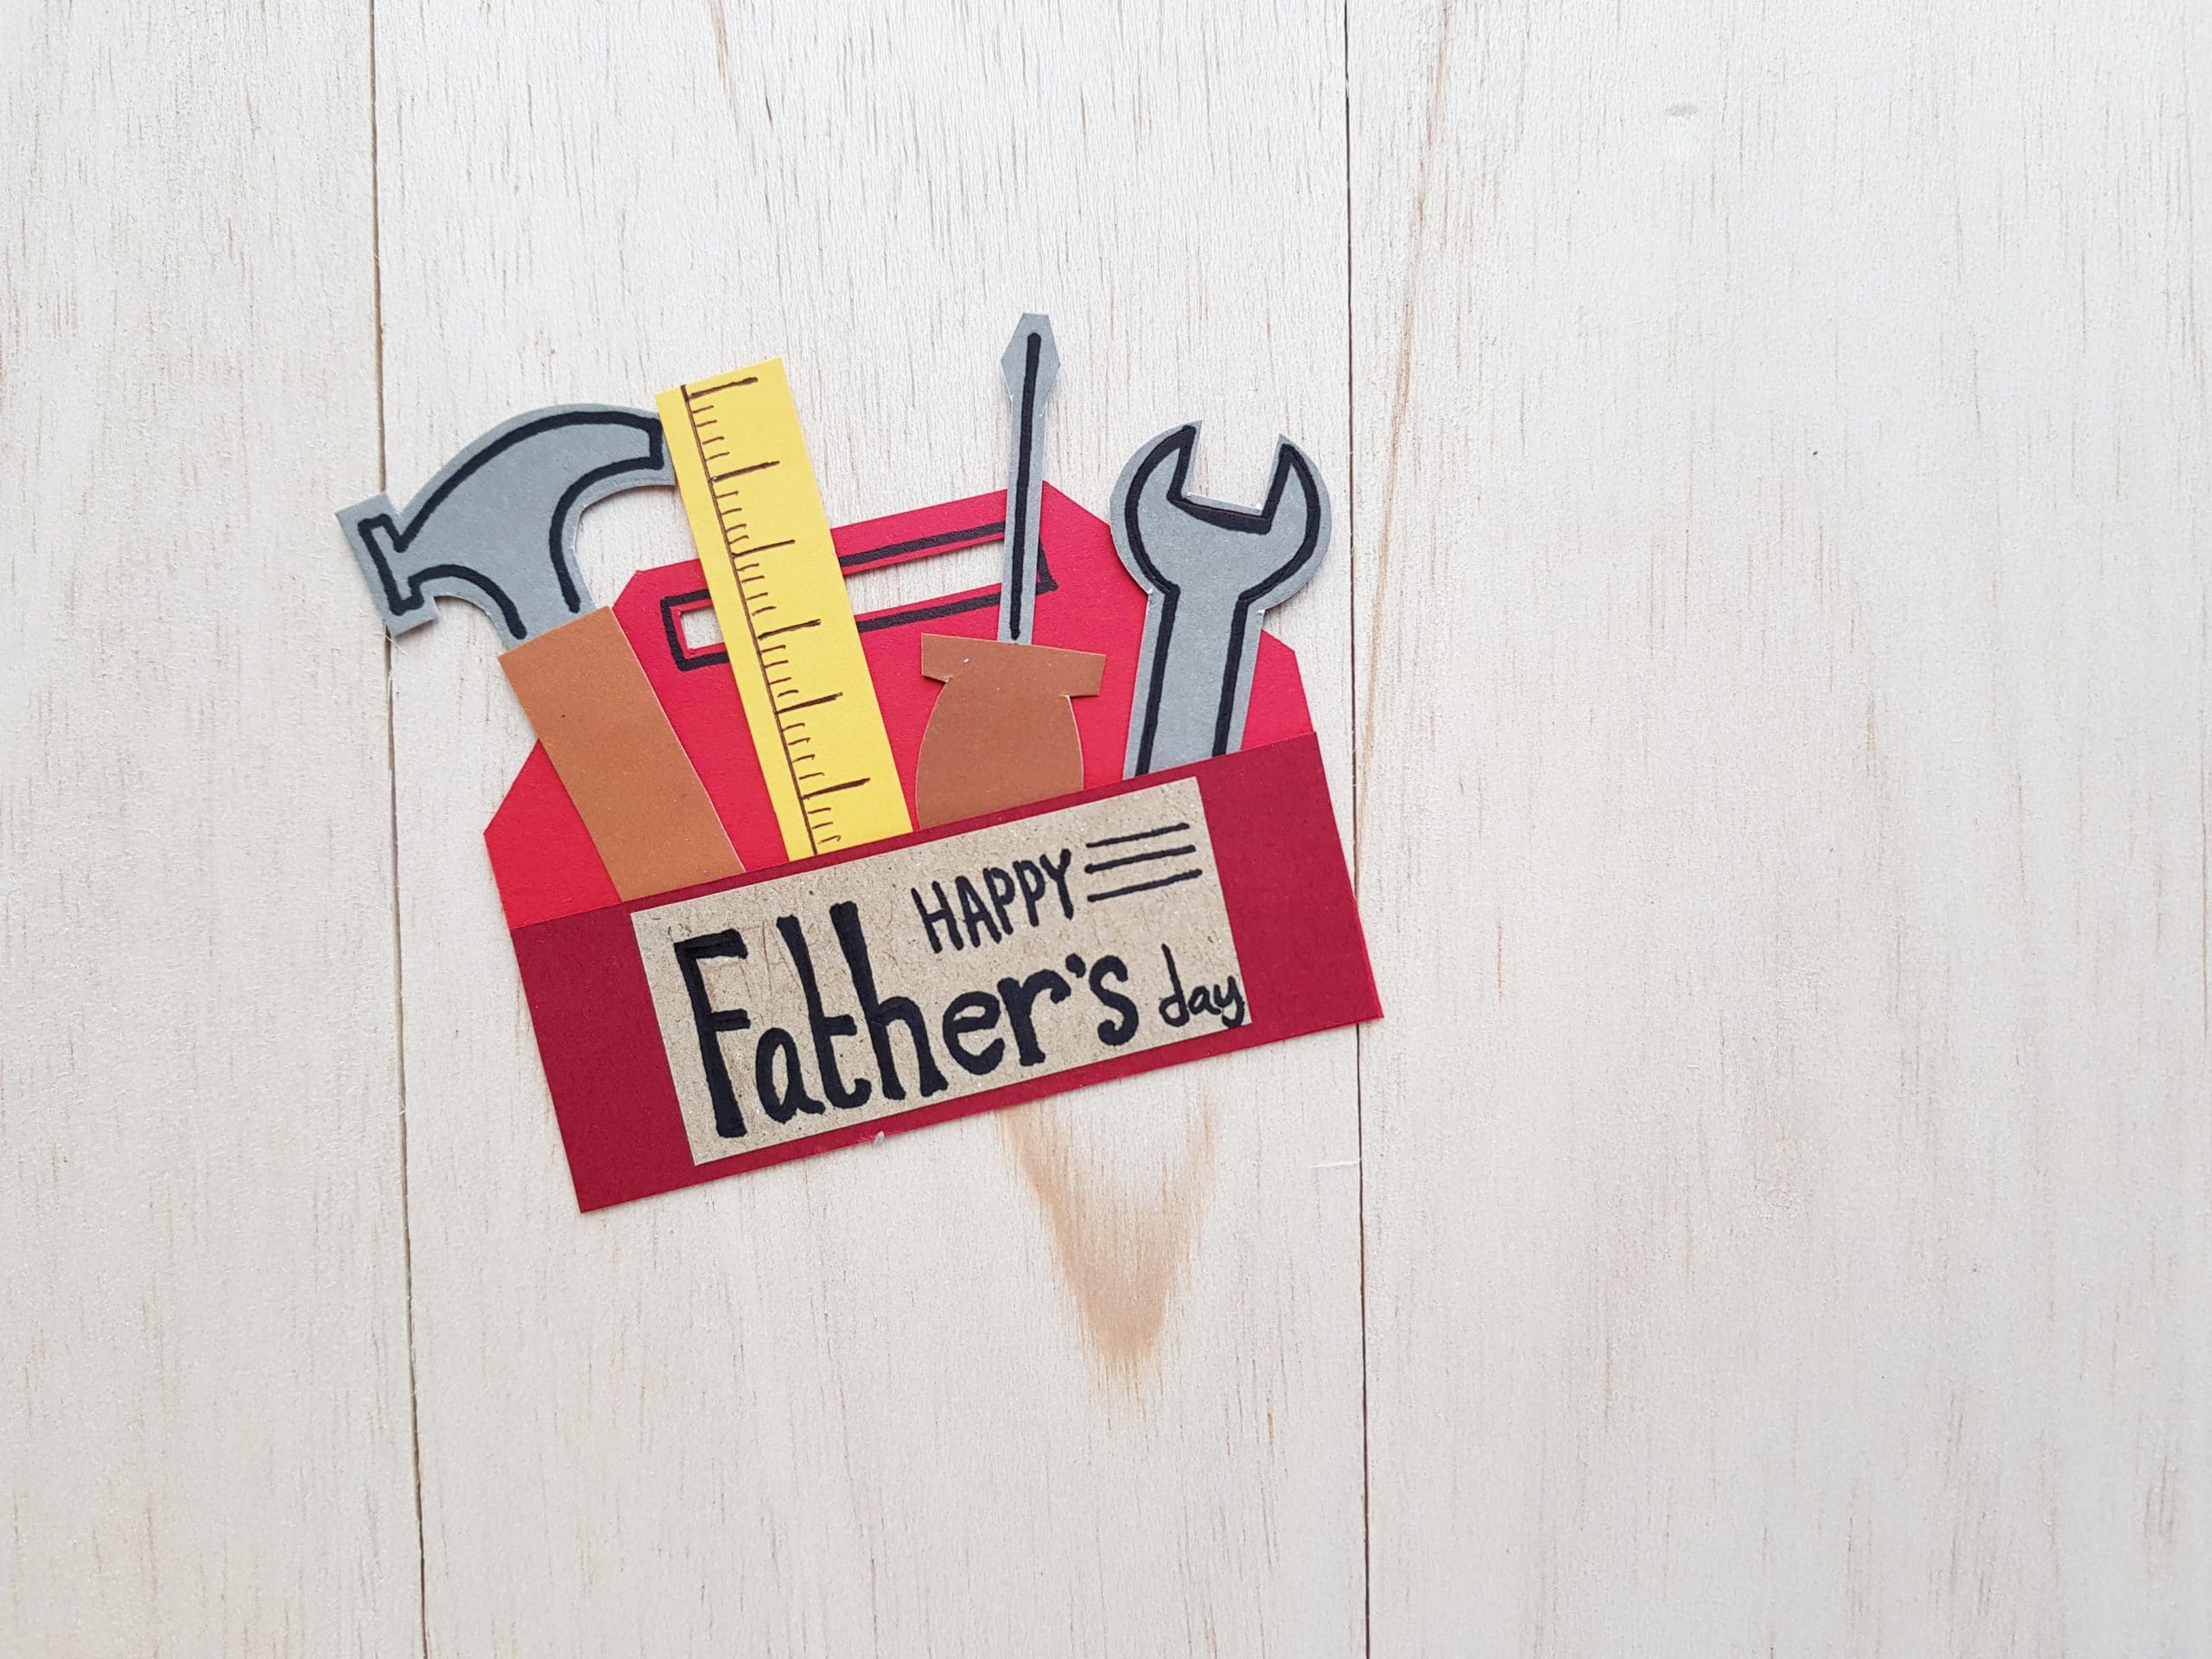
Once you’re all finished, your DIY Toolbox Card for Father’s Day card should look something like this! We know that the dads (and grandpas and uncles and husbands) in your life are going to love it!

Click HERE to Download the Printable Templates for this DIY Toolbox Card for Father’s Day!